
Nokia Lumia 920 USB and Microphone Replacement
Einleitung
Zu Schritt 1 der AnleitungThis is a guide to show how to replace the USB port and the main microphone. The reason why it is a guide to both is because they are both connected.
Was du brauchst
Ersatzteile

Werkzeuge


Mehr anzeigen …
-
-
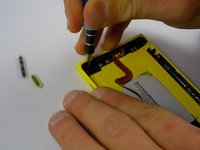
Use the T5 screwdriver to remove the two 8.6mm long screws, located at the bottom of the phone. (Head size is 2.5mm)
-
-
-
Use the smallest Torx screwdriver or another small poking tool and push into the hole on the SIM card slot. The plastic SIM protective piece should pop out quite easily.
-
Put that plastic piece aside.
-
-
-
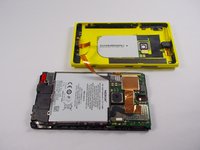
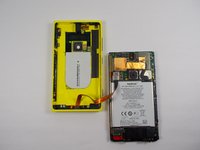
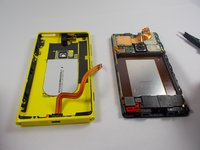
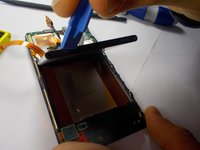
Once both screws on the bottom are removed, and the plastic SIM protective piece is removed, gently push on the outside of the screen.
-
The screen should become separated using little force. And should like the pictures shown once complete.
-
-
-
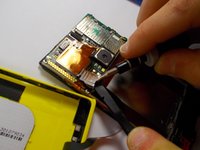
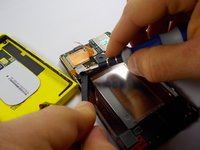
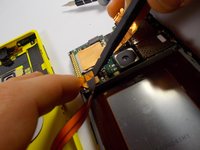
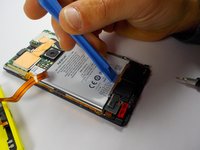
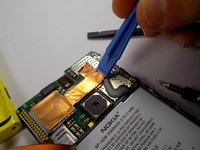
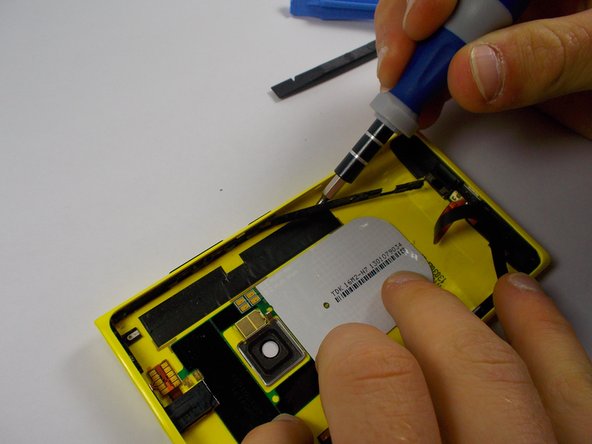
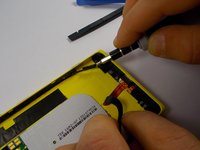
Place the spudger tool or flat plastic tool on top of the ribbon cable to avoid damaging it when prying up on the metal clip.
-
Use a plastic opening tool, or gently use a small metal flat-head screwdriver to pry up the metal clip. (It is recommended to use a plastic tool; However, if the opening tool does not work or fit into the small opening underneath the clip, use the flat-head.)
-
-
-
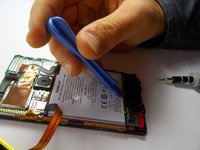
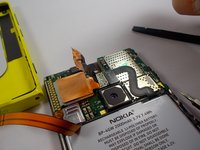
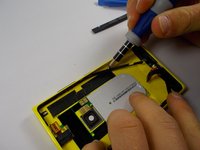
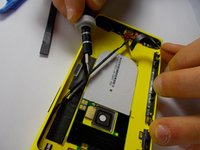
Once the metal clip is removed, gently pry up on the ribbon cable connection, located underneath the metal clip you have just removed.
-
-
-
-
Prerequisite step: Back panel removal
-
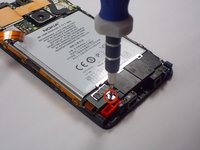
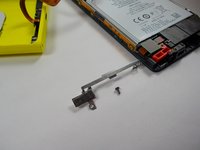
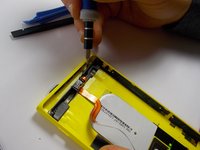
Use the T4 torx screwdriver to remove the 3mm screw (diameter of the head is 1.5mm) fastened to the metal clip, holding the battery in place.
-
-
-
Using the plastic opening tool, pry up on the metal clip holding the battery in place.
-
Completely remove the clip.
-
-
-
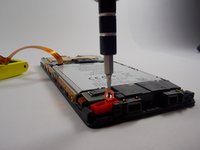
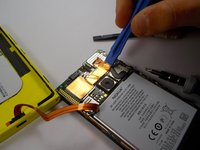
Use a plastic opening tool. Start on the right, and gently lift up on the copper strip.
-
You do not have to completely remove the copper strip, only enough so that the connection to the battery is visible.
-
-
-
Use a plastic opening tool or spudger, and gently lift up on the connective piece.
-
-
-
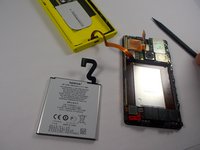
Use a plastic opening tool at the bottom of the battery and gently lift.
-
The battery should lift out easily.
-
-
-
Prerequisite guides: Back panel removal, Battery removal
-
On the side where the volume buttons are, use a removing tool of some sort (Plastic tools may not work as well because the pieced are glued) and pry up the plastic strip encasing the volume, power, and camera buttons.
-
Be very gentle, these pieces are made of very thin plastic and may break easily.
-
-
-
After removing the thin plastic button cover, the buttons may fall out of place. That is okay. Just take them out and place them aside.
-
You may even use a screwdriver to pop them out of place, but it is not necessary.
-
-
-
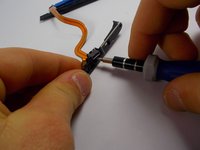
To start, apply pressure downward on the plastic piece connected to the usb port as shown. While applying the downward pressure, apply pressure away from the USB port as well.
-
You want to pull the plastic piece away from the bottom of the phone.
-
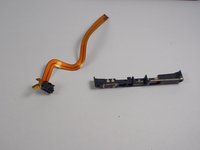
Once you have one side clearly separated from the shell of the phone, put the screwdriver in the opening you have created and push the whole piece away from its shell.
-
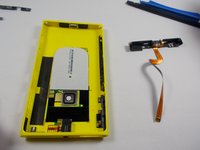
Completely remove the plastic piece from the back panel shell.
-
-
-
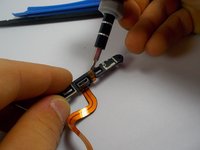
Gently stick the screwdriver underneath the microphone as shown.
-
Lift gently until the microphone is out of its plastic casing.
-
The microphone will still be connected to the ribbon cable.
-
-
-
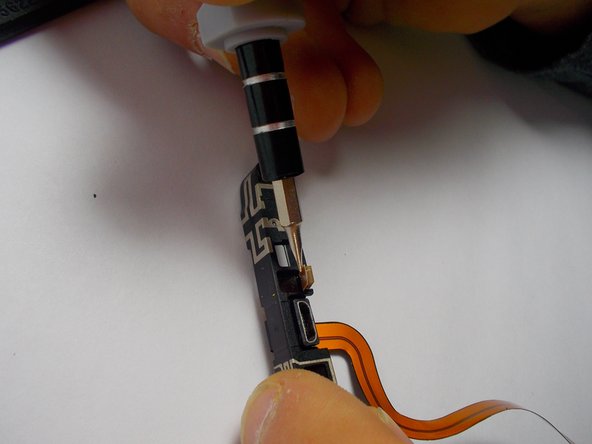
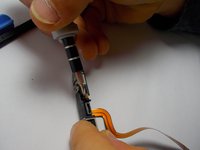
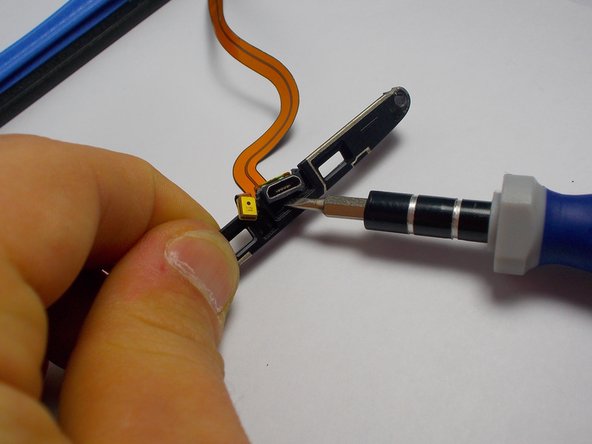
Like you did to the microphone, gently slide the screwdriver underneath the USB port.
-
Gently lift up to separate it from its plastic casing.
-


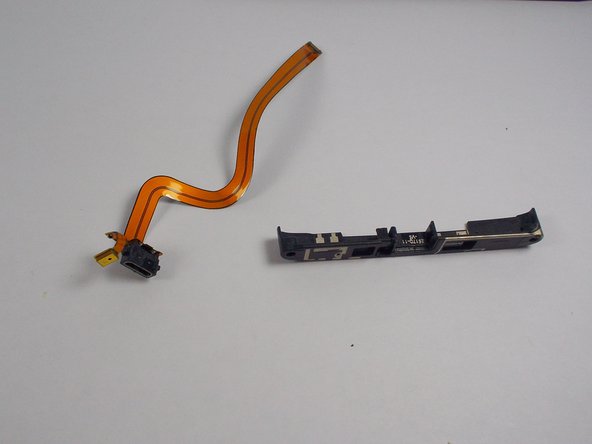

To reassemble your device, follow these instructions in reverse order.
To reassemble your device, follow these instructions in reverse order.
Rückgängig: Ich habe diese Anleitung nicht absolviert.
14 weitere Personen haben diese Anleitung absolviert.
Team

UMass Dartmouth, Team 4-2, Miles Fall 2014 Mitglied von UMass Dartmouth, Team 4-2, Miles Fall 2014
UMASSD-MILES-F14S4G2
2 Mitglieder
7 Anleitungen geschrieben