
PlayStation 2 Slimline SCPH-7500x Optical Drive Replacement

Einleitung
Zu Schritt 1 der AnleitungThis guide will walk you through step-by-step on how to properly remove and install the optical drive in the PlayStation 2 Slimline.
Was du brauchst


-
-
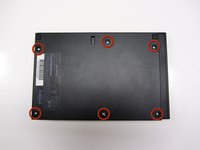
Turn off the PlayStation 2 and carefully unplug it from the power source. Also, it is important to eject the CD from the console before flipping the it upside down.
-
-
-
-
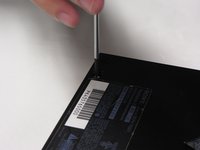
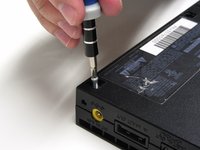
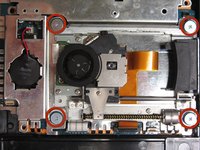
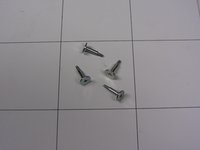
After all of the feet have been removed, Use a Phillips #1 screwdriver to remove the six 4.0mm screws from the base of the PS2.
-
-
-
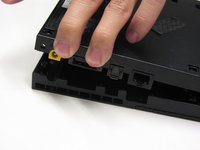
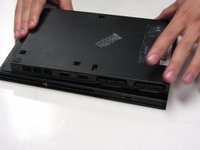
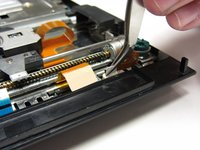
Once all of the screws have been removed, pry apart the plastic covers. Start by lifting the side containing the power cable and Ethernet port. Then, lift the opposite side to fully separate the two sides.
-
-
-
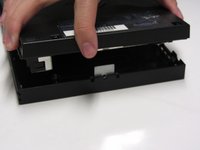
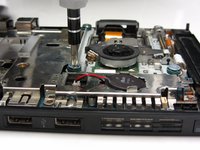
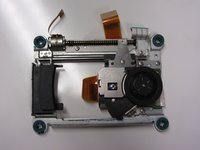
If done correctly, you should have a fully detached plastic backing, revealing the electronic components of the PlayStation 2.
-
-
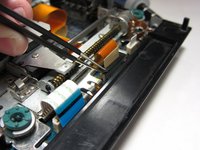
In diesem Schritt verwendetes Werkzeug:Tweezers$4.99
-
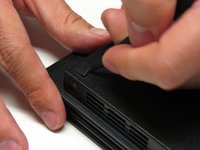
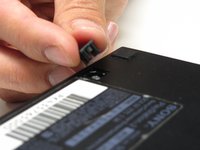
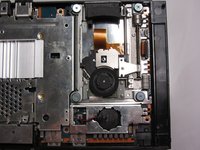
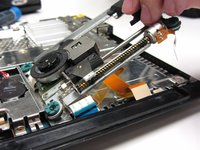
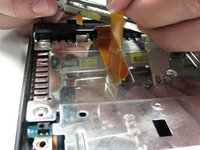
Using tweezers, gently detach all three ribbons from the motherboard terminal. Unlock the middle orange ribbon to lift the black tab up on either side.
-


To reassemble your device, follow these instructions in reverse order.
To reassemble your device, follow these instructions in reverse order.
Rückgängig: Ich habe diese Anleitung nicht absolviert.
11 weitere Personen haben diese Anleitung absolviert.

Team

Cal Poly, Team 17-4, Regan Spring 2013 Mitglied von Cal Poly, Team 17-4, Regan Spring 2013
CPSU-REGAN-S13S17G4
3 Mitglieder
28 Anleitungen geschrieben
Ein Kommentar
I think that if the entire disc drive, assembled with a simple click in connection, would be much easier and faster.