
PowerLead Puto PLD003 Screen Replacement
Einleitung
Zu Schritt 1 der AnleitungThis guide shows how to remove the side panel from the camera, how to remove the back panel, and how to replace the LCD screen.
Was du brauchst

-
-
Rotate the camera so that the underside is facing up.
-
Remove the four 5 mm Phillips #1 screws.
-
-
-
Place the camera on a flat surface, with its underside facing you.
-
Gently pull up on the side panel to remove it from the camera.
-
-
-
-
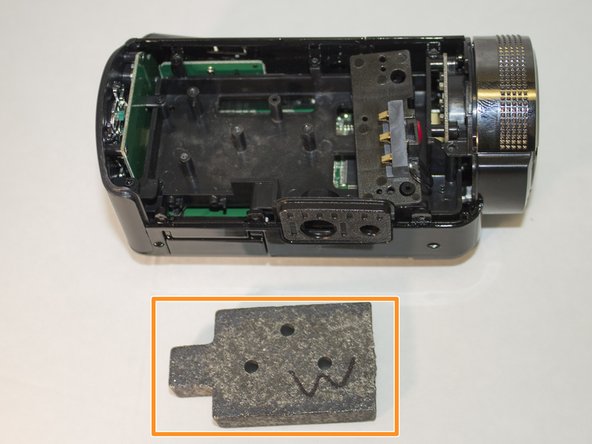
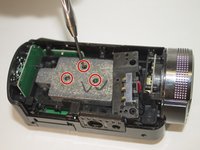
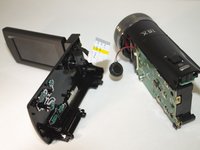
Remove the three 4 mm Phillips #1 screws holding the weight.
-
Remove the weight.
-
-
-
Set aside back panel for now.
-
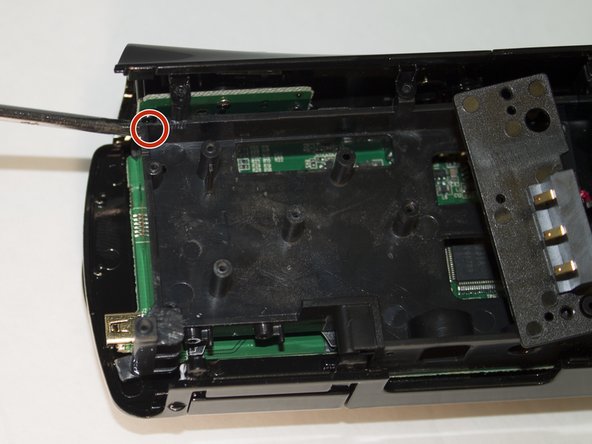
Remove the final 4 mm Phillips #1 screw holding the screen in place. It is very small and hard to see.
-
-
-
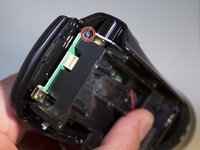
Carefully apply pressure, away from the camera, to the screen to detach it from the body.
-
The white cord should still be connected to the body.
-
-
-
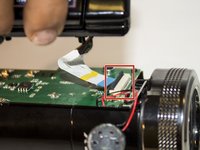
Lift the black clip upward.
-
With the clip up, pull the white cord to the left. This will detach the screen from the body.
-


To reassemble your device, follow these instructions in reverse order.
To reassemble your device, follow these instructions in reverse order.
Team

Eastern Washington University, Team 1-2, Giguere Spring 2016 Mitglied von Eastern Washington University, Team 1-2, Giguere Spring 2016
EWU-GIGUERE-S16S1G2
4 Mitglieder
7 Anleitungen geschrieben