Zum Hauptinhalt wechseln
Gemeinsam reparieren - Jetzt registrieren

Replace Apple Xserve 2009 Motherboard and fans

Was du brauchst

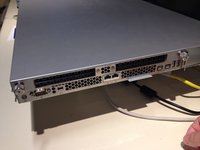
  1. Replace Apple Xserve 2009 Motherboard and fans, Xserve 2009 MLB and Fan replacement: Schritt 1, Bild 1 von 2 Replace Apple Xserve 2009 Motherboard and fans, Xserve 2009 MLB and Fan replacement: Schritt 1, Bild 2 von 2
    • Notable specs:

    • Dual Xeon Nehalem CPU @ 2.26 GHz

    • No SSD

    • No Hardware RAID

    Frag FixBot

    Kommentar hinzufügen

  2. Replace Apple Xserve 2009 Motherboard and fans: Schritt 2, Bild 1 von 1
    • Pull on release lever, and pull power supply out.

    Frag FixBot

    Kommentar hinzufügen

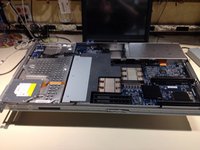
  3. Replace Apple Xserve 2009 Motherboard and fans: Schritt 3, Bild 1 von 2 Replace Apple Xserve 2009 Motherboard and fans: Schritt 3, Bild 2 von 2
    • Loosen the 2 thumbscrews on the back of the xserve to release the top.

    • Slide top back, and lift top off.

    Frag FixBot

    Kommentar hinzufügen

  4. Replace Apple Xserve 2009 Motherboard and fans: Schritt 4, Bild 1 von 1
    • This step is not necessary if you are not changing the drive. It does not interfere with the rest of the procedure.

    • If the hard drives or blanks are still in the xserve, push the handle in to pop it out.

    • Pull the hard drive and blank sleds out.

    Frag FixBot

    Kommentar hinzufügen

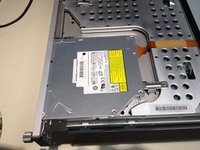
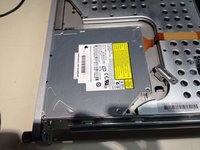
  5. Replace Apple Xserve 2009 Motherboard and fans: Schritt 5, Bild 1 von 3 Replace Apple Xserve 2009 Motherboard and fans: Schritt 5, Bild 2 von 3 Replace Apple Xserve 2009 Motherboard and fans: Schritt 5, Bild 3 von 3
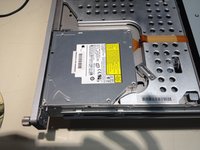
    • Slide lever lock to release the CD/DVD drive.

    • Slide CD/DVD drive back.

    • Lift drive up and unplug the SATA connector on the back.

    • This step is not necessary if you are not changing the drive. It does not interfere with the rest of the procedure.

    Frag FixBot

    Kommentar hinzufügen

  6. Replace Apple Xserve 2009 Motherboard and fans: Schritt 6, Bild 1 von 1
    • Using a #1 Phillips screwdriver, unscrew the screws on each side of PCI slot #2 on the back of the computer.

    • Once the screws are loosened, the PCI riser card should lift out of the slot.

    • Repeat for PCI slot #1

    Frag FixBot

    Kommentar hinzufügen

  7. Replace Apple Xserve 2009 Motherboard and fans: Schritt 7, Bild 1 von 1
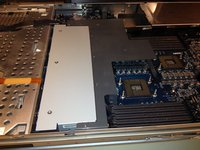
    • Remove the RAM from all slots.

    Frag FixBot

    Kommentar hinzufügen

  8. Replace Apple Xserve 2009 Motherboard and fans: Schritt 8, Bild 1 von 2 Replace Apple Xserve 2009 Motherboard and fans: Schritt 8, Bild 2 von 2
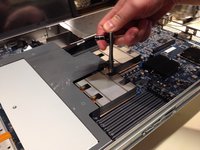
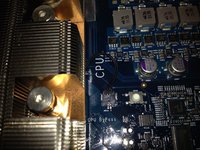
    • Using a 3.0mm Hex wrench (Allen wrench), loosen the 4 screws that hold the processor and heatsink down.

    • Unplug the sensor cable.

    • Lift the heatsink and processor off the motherboard.

    • Repeat if you have the dual processor model.

    Frag FixBot

    Kommentar hinzufügen

  9. Replace Apple Xserve 2009 Motherboard and fans: Schritt 9, Bild 1 von 3 Replace Apple Xserve 2009 Motherboard and fans: Schritt 9, Bild 2 von 3 Replace Apple Xserve 2009 Motherboard and fans: Schritt 9, Bild 3 von 3
    • Using a #1 phillips screwdriver, loosen the 5 screws that hold the plastic bezel in place.

    • Remove the plastic bezel.

    • Using a #2 phillips screwdriver, loosen the 2 screws that hold the fan array in place

    • Lift the fan array out.

    Frag FixBot

    Kommentar hinzufügen

  10. Replace Apple Xserve 2009 Motherboard and fans: Schritt 10, Bild 1 von 2 Replace Apple Xserve 2009 Motherboard and fans: Schritt 10, Bild 2 von 2
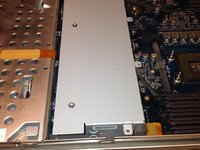
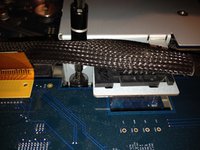
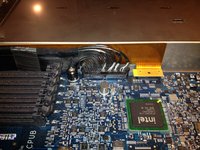
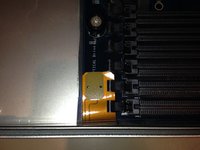
    • Using the spudger, lift the connector on the right.

    • Carefully squeeze the connector on the left and unplug it.

    • Using the spudger, lift the CD/DVD connector by the CPU A RAM slots.

    Frag FixBot

    Kommentar hinzufügen

  11. Replace Apple Xserve 2009 Motherboard and fans: Schritt 11, Bild 1 von 3 Replace Apple Xserve 2009 Motherboard and fans: Schritt 11, Bild 2 von 3 Replace Apple Xserve 2009 Motherboard and fans: Schritt 11, Bild 3 von 3
    • Using a #2 screwdriver, loosen the 9 screws that hold the motherboard in place.

    • There are 3 rows of 3 screws each. 1 row by the back of the computer, 1 row in the middle and 1 row by the fan array. They are obvious by the black plastic spacer/retainer on them.

    Frag FixBot

    Kommentar hinzufügen

  12. Replace Apple Xserve 2009 Motherboard and fans: Schritt 12, Bild 1 von 1
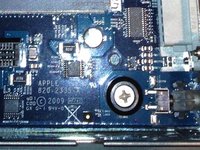
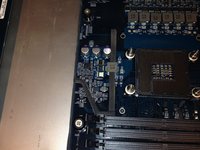
    • Using a #2 screwdriver, loosen the screw on the power board.

    • Slide it up to disconnect it from the motherboard.

    Frag FixBot

    Kommentar hinzufügen

  13. Replace Apple Xserve 2009 Motherboard and fans: Schritt 13, Bild 1 von 2 Replace Apple Xserve 2009 Motherboard and fans: Schritt 13, Bild 2 von 2
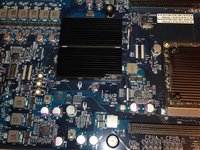
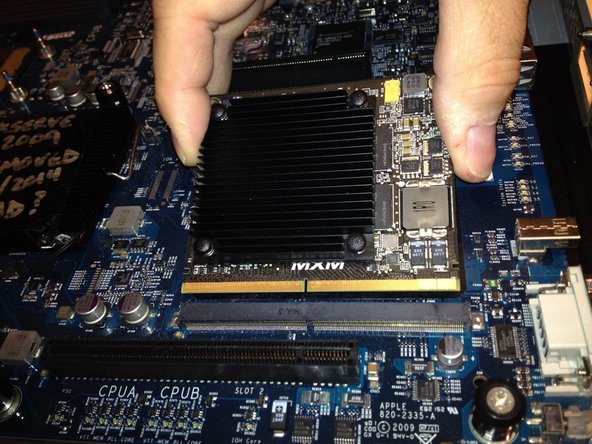
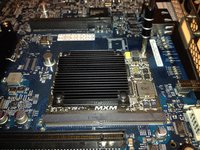
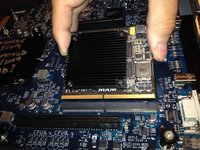
    • Remove the 2 screws that hold the video card on.

    • Slide the card out of the socket.

    Frag FixBot

    Kommentar hinzufügen

  14. Replace Apple Xserve 2009 Motherboard and fans: Schritt 14, Bild 1 von 1
    • Lift the motherboard and slide it out ofthe connectors on the back of the computer.

    • Then tip the motherboard up and out of the computer.

    Frag FixBot

    Kommentar hinzufügen

Abschluss

To reassemble your device, follow these instructions in reverse order.

Rückgängig: Ich habe diese Anleitung nicht absolviert.

18 weitere Personen haben diese Anleitung absolviert.

0 Kommentare zur Anleitung

Kommentar hinzufügen

Seitenaufrufe:

Letzte 24 Stunden: 1

Letzte 7 Tage: 8

Letzte 30 Tage: 52

Insgesamt: 12,591