
Sony Cyber-Shot DSC-S90 Battery Door Replacement
Einleitung
Zu Schritt 1 der AnleitungWhen taking off the battery door of the Sony Cyber-Shot DSC-S90, it’s important to remove the battery casing first. After this has been completed, taking off the door should be completed with ease.
Was du brauchst


-
-
Hold down the "open"button (gray oval with arrow pointing upwards) on the battery port door.
-
While holding the button downwards, slide the door upwards to unlock and open the door.
-
-
-
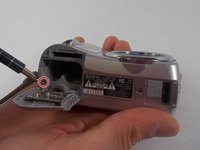
Remove the 2mm Phillips #00 screw under the battery port door.
-
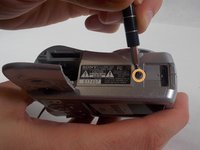
Remove the 2mm Phillips #00 screw towards the right of the bottom-side of the camera.
-
-
-
-
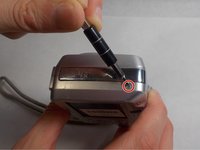
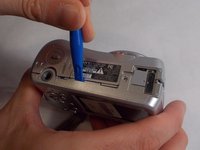
Use an opening tool to unlock the front case from the main body of the camera. Use the tool on the right side and bottom of the camera with the LCD screen facing you.
-
-
-
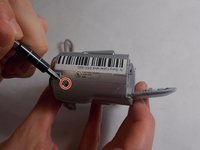
Use an opening tool to unlock the front case from the main body of the camera. Use the tool on the top of the camera.
-
-
-
After the front casing is removed, the battery door hinges off freely.
-


To reassemble your device, follow these instructions in reverse order.
To reassemble your device, follow these instructions in reverse order.
Team

UMass Dartmouth, Team S4-G5, Saloman Fall 2019 Mitglied von UMass Dartmouth, Team S4-G5, Saloman Fall 2019
UMASSD-SALOMAN-F19S4G5
3 Mitglieder
20 Anleitungen geschrieben