
Sony Cyber-shot DSC-T1 CCD chip Replacement

Einleitung
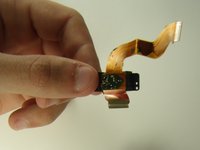
Zu Schritt 1 der AnleitungFollow this guide for the process of replacing the CCD chip, which is responsible for converting light into digital images. For safety reasons, battery should be first removed.
Was du brauchst


-
-
Locate the cover on the bottom of the camera.
-
Slide the cover towards the back of the camera.
-
-
-
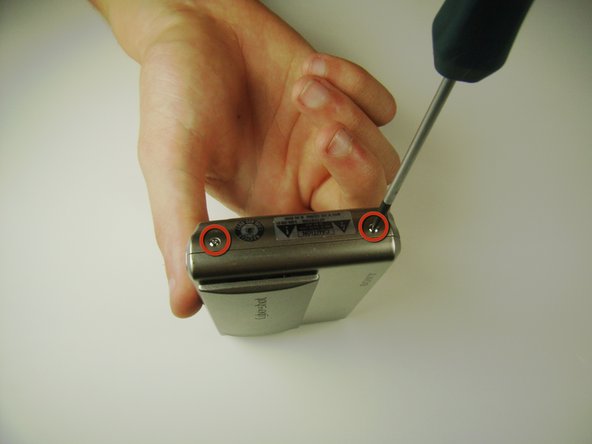
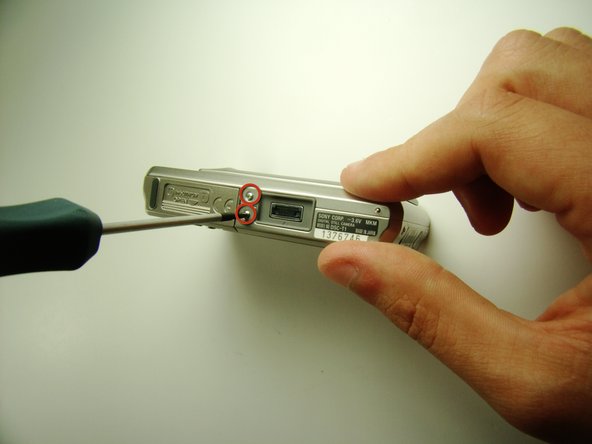
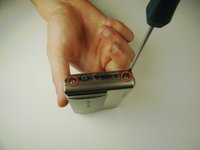
Locate and remove the 3mm screws on the bottom and sides of the camera with a JIS size #0 screwdriver.
-
-
-
-
Pull the two halves of the camera apart.
-
Place the two halves down with the insides facing you.
-
-
-
Find the two clips holding the motherboard to the black lens box.
-
Slide the plastic opening tool in between the ribbon and the black part of the clip, then flip it up. (If difficult, your fingernail can also be used)
-
-
-
Locate and unscrew the two 3mm screws on the bottom of the black lens box with the JIS #0 screwdriver.
-
-
In diesem Schritt verwendetes Werkzeug:Tweezers$4.99
-
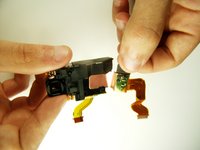
With the tweezers remove the black tape to detach the chip from the lens box.
-


To reassemble your device, follow these instructions in reverse order.
To reassemble your device, follow these instructions in reverse order.
Rückgängig: Ich habe diese Anleitung nicht absolviert.
3 weitere Personen haben diese Anleitung absolviert.

Team

Cal Poly, Team 7-35, Maness Spring 2012 Mitglied von Cal Poly, Team 7-35, Maness Spring 2012
CPSU-MANESS-S12S7G35
4 Mitglieder
3 Anleitungen geschrieben