Zum Hauptinhalt wechseln

Sony Cyber-shot DSC-W290 casing Replacement

Was du brauchst

  1. Sony Cyber-shot DSC-W290 casing Replacement, Battery: Schritt 1, Bild 1 von 1
    • Find the hatch labeled "open" on the left side of the bottom of the camera.

    • Slide the hatch in the direction that the arrow is pointing. The hatch will open outward on its own.

  2. Sony Cyber-shot DSC-W290 casing Replacement: Schritt 2, Bild 1 von 1
    • Slide the blue locking tab to release the battery.

    • Slide the battery out of the camera.

  3. Sony Cyber-shot DSC-W290 casing Replacement, Outer Casing: Schritt 3, Bild 1 von 2 Sony Cyber-shot DSC-W290 casing Replacement, Outer Casing: Schritt 3, Bild 2 von 2
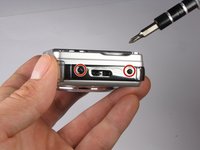
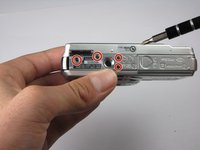
    • Replace hatch and rotate camera 180 degrees. You should still be looking at the bottom of the camera.

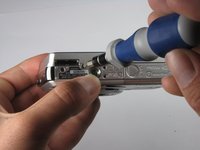
    • Remove the four 2.5mm Phillips #0 screws.

  4. Sony Cyber-shot DSC-W290 casing Replacement: Schritt 4, Bild 1 von 3 Sony Cyber-shot DSC-W290 casing Replacement: Schritt 4, Bild 2 von 3 Sony Cyber-shot DSC-W290 casing Replacement: Schritt 4, Bild 3 von 3
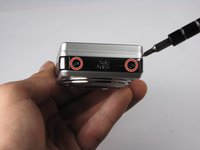
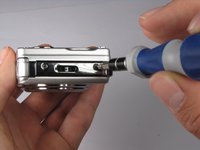
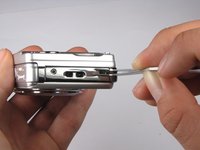
    • Turn the camera so the left side-panel reading "5x Optical Zoom" faces you.

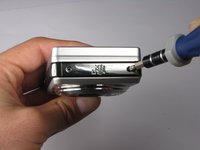
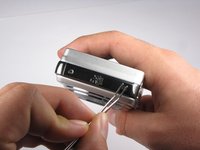
    • Remove the two 2.5mm Phillips #0 screws.

    • You may have to remove the screws with a pair of tweezers when the screws are almost out.

  5. Sony Cyber-shot DSC-W290 casing Replacement: Schritt 5, Bild 1 von 3 Sony Cyber-shot DSC-W290 casing Replacement: Schritt 5, Bild 2 von 3 Sony Cyber-shot DSC-W290 casing Replacement: Schritt 5, Bild 3 von 3
    • Turn the camera so the right side faces you.

    • Remove the two 2.5mm Phillips #0 screws.

    • You may have to remove the screws with a pair of tweezers when the screws are almost out.

  6. Sony Cyber-shot DSC-W290 casing Replacement: Schritt 6, Bild 1 von 1
    • Rotate camera so that the back is facing you.

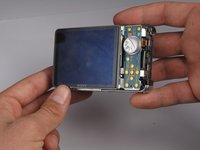
    • Pull the back casing directly away from the LCD screen.

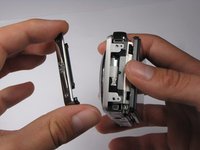
  7. Sony Cyber-shot DSC-W290 casing Replacement: Schritt 7, Bild 1 von 2 Sony Cyber-shot DSC-W290 casing Replacement: Schritt 7, Bild 2 von 2
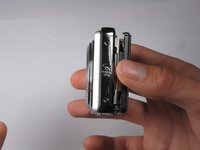
    • Turn the camera so that the left side is facing you.

    • Pull the left side-panel off of the camera.

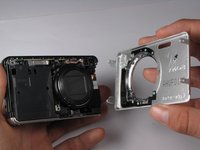
  8. Sony Cyber-shot DSC-W290 casing Replacement: Schritt 8, Bild 1 von 2 Sony Cyber-shot DSC-W290 casing Replacement: Schritt 8, Bild 2 von 2
    • Turn camera so that the front of the camera is facing you.

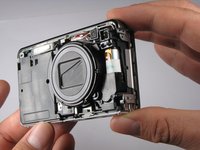
    • Pull the front casing directly away from the camera.

    • The right side panel may fall off when you take the front panel off.

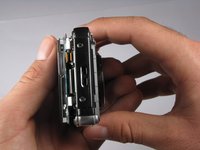
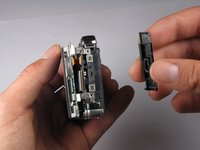
  9. Sony Cyber-shot DSC-W290 casing Replacement: Schritt 9, Bild 1 von 2 Sony Cyber-shot DSC-W290 casing Replacement: Schritt 9, Bild 2 von 2
    • Turn the camera so that the right side is facing you.

    • Pull the right side-panel away from the rest of the camera.

  10. Sony Cyber-shot DSC-W290 casing Replacement: Schritt 10, Bild 1 von 2 Sony Cyber-shot DSC-W290 casing Replacement: Schritt 10, Bild 2 von 2
    • This is what your camera should look like now that you have removed the casing from all sides.

Abschluss

To reassemble your device, follow these instructions in reverse order.

Ein:e weitere:r Nutzer:in hat diese Anleitung absolviert.
Evan Mayer

Mitglied seit: 10/05/10

318 Reputation

5 Anleitungen geschrieben

Team

Cal Poly, Team 7-54, Amido Fall 2010 Mitglied von Cal Poly, Team 7-54, Amido Fall 2010

CPSU-AMIDO-F10S7G54

4 Mitglieder

16 Anleitungen geschrieben

0 Kommentare

Kommentar hinzufügen

Seitenaufrufe:

Letzte 24 Stunden: 0

Letzte 7 Tage: 0

Letzte 30 Tage: 3

Insgesamt: 1,813