
Sony Xperia XA Back Camera Replacement
Einleitung
Zu Schritt 1 der AnleitungYou will need to use a source of heat. You may need to buy adhesive for the reassembly. Make sure the phone is completely powered off before opening the device.


-
-
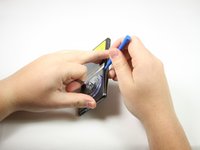
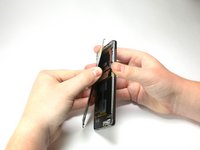
Stick the small suction cup on the bottom half of the back surface of the phone.
-
-
-
With the bottom of the device facing you, lift up on the suction cup handle.
-
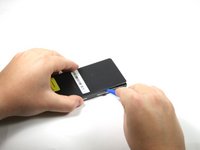
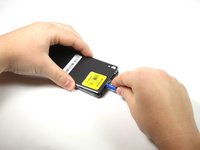
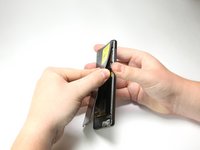
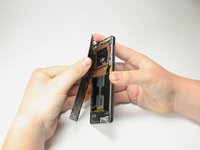
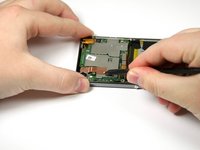
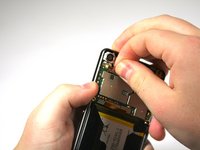
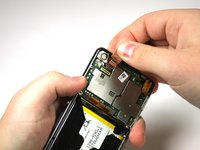
Use the plastic opening tool around all sides to pry off the back cover.
-
-
-
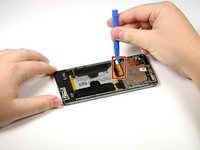
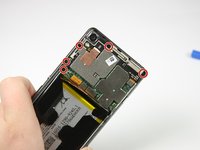
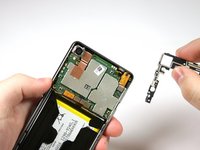
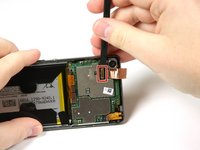
Pry up the copper connector next to the battery with the plastic opening tool.
-
-
-
-
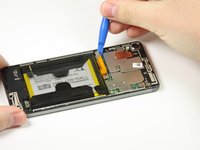
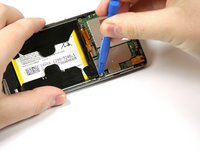
Pry up the black camera case with the plastic opening tool and then remove the case.
-
-
-
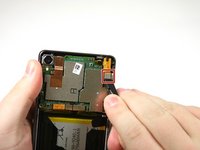
Pop off the small connector on the right side of the motherboard with the plastic opening tool.
-
-
-
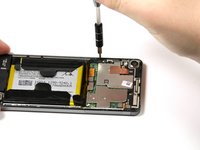
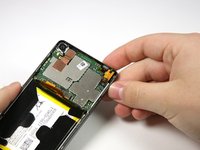
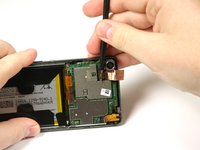
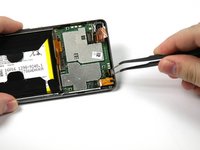
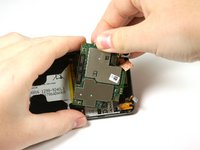
Use the spudger to take off the connector in the top right of the motherboard.
-
-
-
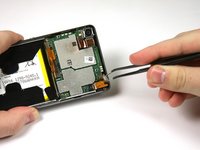
Use the flat end of the spudger to peel up the copper tab to the right of the back camera.
-
Peel back the tab past the connector.
-
-
-
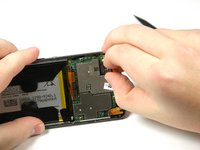
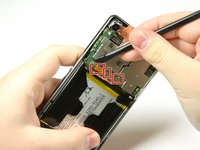
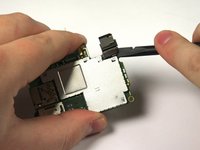
Use the spudger to loosen the black connector from the top right of the motherboard.
-
-
In diesem Schritt verwendetes Werkzeug:Tweezers$4.99
-
Pull out the square shaped connector using tweezers.
-
-
-
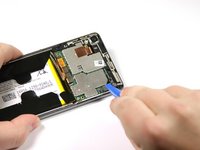
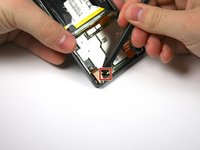
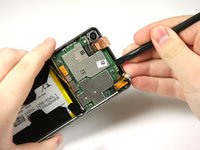
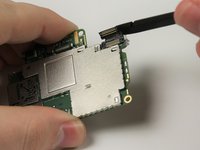
Use the spudger to detach the three copper connectors on the bottom area of the motherboard.
-
-
-
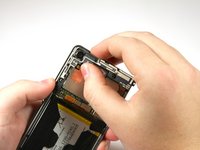
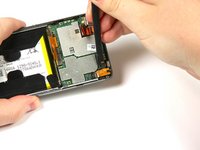
Use the spudger to separate the motherboard from the frame.
-
Pull out the motherboard using your fingers.
-
-
-
Use the nylon spudger to pry up the black camera connector from the motherboard.
-


To reassemble your device, follow these instructions in reverse order.
To reassemble your device, follow these instructions in reverse order.
Rückgängig: Ich habe diese Anleitung nicht absolviert.
Eine weitere Person hat diese Anleitung absolviert.
Team

Cal Poly, Team S17-G2, Livingston Spring 2018 Mitglied von Cal Poly, Team S17-G2, Livingston Spring 2018
CPSU-LIVINGSTON-S18S17G2
4 Mitglieder
8 Anleitungen geschrieben