
Sony Xperia XA1 Ultra Loudspeaker Replacement
Einleitung
Zu Schritt 1 der AnleitungThis guide will show you how to remove the loudspeaker from your Sony Xperia XA1 Ultra. The loudspeaker needs to be replaced if sound is no longer emitted from your phone. A heat gun or hairdryer is needed to open the back panel, which can become hot and potentially damage the phone. In addition, a T5 screwdriver is needed to remove screws, and a spudger is used to lift and remove components of the phone.
Was du brauchst


-
-
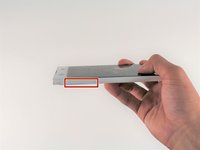
Wedge your finger under the bottom ridge of the SD card insert.
-
Pull outwards with your fingers to remove the SD card from the left side of device.
-
-
-
Use a hair dryer to heat each corner of the phone.
-
Alternate heating each corner for a minute to loosen the adhesive binding the back cover to the phone.
-
-
-
Press a suction cup on a heated corner of the device.
-
Hold the phone down and gently lift the suction cup to create a small gap.
-
-
-
In diesem Schritt verwendetes Werkzeug:Plastic Cards$2.99
-
Insert your iFixit Opening Tool in the small gap between your phone and the back cover.
-
Lift up on the iFixit Opening Tool and insert your plastic card in the small gap between your phone and the back cover.
-
-
-
Slide your plastic card along the side of your phone to loosen the adhesive.
-
Move the card along the sides of the phone to lift all of the corners.
-
-
-
Remove the five 4mm T5 screws connecting the speaker to your phone.
-
-
-
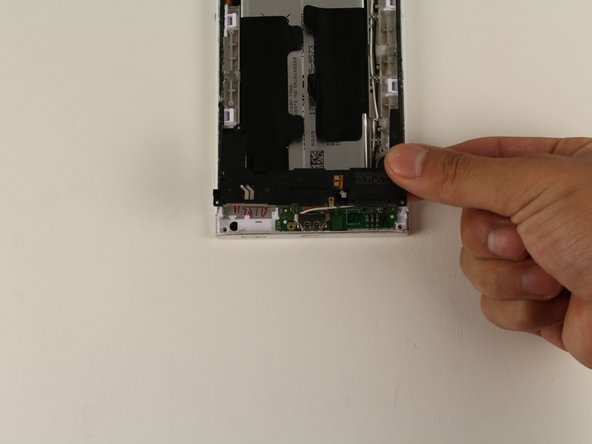
Insert your iFixit Opening Tool underneath the speaker and gently lift up.
-
Once the speaker is slightly lifted, use your hands to remove the piece from the device.
-


To reassemble your device, follow these instructions in reverse order.
To reassemble your device, follow these instructions in reverse order.
Rückgängig: Ich habe diese Anleitung nicht absolviert.
Eine weitere Person hat diese Anleitung absolviert.
Team

Cal Poly, Team S16-G3, Livingston Spring 2018 Mitglied von Cal Poly, Team S16-G3, Livingston Spring 2018
CPSU-LIVINGSTON-S18S16G3
4 Mitglieder
9 Anleitungen geschrieben