
Vornado Duo Circuit Board Replacement
Einleitung
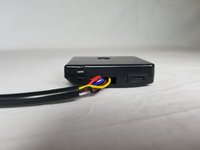
Zu Schritt 1 der AnleitungIn this replacement guide, step by step instructions will show how to replace the circuit board located inside of the Vornado Duo.
Was du brauchst
Ersatzteile
Werkzeuge


Mehr anzeigen …
-
-
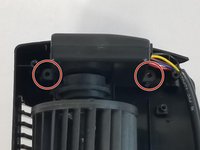
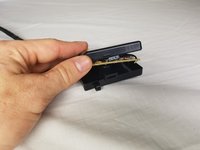
Start off by using a Philips #2 screwdriver to remove all 8 10mm exterior screws on the rear of the device.
-
-
-
-
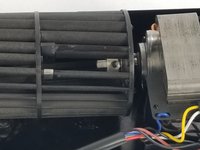
Remove fan blade after unscrewing top 2 screws located on each side of the covered board.
-
-
-
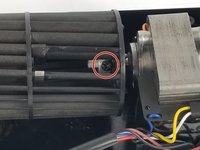
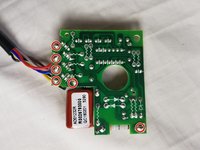
Unsolder the circled spots on the mother board and resolder each wire to corresponding spot.
-


To reassemble your device, follow these instructions in reverse order.
To reassemble your device, follow these instructions in reverse order.
Rückgängig: Ich habe diese Anleitung nicht absolviert.
2 weitere Personen haben diese Anleitung absolviert.
Team

USF Tampa, Team S1-G1, Nance Fall 2017 Mitglied von USF Tampa, Team S1-G1, Nance Fall 2017
USFT-NANCE-F17S1G1
3 Mitglieder
4 Anleitungen geschrieben