Zum Hauptinhalt wechseln

Wexford CT-166TF Plastic Casing Replacement

Was du brauchst

  1. Wexford CT-166TF Plastic Casing  Replacement, Settings Knob: Schritt 1, Bild 1 von 1
    • Locate the knob at the top of the fan.

  2. Wexford CT-166TF Plastic Casing  Replacement: Schritt 2, Bild 1 von 1
    • Remove the knob by gripping it and pulling straight up. Use a spudger if it is difficult to grip.

    • When reassembling, be sure to align the bottom of the new knob and the turning mechanism in the fan before pushing down.

  3. Wexford CT-166TF Plastic Casing  Replacement, Plastic Casing: Schritt 3, Bild 1 von 1
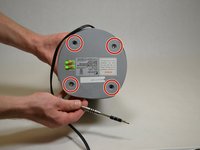
    • Using the plastic opening tool, turn the device over and remove the black plastic covers over the four screw holes.

  4. Wexford CT-166TF Plastic Casing  Replacement: Schritt 4, Bild 1 von 2 Wexford CT-166TF Plastic Casing  Replacement: Schritt 4, Bild 2 von 2
    • Remove the four screws underneath the plastic covers.

  5. Wexford CT-166TF Plastic Casing  Replacement: Schritt 5, Bild 1 von 2 Wexford CT-166TF Plastic Casing  Replacement: Schritt 5, Bild 2 von 2
    • Remove 5 smaller screws visible through small holes between the base and the casing.

  6. Wexford CT-166TF Plastic Casing  Replacement: Schritt 6, Bild 1 von 2 Wexford CT-166TF Plastic Casing  Replacement: Schritt 6, Bild 2 von 2
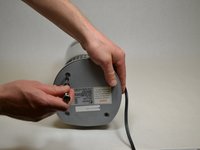
    • Remove four screws on the back, two near the top and two near the bottom.

  7. Wexford CT-166TF Plastic Casing  Replacement: Schritt 7, Bild 1 von 1
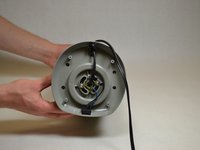
    • Pull off the back casing.

  8. Wexford CT-166TF Plastic Casing  Replacement: Schritt 8, Bild 1 von 2 Wexford CT-166TF Plastic Casing  Replacement: Schritt 8, Bild 2 von 2
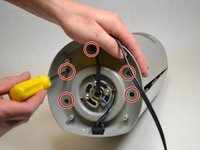
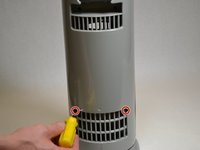
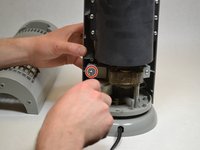
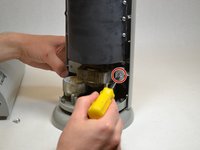
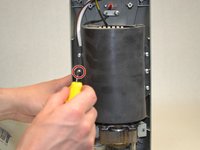
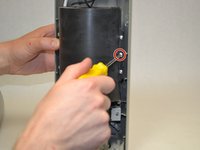
    • Remove the 2 screws that attach the front part of the casing to the motor.

  9. Wexford CT-166TF Plastic Casing  Replacement: Schritt 9, Bild 1 von 2 Wexford CT-166TF Plastic Casing  Replacement: Schritt 9, Bild 2 von 2
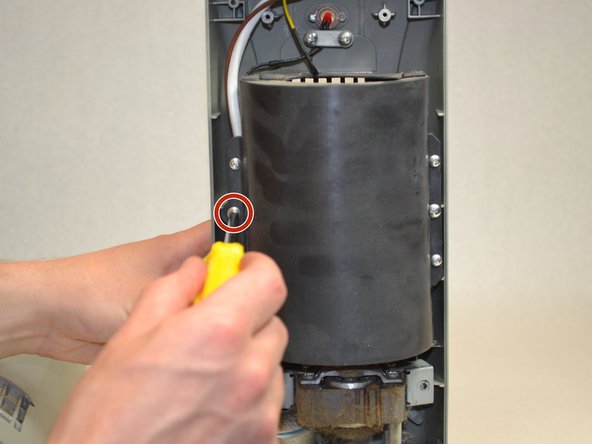
    • Remove the two middle screws attaching the black plastic cover to the front .

  10. Wexford CT-166TF Plastic Casing  Replacement: Schritt 10, Bild 1 von 1
    • Remove the two screws attached to the white bar near the red light on the top of the front casing.

  11. Wexford CT-166TF Plastic Casing  Replacement: Schritt 11, Bild 1 von 1
    • Remove the two screws keeping the button attached to the top of the casing.

Abschluss

To reassemble your device, follow these instructions in reverse order.

Eine weitere Person hat diese Anleitung absolviert.

Team

UW Tacoma, Team S3-G4, Liner Spring 2017 Mitglied von UW Tacoma, Team S3-G4, Liner Spring 2017

UWT-LINER-S17S3G4

4 Mitglieder

3 Anleitungen geschrieben

0 Kommentare

Kommentar hinzufügen

Seitenaufrufe:

Letzte 24 Stunden: 0

Letzte 7 Tage: 5

Letzte 30 Tage: 10

Insgesamt: 373