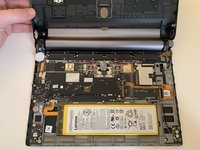
Yoga Tab 3 Pro Rear Panel Replacement
Einleitung
Zu Schritt 1 der AnleitungTo complete this guide you'll need a Philips #0 screwdriver and a spudger.
Was du brauchst
Werkzeuge
Mehr anzeigen …
-
-
Flip the tablet with the rear panel facing up.
-
Push the central button to lift the support.
-
Open the support entirely, using your hands.
-
-
-
Remove the sticker using the plastic spudger by lifting it up from one side, then you can remove it entirely by using your fingers.
-
Use the Philips #0 screwriver to remove the three screws.
-
-
-
-
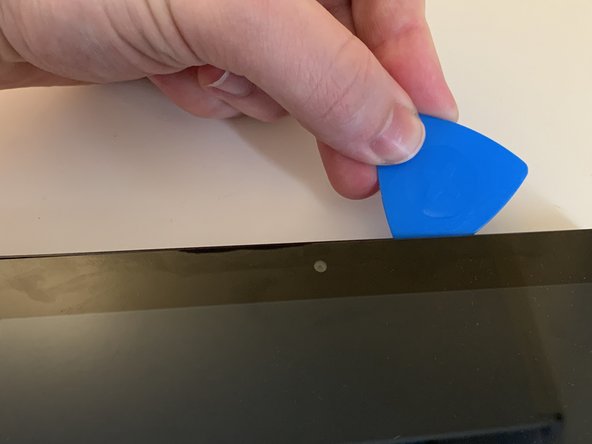
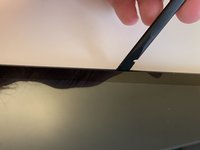
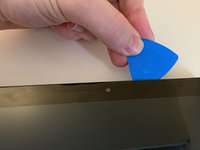
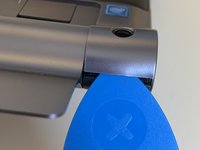
Divide the two halfs by inserting the spudger in the gap between the front shell and the rear one. To help you out with this job you can also use some guitar picks.
-
Do the same procedure on all three visible sides, including the two round side parts.
-
-
-
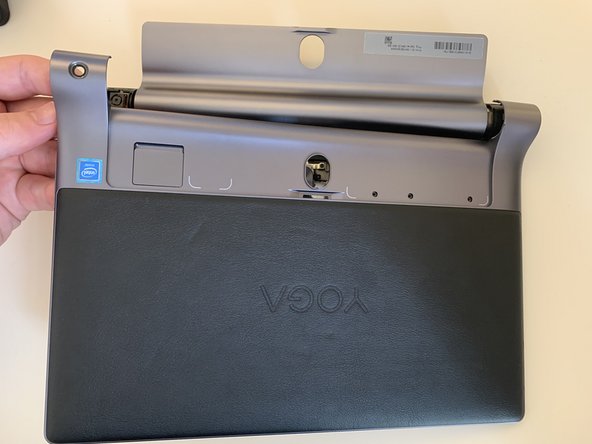
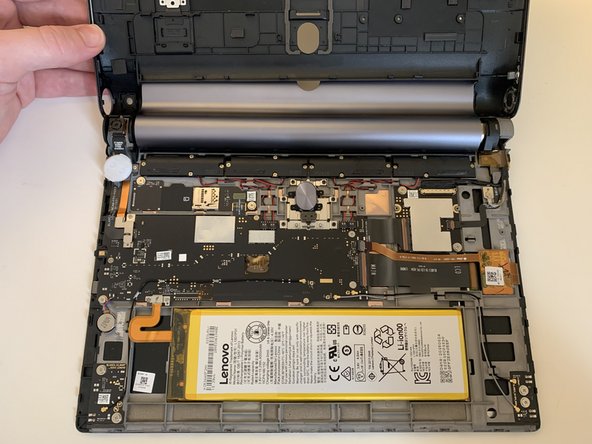
Once you unhook all the internal clips you can easily remove the rear panel.
-
To reassemble the device, folllow these instruction in reverse order.
To reassemble the device, folllow these instruction in reverse order.
Rückgängig: Ich habe diese Anleitung nicht absolviert.
2 weitere Personen haben diese Anleitung absolviert.
Besonderer Dank geht an diese Übersetzer:innen:
100%
Domenyck Paoly hilft uns, die Welt in Ordnung zu bringen! Wie kann ich mithelfen?
Hier starten ›


