Zum Hauptinhalt wechseln
iBook G3 Clamshell LCD Bezel Replacement

iBook G3 Clamshell LCD Bezel Replacement

aidan

aidan und eine weitere beteiligte Person

Zuletzt aktualisiert am June 22, 2016

5 Minuten
Leicht
Anleitung eines Community-Mitglieds

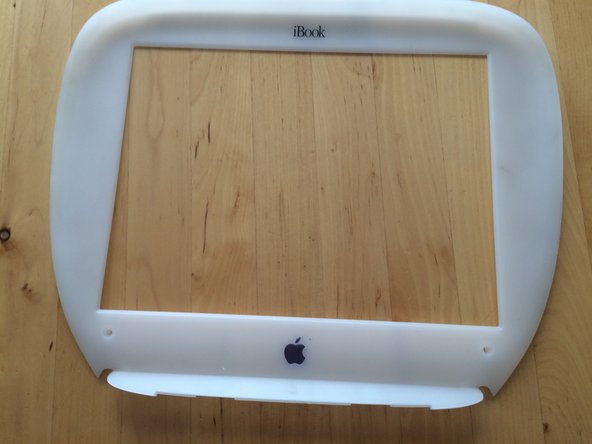
Replacing the bezel covering the Lcd

Was du brauchst

Werkzeuge

  1. iBook G3 Clamshell LCD Bezel Replacement, Battery Cover: Schritt 1, Bild 1 von 1
    • Use a coin to unscrew the battery cover, and remove battery.

  2. iBook G3 Clamshell LCD Bezel Replacement, Back Cover: Schritt 2, Bild 1 von 2 iBook G3 Clamshell LCD Bezel Replacement, Back Cover: Schritt 2, Bild 2 von 2
    • Use a t8 Torx driver to unscrew the two screws holding in the back cover, then remove the cover.

  3. iBook G3 Clamshell LCD Bezel Replacement: Schritt 3, Bild 1 von 1
    • Open the screen, and remove the two t8 Torx screws holding the bezel in place.

  4. iBook G3 Clamshell LCD Bezel Replacement: Schritt 4, Bild 1 von 2 iBook G3 Clamshell LCD Bezel Replacement: Schritt 4, Bild 2 von 2
    • Use a flat tip screw driver to unsnap the bezel from its place.

    • When at the top rubberized area, pry the bezel down.

Abschluss

To reassemble your device, follow these instructions in reverse order.

Eine weitere Person hat diese Anleitung absolviert.

aidan

Mitglied seit: 02/26/16

101 Reputation

1 Anleitung geschrieben

0 Kommentare

Kommentar hinzufügen

Seitenaufrufe:

Letzte 24 Stunden: 2

Letzte 7 Tage: 6

Letzte 30 Tage: 32

Insgesamt: 3,668