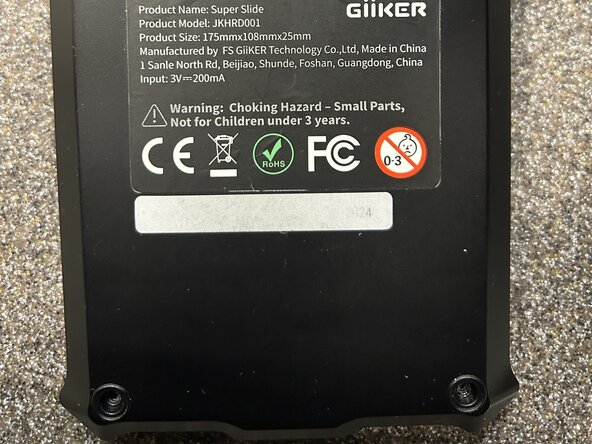
Zum Hauptinhalt wechseln

The Giiker Super Slide is a game console based on the game klotski. Opening it up is fairly easy, if you manage to get the adhesive sticker off first try. If you fail, this quickly becomes a time consuming endeavor. There are no available spare parts for the console and all modules are soldered to the main board. That being said, it only uses one screw type and one can easily replace the two AA batteries.

Was du brauchst

Werkzeuge

Mehr anzeigen …

Dieser Teardown ist keine Reparaturanleitung. Um dein Giiker Super Slide zu reparieren, verwende unsere Fehlerbehebungsseite.

  1. Giiker Super Slide Teardown, Giiker Super Slide Teardown: Schritt 1, Bild 1 von 3 Giiker Super Slide Teardown, Giiker Super Slide Teardown: Schritt 1, Bild 2 von 3 Giiker Super Slide Teardown, Giiker Super Slide Teardown: Schritt 1, Bild 3 von 3
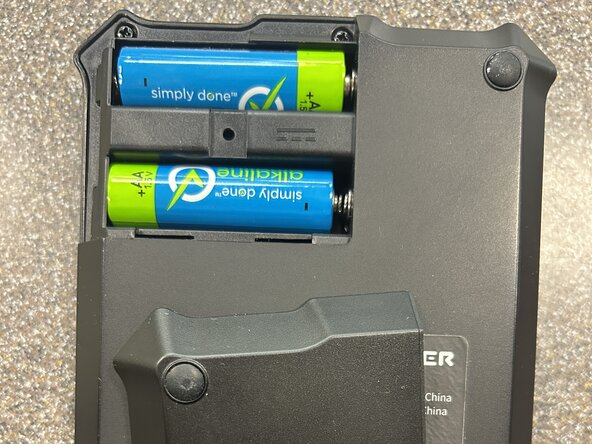
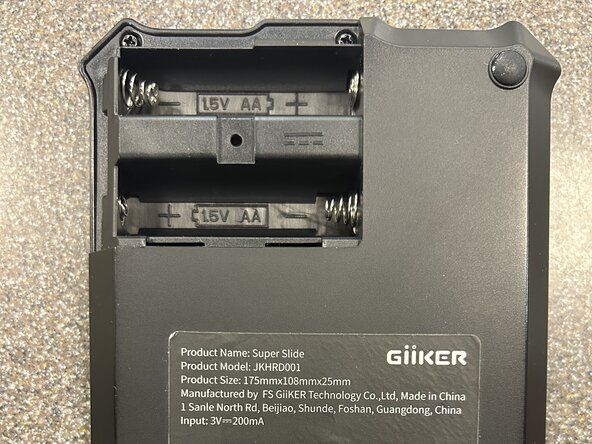
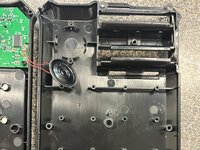
    • Start by opening up the battery compartment and removing the two AAA batteries

  2. Giiker Super Slide Teardown: Schritt 2, Bild 1 von 2 Giiker Super Slide Teardown: Schritt 2, Bild 2 von 2
    • Remove the two Phillips P1 screws

  3. Giiker Super Slide Teardown: Schritt 3, Bild 1 von 2 Giiker Super Slide Teardown: Schritt 3, Bild 2 von 2
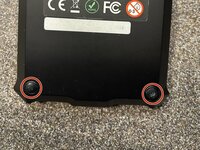
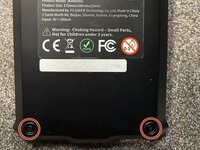
    • Remove the two bottom feet by inserting your jimmy in the edge and prying up or prying with a fingernail

    • Be careful not to scratch the adhesive under the feet unless you have adhesive to cut to shape

  4. Giiker Super Slide Teardown: Schritt 4, Bild 1 von 2 Giiker Super Slide Teardown: Schritt 4, Bild 2 von 2
    • Remove the next two Phillips P1 screws

  5. Giiker Super Slide Teardown: Schritt 5, Bild 1 von 2 Giiker Super Slide Teardown: Schritt 5, Bild 2 von 2
    • Remove the adhesive sticker (large) carefully from the back

    • The sticker uses very strong adhesive. If you fail to get this off in one try, you will need isopropyl alchohol and an ifixit opening tool to scrape off the parts of the sticker penetrated by the alchohol

  6. Giiker Super Slide Teardown: Schritt 6, Bild 1 von 1
    • Remove the last Phillips P1 screw holding down the back case

  7. Giiker Super Slide Teardown: Schritt 7, Bild 1 von 1
    • Carefully lift up the back of the console

    • Beware the two small wires connected to the back for the speakers

    • Note that the inside magnets are not secured down, be very careful to not move the piece bay when removing the back unless you want to spend a lot of time putting them back in

    • The top left corner of the back has some very light clips. Carefully twist side to side to get this open

  8. Giiker Super Slide Teardown: Schritt 8, Bild 1 von 1
    • Remove all the magnets if desired

    • To get the proper orientation of the magnets when reinserting, take a play piece and put the magnets on the piece back so they orient themselves. Using this orientation, insert them into the chassis and test with the back on that all are oriented correctly by putting the piece in play area. If they are not oriented right, the piece will not align

  9. Giiker Super Slide Teardown: Schritt 9, Bild 1 von 2 Giiker Super Slide Teardown: Schritt 9, Bild 2 von 2
    • Remove the two Phillips P1 screws holding down the speaker

  10. Giiker Super Slide Teardown: Schritt 10, Bild 1 von 2 Giiker Super Slide Teardown: Schritt 10, Bild 2 von 2
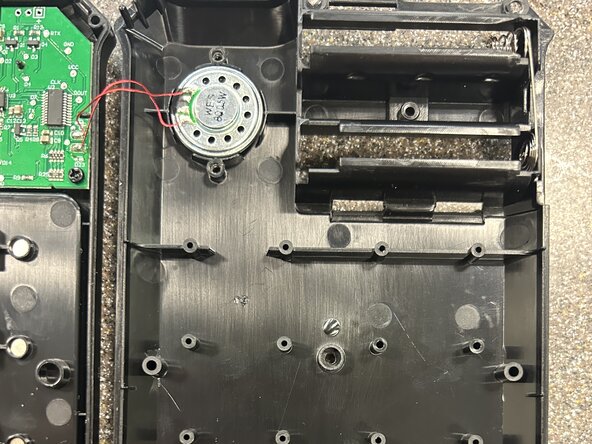
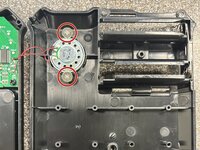
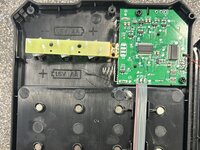
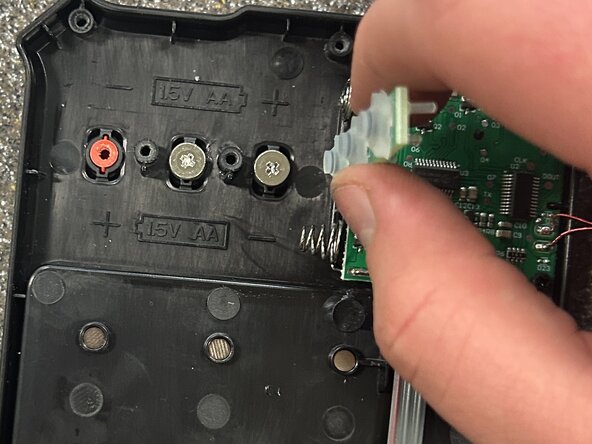
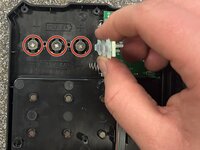
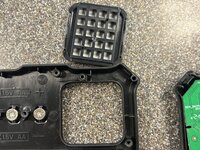
    • Carefully pull up the speaker out of its holder using one of the four notches to get a finger under and push or carefully prying with a spudger

  11. Giiker Super Slide Teardown: Schritt 11, Bild 1 von 3 Giiker Super Slide Teardown: Schritt 11, Bild 2 von 3 Giiker Super Slide Teardown: Schritt 11, Bild 3 von 3
    • Lift up the main piece hall effect sensor

    • This does not adhere down well once removed, it is recommended to have some two sided tape to put under the sensor for reassembly

  12. Giiker Super Slide Teardown: Schritt 12, Bild 1 von 3 Giiker Super Slide Teardown: Schritt 12, Bild 2 von 3 Giiker Super Slide Teardown: Schritt 12, Bild 3 von 3
    • Remove the two Phillips P1 screws holding down the action buttons

  13. Giiker Super Slide Teardown: Schritt 13, Bild 1 von 2 Giiker Super Slide Teardown: Schritt 13, Bild 2 von 2
    • Remove the Phillips P1 screws holding in the action buttons

  14. Giiker Super Slide Teardown: Schritt 14, Bild 1 von 3 Giiker Super Slide Teardown: Schritt 14, Bild 2 von 3 Giiker Super Slide Teardown: Schritt 14, Bild 3 von 3
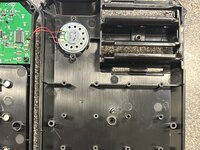
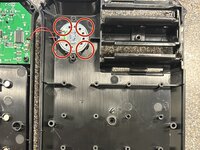
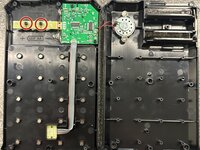
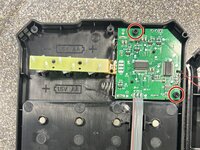
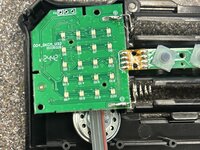
    • Remove the final two Phillips P1 screws holding down the main board

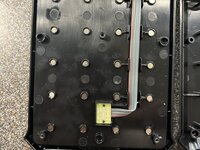
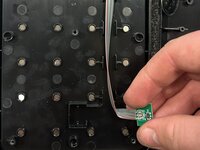
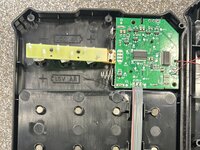
    • Pull up the main board carefully and set to the side

  15. Giiker Super Slide Teardown: Schritt 15, Bild 1 von 2 Giiker Super Slide Teardown: Schritt 15, Bild 2 von 2
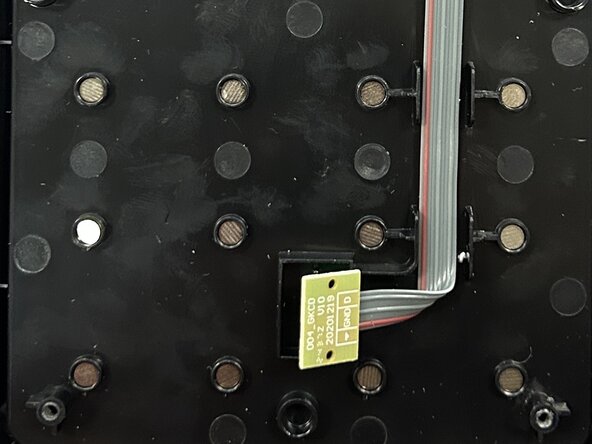
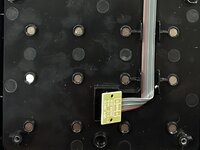
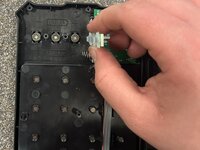
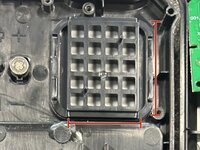
    • Pushing the screen in (from the viewing side) it can easily be removed. Pay note to the orientation in the image

Josh Yacktman

Mitglied seit: 01/11/25

970 Reputation

2 Anleitungen geschrieben

0 Kommentare

Kommentar hinzufügen

Seitenaufrufe:

Letzte 24 Stunden: 3

Letzte 7 Tage: 29

Letzte 30 Tage: 113

Insgesamt: 113