Zum Hauptinhalt wechseln

Removing iPad 3 4G Front Panel

Hinweis: Du bearbeitest eine grundständige Anleitung. Alle Änderungen, die du vornimmst, betreffen alle 153 Anleitungen, die diese beinhalten.

Englisch
Niederländisch
Schritt 9
Removing iPad 3 4G Front Panel: Schritt 0, Bild 1 von 3 Removing iPad 3 4G Front Panel: Schritt 0, Bild 2 von 3 Removing iPad 3 4G Front Panel: Schritt 0, Bild 3 von 3
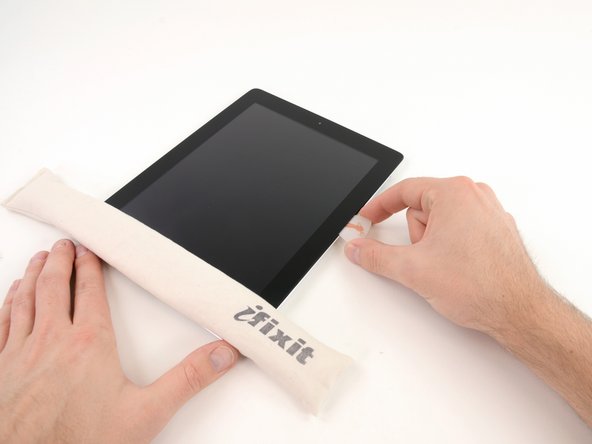
  • It may be necessary to move the heated iOpener back onto the right edge of the iPad as you release the adhesive. This depends on how long the iPad has been able to cool while you were working on it.

  • If the opening pick gets stuck in the adhesive, "roll" the pick along the side of the iPad, continuing to release the adhesive.

Hier Übersetzung einfügen

Hier Übersetzung einfügen

Deine Beiträge sind lizenziert unter der Open-Source Creative Commons Lizenz.