Hinweis: Du bearbeitest eine grundständige Anleitung. Alle Änderungen, die du vornimmst, betreffen alle 2 Anleitungen, die diese beinhalten.
Schritt 4 übersetzen
Schritt 4

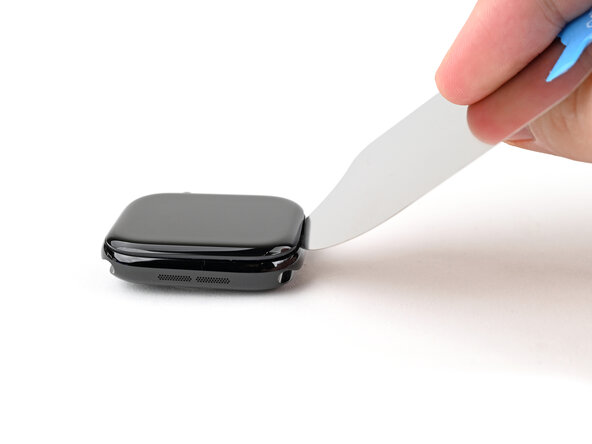


Create a gap
-
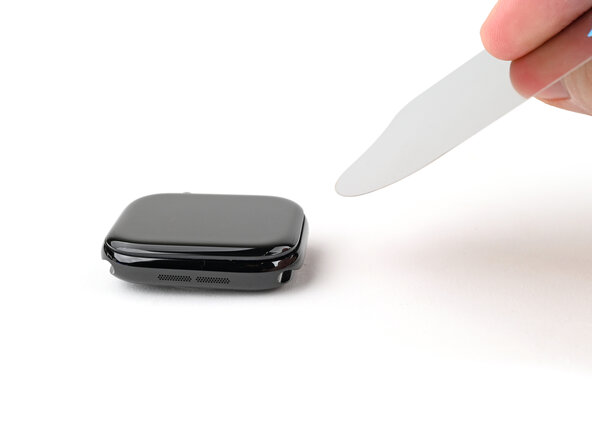
Insert the iFlex at a downward angle between the bottom edge of the screen and frame.
| [title] Create a gap | |
| - | [* icon_caution] Be aware that a sharp tool easily scratches your watch housing when not handled with care. To avoid undesired scratches, take your time and work carefully rather than hastily. |
| - | [* black] Place the edge of a curved blade into the thin gap between the display and the outer case. Start at the short side of the display, most distant to the digital crown. |
| - | [* black] Once inserted, tilt the blade to pry the display open slightly and create a gap between the screen and the watch body. |
| - | [* icon_caution] The Apple Watch Series 7 display is equipped with a plastic bezel on its rear side. If you want to reuse your display, avoid using too much pressure with the knife or you may separate the bezel from the screen. |
| + | [* icon_caution] Don't grip the iFlex or similar metal tools by the edges—they're very sharp. Consider wearing [product|IF145-481|gloves|new_window=true] to protect your hands. |
| + | [* black] Insert the iFlex at a downward angle between the bottom edge of the screen and frame. |
| + | [* icon_caution] The Apple Watch Series 7 display is equipped with a plastic bezel on its rear side. If you want to reuse your display, avoid using too much pressure with the iFlex or you may separate the bezel from the screen. |
Deine Beiträge sind lizenziert unter der Open-Source Creative Commons Lizenz.