
Asus ROG FX60VM Hard Drive Replacement

Einleitung
Zu Schritt 1 der AnleitungThis guide will show you how to replace the hard drive from your Asus ROG FX60VM laptop.
The hard drive is a component that stores and retrieves data in your computer. If your hard drive is running low on storage or failing (making irregular noises or constantly crashing), it may be time to replace your hard drive.
However, before you start, make sure you've made a copy of your data so you don’t lose it while you’re doing the replacement. Also be sure to power off your device and unplug from the power outlet before you begin the repair.
Was du brauchst
Komplettpaket für die Reparatur
Diese Kits enthalten alle Ersatzteile und Werkzeuge, die für diese Anleitung benötigt werden.


Ersatzteile


Werkzeuge


Mehr anzeigen …
-
-
Before disassembling the laptop, turn the laptop off and make sure it's unplugged from the power supply.
-
-
-
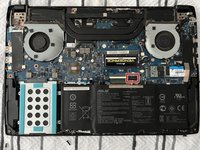
Flip the laptop over so the back case is facing up.
-
Remove the ten 2.5 mm screws from the back case using a Phillips #0 screwdriver.
-
Use a plastic opening tool and picks to pry the back panel off of the device.
-
-
-
In diesem Schritt verwendetes Werkzeug:Halberd Spudger$2.99
-
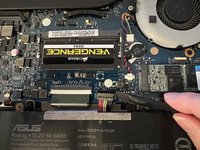
Put the tip of Halberd spudger under the battery connector and lift it gently to disconnect it from the motherboard.
-
-
-
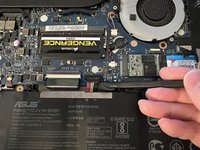
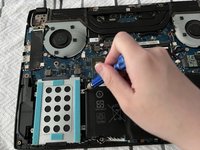
Remove the four 3.0 mm screws from the HDD case using a Phillips #1 screwdriver.
-
-
-
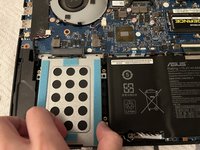
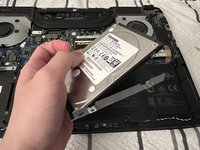
Hold the back of the HDD , and slide it out of the port to disconnect it from the motherboard.
-
-
-
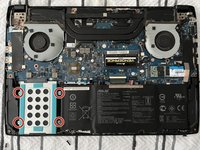
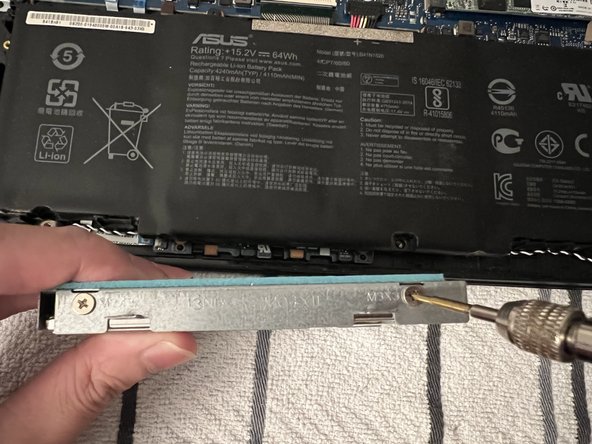
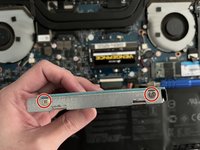
Remove the two 3.0 mm screws on each side of the HDD mounting bracket using a Phillips #1 screwdriver.
-
Lift the HDD out of the mounting bracket, and install a new HDD or SSD to the mounting bracket.
-


To reassemble your device, follow these instructions in reverse order.
After install a new HDD or SSD, for better performace, initialize the new disk.
Take your e-waste to an R2 or e-Stewards certified recycler.
To reassemble your device, follow these instructions in reverse order.
After install a new HDD or SSD, for better performace, initialize the new disk.
Take your e-waste to an R2 or e-Stewards certified recycler.
Rückgängig: Ich habe diese Anleitung nicht absolviert.
Eine weitere Person hat diese Anleitung absolviert.

Team

York University, Team M-13, Allen Summer 2022 Mitglied von York University, Team M-13, Allen Summer 2022
YORK-ALLEN-SU22SMG13
1 Mitglied
1 Anleitung geschrieben
Ein Kommentar
Thank you so much JingZhao Liang for the concise and to the point guide. It's easy to follow and I am very impressed that you mentioned how to dispose the e-waste properly in conclusion part.