
Asus ROG Zephyrus G14 RAM Replacement

Einleitung
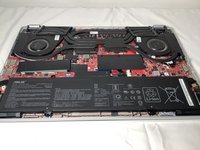
Zu Schritt 1 der AnleitungThe Zephyrus G14 has two RAM slots. The first slot of Ram is soldered to the board. The second slot of Ram is accessible by taking off the backplate of the laptop. It is necessary to have these two slots of Ram filled can take advantage of Dual-Channel Memory. Dual-Channel Memory allows the Ram to function at its full potential in gaming and productivity applications. To take advantage of Dual-Channel Memory, ensure that the replacement stick is the same size and speed as the soldered stick.
Was du brauchst

-
-
Remove the screws on the back. Unscrew them with a Phillips #0 screwdriver.
-
Remove the three (2x4.5mm) screws from the front of the laptop.
-
Remove the ten (2x9mm) screws from the middle and back of the laptop.
-
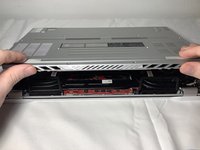
Unscrew the (2x6mm) captive screw in the bottom right without removing it.
-
-
-
-
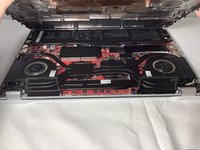
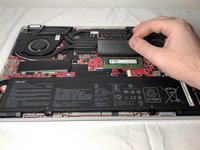
Rotate the laptop around so the battery is facing towards you.
-
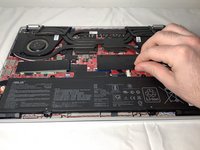
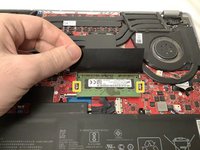
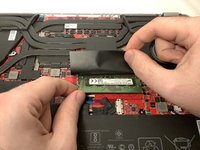
Pull back on the black plastic that covers the RAM slot.
-
-
-
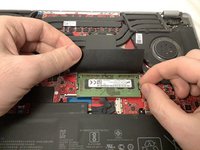
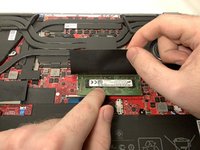
If there is a RAM stick currently in the laptop, pull the tabs on the left and right to allow the RAM to pop up.
-
-
-
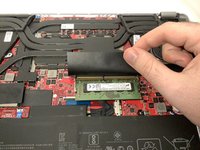
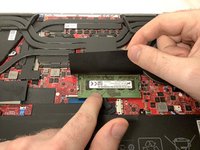
Once the RAM clicks into place, check to make sure that the RAM is locked in place.
-


To reassemble your device, follow these instructions in reverse order.
To reassemble your device, follow these instructions in reverse order.
Rückgängig: Ich habe diese Anleitung nicht absolviert.
6 weitere Personen haben diese Anleitung absolviert.

Team

Embry-Riddle Aeronautical University, Team S7-G7, Rauch Spring 2021 Mitglied von Embry-Riddle Aeronautical University, Team S7-G7, Rauch Spring 2021
ERAU-RAUCH-S21S7G7
1 Mitglied
3 Anleitungen geschrieben
Ein Kommentar
Something that might be helpful for this guide is including the RAM specifications needed for an upgrade if people are looking for information on what to buy.
Otherwise, great guide!