
Atari 5200 Game Cartridge Disassembly

Einleitung
Zu Schritt 1 der AnleitungThese cartridges often will freeze due to a poor connection to the mainboard. Opening it and removing excess dust will improve the connection, reducing the amount of freezing.
Was du brauchst
Werkzeuge


Mehr anzeigen …
-
-
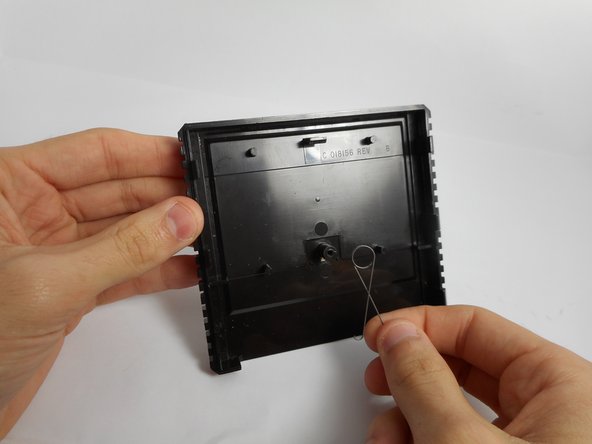
Flip the cartridge over.
-
Unscrew the single screw on the back.
-
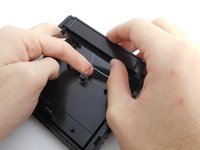
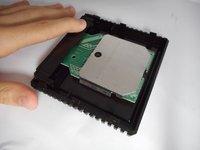
Carefully pry apart the casing. There are six (6) tabs that need to be released, three (3) each side. If you're not careful they will break. (experience has taught me)
-
Set aside any case parts after dissassembly.
-
-
-
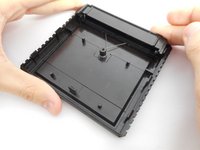
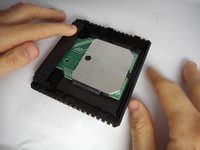
Unscrew the board casing, and remove it.
-
Use a compressed air can to blow off any excess dust off the board.
-
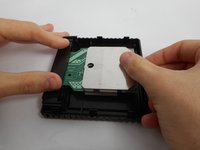
Use an alcohol-dabbed cloth to wipe down the gold-plated contacts of the board.
-
-
-
-
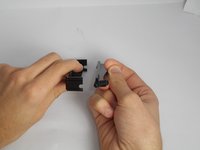
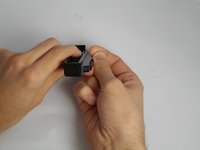
Place the two contact protectors together.
-
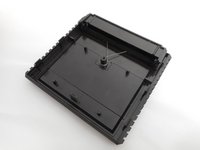
Place the spring on the knob in the cartridge.
-
-
-
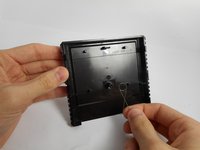
Thread the spring into the connected plates.
-
Push the plates into the cartridge against the pressure of the spring.
-


Be sure to test the game, and if freezing still occurs, check the contacts once again.
Be sure to test the game, and if freezing still occurs, check the contacts once again.
Rückgängig: Ich habe diese Anleitung nicht absolviert.
3 weitere Personen haben diese Anleitung absolviert.

Team

USF Tampa, Team 13-1, Staggers Fall 2014 Mitglied von USF Tampa, Team 13-1, Staggers Fall 2014
USFT-STAGGERS-F14S13G1
5 Mitglieder
17 Anleitungen geschrieben
2 Kommentare
I’m curious to see the Atari 2600 cartridge inside but I can’t get my hands on one.
it's not a 2600 cart. the systems have similarities, but they are not pin compatible, nor are they software compatible. the 5200 is its own thing.