Auseinanderbauen der Microsoft Surface Tastatur (WS2-00025)
Einleitung
Zu Schritt 1 der AnleitungDie Surface Tastatur ist einer von Microsofts Versuchen, laptopähnliche Tastaturen für Desktops einzuführen. Erstmals mit dem Surface Studio veröffentlicht, wurde diese Tastatur von verschiedensten Technik-Reviewern sowohl geliebt als auch gehasst. Diese Anleitung zum Auseinanderbauen der Tastatur wird Einblicke in deren Konstruktion und in Microsofts Designentscheidungen liefern.
-
-
Die Box zeigt eine maßstabsgetreue Abbildung des Produktes. Sie ist ziemlich genau.
-
Es ist eine Box - nein, es ist eine Tastatur - nein, es ist eine Box...
-
-
-
Warum der Auseinanderbau? Ich habe die Tastatur gebraucht auf Ebay erworben und wie sich jetzt herausstellt, hat sie eine kaputte Taste.
-
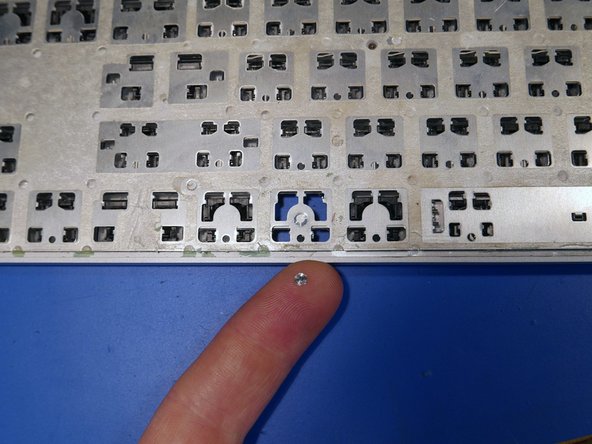
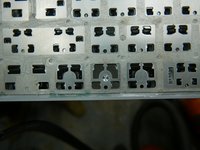
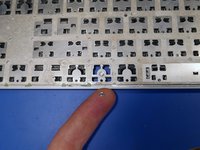
Die Halter der Tasten, die die Taste mit der Tastatur verbinden, wurden abgerissen, was eine Reparatur meiner geliebten Windows-Taste unmöglich macht.
-
-
-
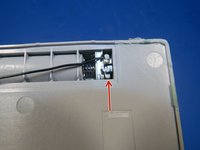
Versteckt unter der linken Seite der Tastatur ist der Bluetooth-Synchronisationsknopf.
-
-
-
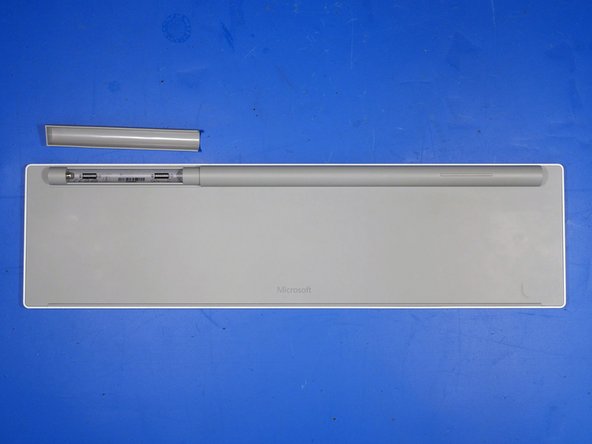
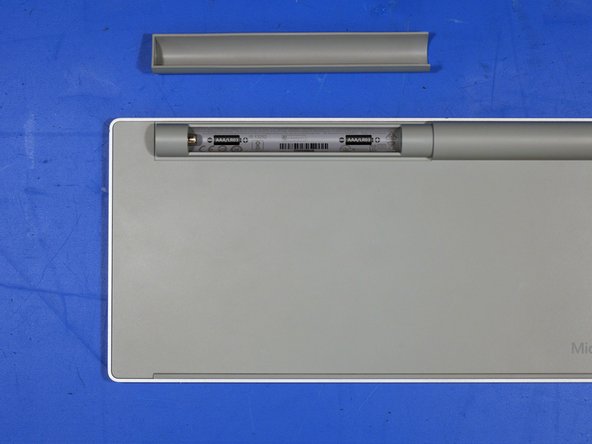
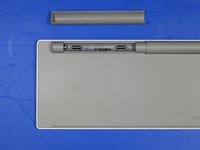
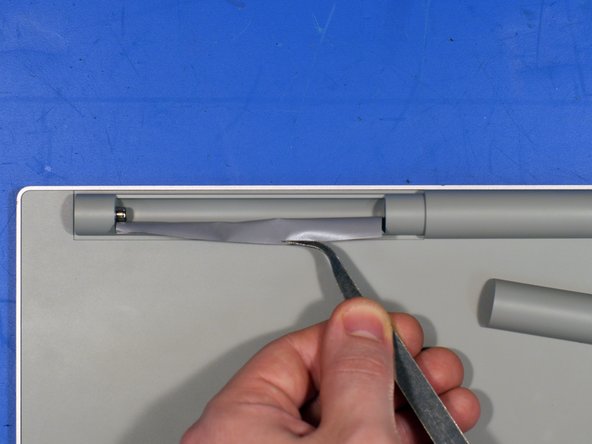
Auf der Rückseite der Tastatur befindet sich ein schraubenloses Batteriefach.
-
Der Deckel des Batteriefaches wird durch Neodym-Magnete und eine metallisierte Kunststoffbeschichtung auf dem Deckel in Position gehalten.
-
-
-
Bevor ich das Produkt auseinanderbaue, nehme ich mir gerne die Zeit, um den äußeren und den generellen Aufbau zu analysieren. Auf diese Weise kann ich mir besser vorstellen, wie das Produkt zusammengebaut und in Massen produziert wurde.
-
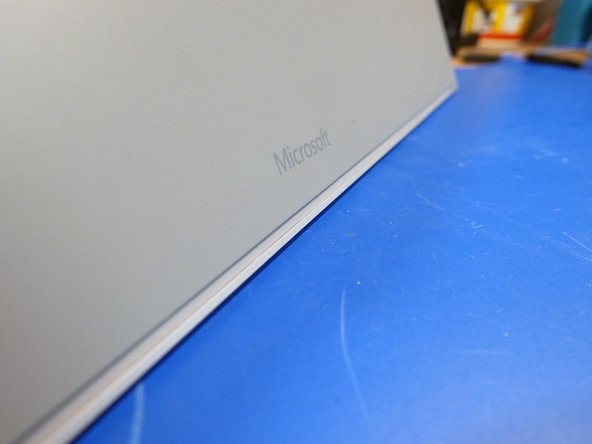
Der beste Weg dafür ist nach Nähten oder nicht perfekten Stellen in der Konstruktion Ausschau zu halten.
-
Biegt oder krümmt sich das Teil, wenn etwas Druck ausgeübt wird? Gibt es irgendwelche größeren Spalte? Gibt es irgendwelche auffälligen Sticker, die Verbindungselemente verdecken?
-
So habe ich mir vorgestellt, wie die Tastatur gebaut wird. Ich hatte das Gefühl, dass das ein gigantisch zusammengeklebtes und -gestecktes Gerät ist.
-
-
-
Nach der Inspektion der Nähte habe ich unter den Stickern und den Gummifüßen nachgeschaut. Immer noch keine Schrauben.
-
-
-
Es währe sehr hinterhältig, Schrauben unter die Tasten zu machen. Glücklicherweise ist dies aber hier nicht der Fall.
-
Um die Taste zu entfernen, schiebe einen Plastikspatel an der obersten Kante unter die Taste. Gebe etwas Druck auf den Spatel, um die Taste anzuheben. Die Taste sollte ein Klack-Geräusch machen und sich von den Metallclips lösen, die die Taste mit dem Rahmen der Tastatur verbinden.
Yes. The keys reattach like most laptop keys. Align the key up as best as possible and then put a little downwards force, from bottom to top of the key. The key than latches into place and you will hear a “clicking sound.”
-
-
-
-
Das schlimmste befürchtend, habe ich einen Steifen Wachspapier abgeschnitten und den untersten Gummifuß vollständig entfernt.
-
Immer noch keine Schrauben in Sicht.
-
-
-
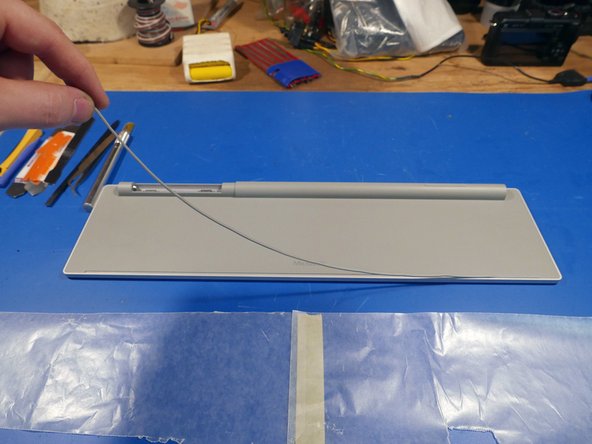
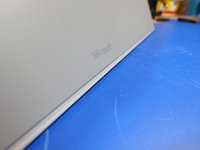
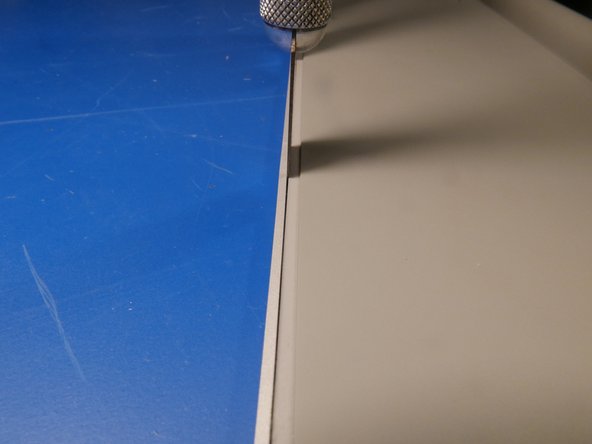
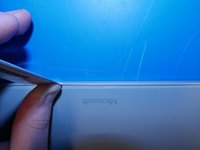
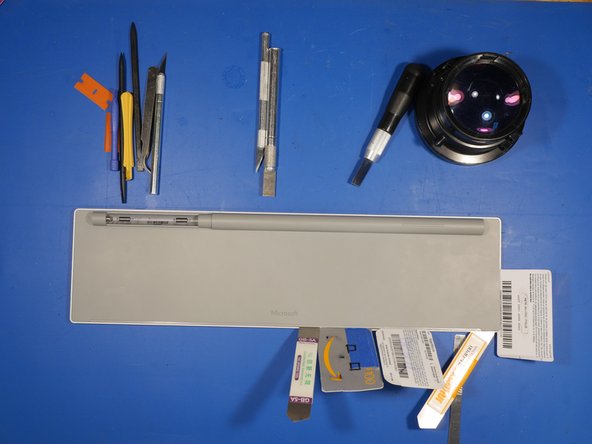
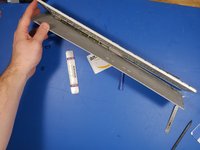
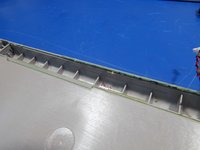
Die Passform und die Verarbeitung der Tastatur ist sehr gut - in der Tat zu gut. Es gibt praktisch gesehen keinen Platz an irgendeiner Naht, um ein Hebelwerkzeug anzusetzen.
-
-
In diesem Schritt verwendetes Werkzeug:iOpener$17.99
-
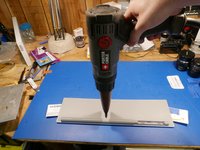
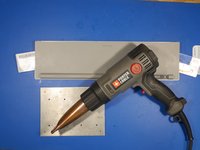
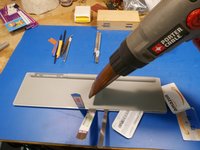
Bei dieser Masse an Kleber und doppelseitigem Klebeband ist es sinnvoll, einen iOpener oder eine Heißluftpistole zu verwenden, bevor man die Tastatur aufhebelt.
-
Ich habe die Heißluftpistole etwas später im Öffnungsprozess verwendet, da ich Angst davor hatte, die Rückplatte aus Plastik zu schmelzen oder zu verformen. Glücklicherweise reichte die niedrigste Stufe der Heißluftpistole aus, um den Kleber aufzuweichen.
-
-
In diesem Schritt verwendetes Werkzeug:Plastic Cards$2.99
-
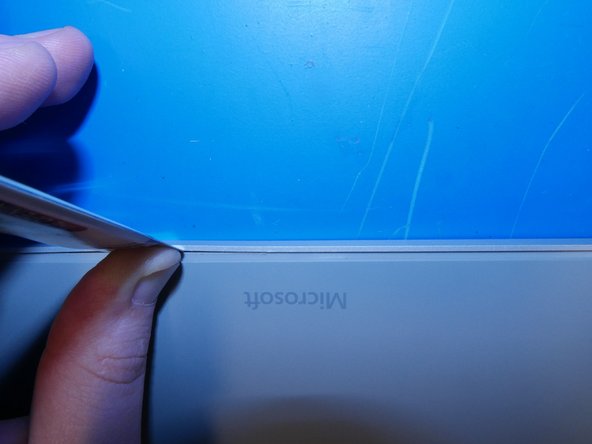
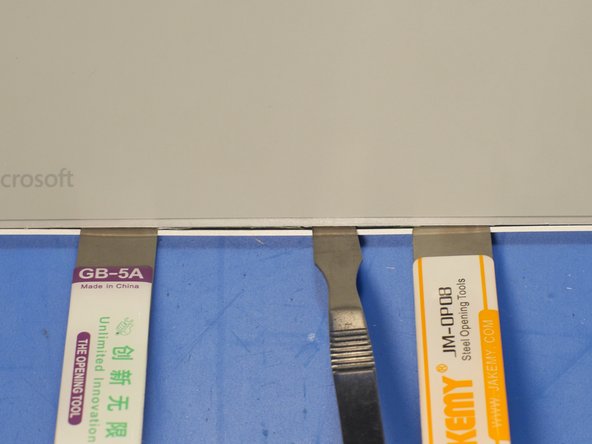
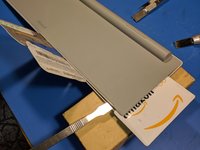
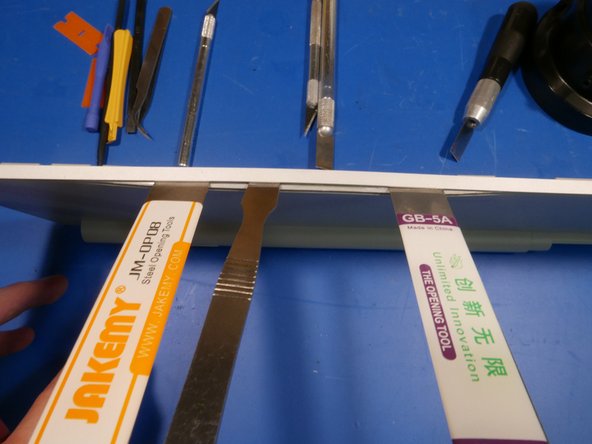
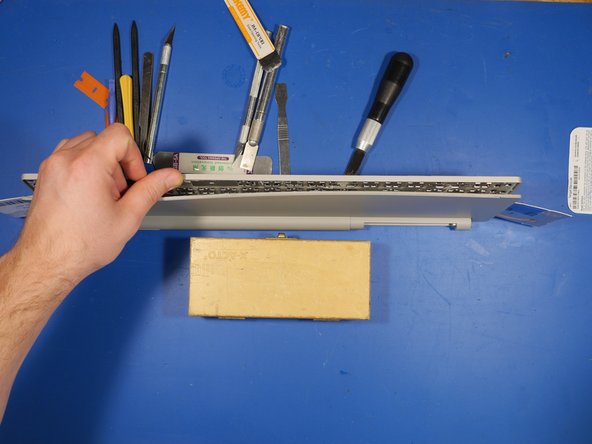
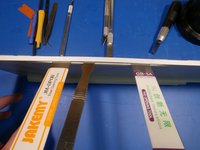
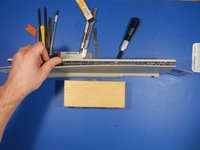
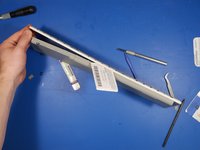
Nun zum Hebeln. Hole dein ganzes Arsenal an Hebelwerkzeugen! Ich habe Plastikspatel, Metallspatel, Plastikkarten und ein Skalpell verwendet, um das Teil zu öffnen.
-
Die Spalte zwischen dem Aluminiumgehäuse und der Rückplatte aus Plastik war so eng! Ich habe ein Skalpell und ein paar quadratischen Klingen Nr.18 verwendet, um die Spalte weit genug für den Metallspatel zu öffnen.
-
-
-
Das Hebeln war erst dann erfolgreich, nachdem ich Heißluft eingesetzt hatte.
-
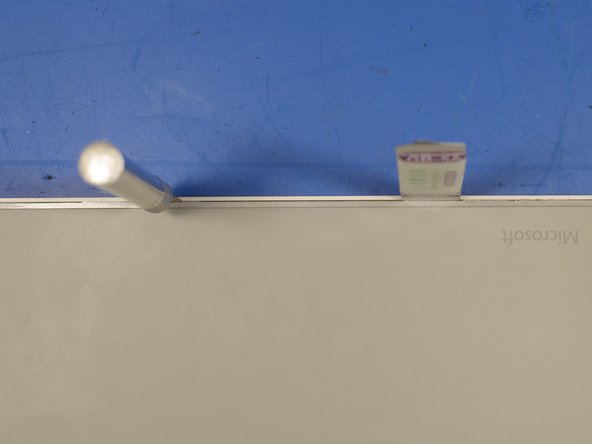
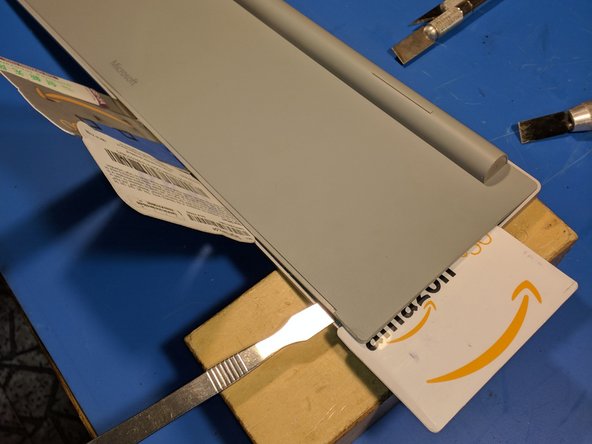
Ich drücke es so aus: Zwei Hebelwerkzeuge aus Metall haben einfach nicht ausgereicht! Glücklicherweise hatte ich ein paar Geschenkgutscheine rumliegen :D
-
-
-
Mit ein paar weiteren Runden Heißluft und Hebeln ging es endlich voran.
How long did you need to leave the heat on one spot? I'm trying to open the Surface ergonomic keyboard and the glue still seems rock hard
Hi John. While I used a heatgun to open up this keyboard in this teardown, it’s very easy to deform the plastic permanently if you use too much heat. I had a lot better success in later teardowns with using a 115v medical blanket heater. You can find them at your local drug store like riteaid and walgreens. The heaters are designed to wrap around a body part, like an arm. In this case, you literally just wrap the keyboard and it softens up the glue. After an hour or so, take the keyboard out of the blanket heater and torque it a bit either way. You should hear popping sounds, the sounds of the edges yielding. At this point, take a plastic spudger, insert it near the edge and pry a bit. The keyboard should give in and you should be able to disassemble the keyboard in a very clean manner. I did this with the microsoft modern keyboard and it worked great. It even fit right back together. I will be making a guide soon on the process.
-
-
-
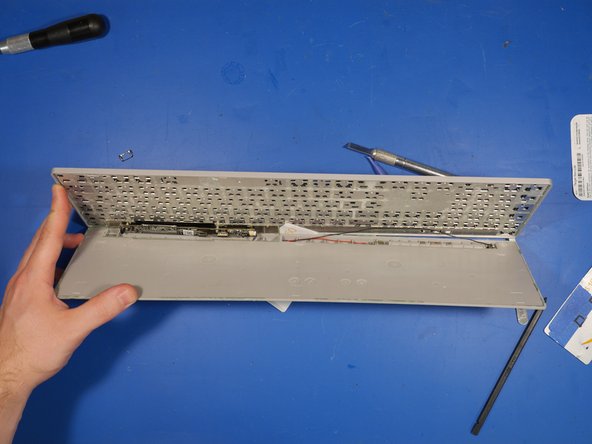
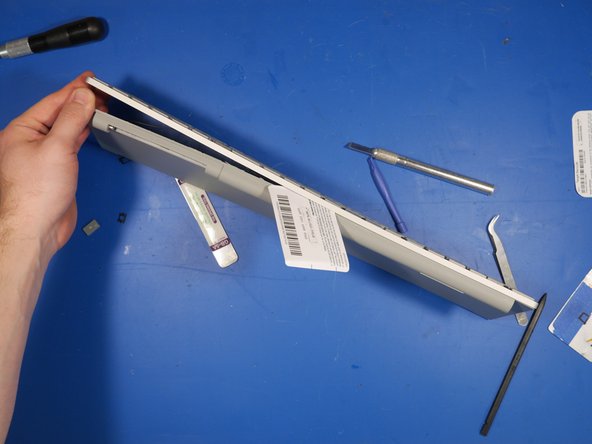
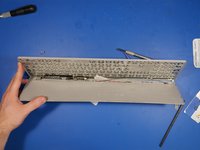
Mit etwas Überzeugungskraft begangen sich die beiden Haupthälften zu trennen.
-
Die Geschenkgutscheine waren wirklich nützlich. Sie ermöglichen etwas Hebelkraft, ohne dabei die zusammengedrückten Teile zu beschädigen. Hätte ich einen Metallspatel hierfür verwendet, hätte ich Schäden an den Flachbandkabeln im Inneren der Tastatur riskiert, also hebt eure Geschenkgutschein auf!
-
-
-
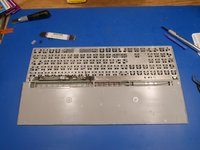
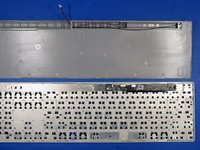
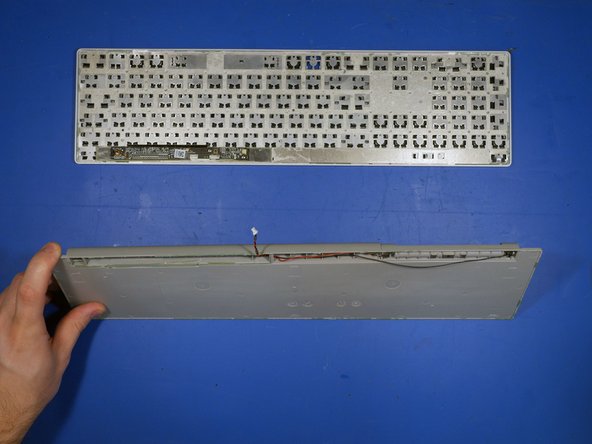
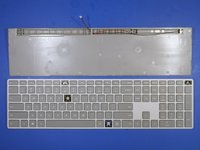
Endlich auseinander!
-
Sobald die Tastatur auseinander ist, erkennt man, dass Microsoft doppelseitiges Klebeband um jede Taste herum und viel Kleber an den äußeren Kanten der Tastatur verwendet hat.
-
-
-
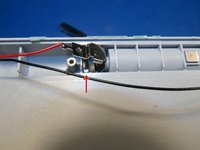
Nahaufnahme des Batteriefaches.
-
Neodym-Magnete an beiden Anschlüssen und an der Oberseite des Batteriefaches!
-
Der obere Magnet hält tatsächlich die AAA-Batterien an der Oberseite des Plastikabteils. Der einzige Weg, wie man die Batterien leicht aus ihrem Fach bekommt, besteht darin, dass man etwas härter auf die Oberseite der Tastatur klopft.
-
-
-
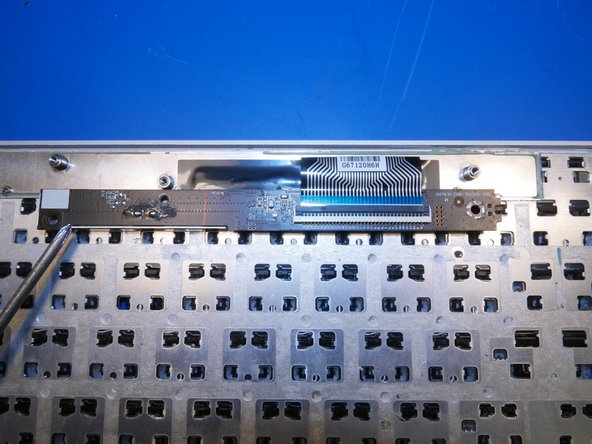
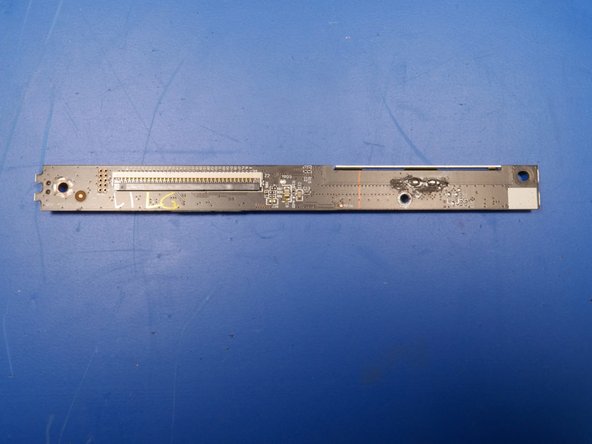
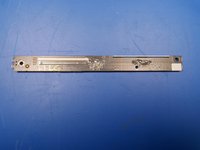
Das Mainboard ist eher klein und misst 12mm x 170mm.
-
Die Rückseite der Platine ist karg, es gibt nur einen Anschluss für ein Flachbandkabel und ein paar Lötstellen.
-
Die flexible Platine für die Gummitasten endet in einem mehrdrahtigen Flachbandkabel, das an der Hauptplatine angeschlossen ist.
-
-
-
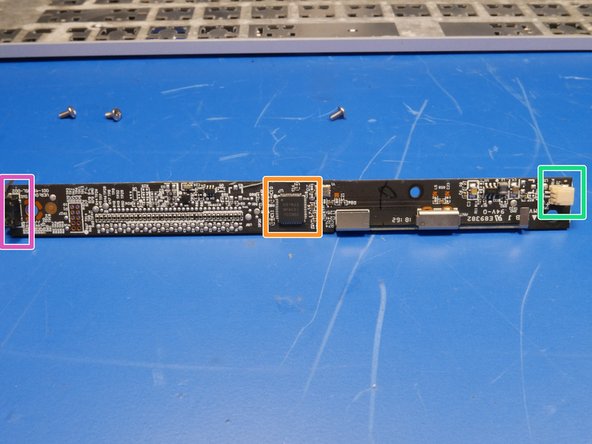
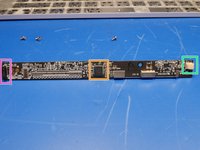
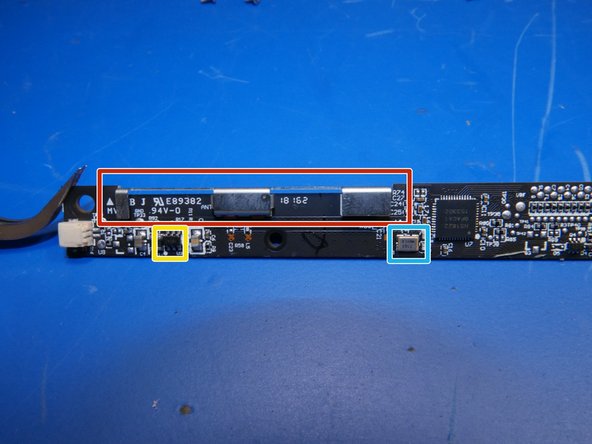
Die Oberseite der Leiterplatte ist dichter bestückt, als die Rückseite. Es gibt einen Hauptchip, einige passive Komponente, einen Batterieanschluss, einen Bluetooth-Schalter und eine Bluetooth-Antenne.
-
Nordic Halbleiter nRF51822
-
2-poliger JST-Batterieanschluss
-
Knopf für die Bluetooth-Kopplung
-
-
-
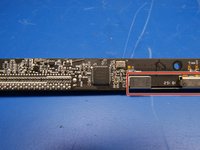
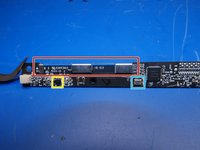
Ein genauerer Blick auf die Bluetooth Antenne. Auch wenn das eher nach einer Halterung und nicht wie eine Antenne aussieht, ist die Größe für 2,4-GHz-Bandbreite angemessen.
-
Echtzeituhr
-
Microchip Microchip VUA Power IC / Spannungsregler
-
-
-
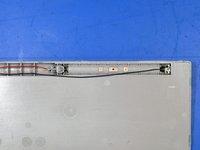
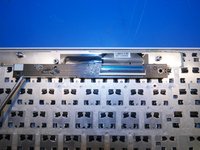
Interessant ist, dass Microsoft im unteren Fach der Tastatur absichtlich einen geriffelten Raum freigelassen hat.
-
Kennt irgendjemand die Moderne Microsoft Tastatur?
-
-
-
Fahren wir mit der Analyse der Oberfläche der Tastatur fort, wo es etwas Besonderes gibt, was Microsoft seinen Kunden vorenthalten hat – und zwar ganz offensichtlich.
-
-
-
*Beginnende lyrische Adaptionen*
-
Warum sollte tippen hart sein?
-
Warum bist du keine Macht der Wahl?
-
Warum liebt die ganze Welt meine Stimme?
-
Warum versuche ich ihnen zu erzählen, dass das mein Tippen ist, Sohn.
-
Und weißt du warum sie das neue Surface gemacht haben?
-
'Weil keine Hintergrundbeleuchtung in den alten ist - das ist der Grund!'
-
-
-
Eine der größten Kritikpunkte an der Surface Tastatur ist, dass sie keine Hintergrundbeleuchtung hat.
-
Es ist ziemlich traurig, dass Microsoft sich dafür entschieden hat, eine Tastatur mit einigen beabsichtigten Designfehlern zu entwerfen, anstatt einfach nur die bestmöglichste schmale Tastatur zu produzieren.
-
Eine schnelle Designänderung wie das Hinzufügen eines Lochs unter jeder Taste, einer optischen Streuschicht und ein paar LEDs hätte eine simple und funktionale Hintergrundbeleuchtung ergänzt.
-
Für weitere Nachforschungen zu dieser Tastatur, schaue dir mein Surface Tastatur Hacking Projekt an.
-
Rückgängig: Ich habe diese Anleitung nicht absolviert.
11 weitere Personen haben diese Anleitung absolviert.
Besonderer Dank geht an diese Übersetzer:innen:
100%
Cafugo hilft uns, die Welt in Ordnung zu bringen! Wie kann ich mithelfen?
Hier starten ›
17 Kommentare
Man, how rude to use glue for a keyboard! I wanted to open my Surface Ergonomic keyboard in hopes it had JTAG or other diagnostic port that would enable me to twiddle with its brain, since macOS does not believe it is a keyboard but rather just a generic bluetooth HID :(
Thank you for sacrificing your keyboard to spare me the pain of discovering the hard way that my keyboard is glued together
No problem! I’m glad you enjoyed the teardown. I sure wish they used screws instead of adhesive. It would make retrofitting a backlight far easier.
If I discover anything interesting from probing that 10 pin unpopulated header I’ll be sure to provide an update.
hey Anthony, i have the same problem with one of the keys (the big “0” on the numerical part). Did you find a solution for fixing the “key tabs that hold the key” that sheared of of mine as well?
Hi Bas! Unfortunately, I did not attempt to repair the broken aluminum key tabs that hold the key in place. However, I can point you in the right direction if you want to get creative and try a DIY fix. Carefully pop another key off your keyboard with something wood or plastic (like a plastic spudger) and analyze the metal locking tab design Microsoft implemented. Find another piece of aluminum of the same thickness and carefully cut out that tab shape. Try adhering your designed tab to the location where the broken aluminum key tab is situated. Epoxy or titanium putty should bond aluminum to aluminum. I would use a toothpick or sewing pin as an adhesive applicator. I think you will have success if you take your time and be patient. Good luck!
Thanks Anthony… i will do my best. I was thinking along that way as well, but also about replacing the key with a fully or partially silicon alternative (using a printed 3D mold). I dont mind seeing the repair. I really enjoyed your Salvage Circuitry website and the disassembly of the keyboard. 0 out of 10 for opening?
how to connect this keyboard without a button. I have it with a broken button. someone will be grateful.
I almost have the same keyboard. The difference is that it has a Fingerprint sensor. I got the Microsoft Modern Keyboard with Fingerprint ID EKZ-00001. Got it from eBay too. I received it without issues but after my daughter spill my coffee on my keyboard, the keys below became sticky, almost to the point that whenever I press the key it goes back up very slowly. I might just get a USB Fingerprint Reader next time and a premium backlit keyboard next time I purchase.
Hi Stephen!
I have ironically disassembled the modern keyboard version as well. Disassembly went a lot smoother with different methods. I will probably upload a guide in a few weeks, but is boils down to this: Wrap keyboard completely in heated pad/blanket for 45min, torque/twist keyboard longitudinally, use plastic and stainless steel pry tools and then it opens right up with very minimal hassle. It even goes back together seamlessly. You wouldn’t even know it’s been disassembled. The key takeaway is use a heated pad/blanket. You cannot use hot air gun because it will melt keys or warp the keyboard. Heated blanket does not damage the keyboard whatsoever. Good luck!
My keyboard was no longer in use for few months. Now I need to use this keyboard, It's showing it's power on light and it’s blinking. It's also discoverable to connect but no keys are working I am not able to pair because it ask to enter a pin and keys are not working neither numpad nor numeric keys. Also, Caps lock light, Numlock lights are not working. Do you have any idea if I tear down to investigate, what should I clean/check? Please respond I really need to use this keyboard for now.
Thanks in advance.
The ASD row of my surface keyboard isn’t working anymore even after i let it dry out for 2 days. It was pouring hard the other day and the ceiling right above the keyboard started leaking and I didn’t know about it. It was probably soak in water for an hour or more.
Any advise on what should i do? Or its time to say goodbye lol. Also just notice that there’s something loose in it when i shook it.
Hi Anthony, great teardown, thanks! As you mentioned in a post above that you would be uploading the Modern Keyboard tear down as well, is that still something you would/will do? Or maybe amend this one, with possible difference? I was also wondering what temperature you set the heating blanket/pad to? Thanks a lot!
Our company has a few of these exact keyboards with keys that have popped out. Can we mail them to you for repair??
Hi Anthony,
Fascinating procedure.
Now here's a random question...I just bought a keyboard like this, and found out it is missing the battery cap/cover piece. Did you ever put this one back together, or is there a chance the piece from this project would be available to purchase?
thanks,
Reuben Huffman
Hi Reuben, I unfortunately no longer have this keyboard. You might have luck finding a broken one on ebay to grab parts from. Good luck.
How do you get it to stay together after cleaning?


