
Barreto Tillers E1320HTRLR 2016 Actuator Valve Replacement

Einleitung
Zu Schritt 1 der AnleitungThis guide shows how to remove and replace the actuator valve on the Barreto Tiller E1320 2016.
Was du brauchst
Ersatzteile
Werkzeuge


Mehr anzeigen …
-
-
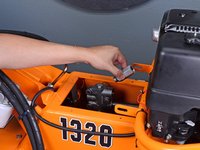
Grab the plastic housing at the end of the spark plug wire and pull firmly to disconnect it.
-
-
-
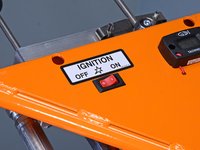
Flip the red engine ON/OFF switch to the OFF position.
-
-
-
Flip the ignition switch to the OFF position.
-
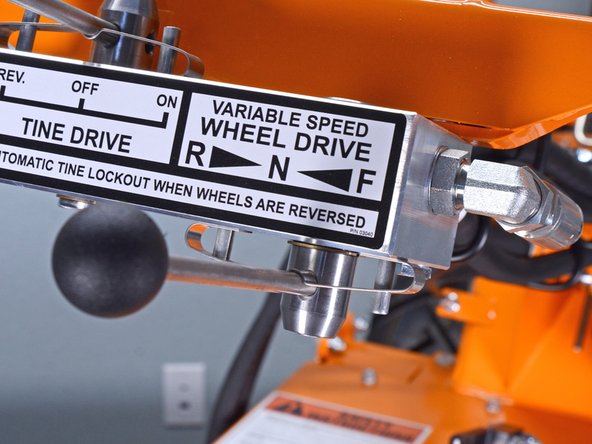
Ensure the wheel drive control lever is set to the neutral position.
-
-
-
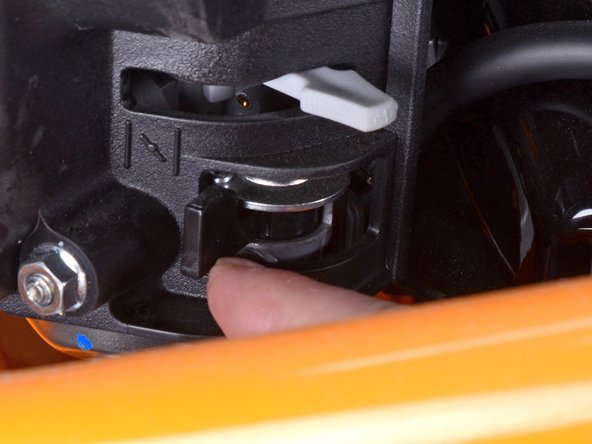
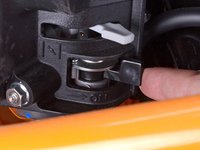
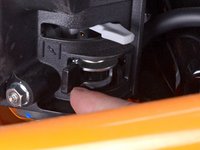
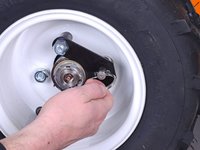
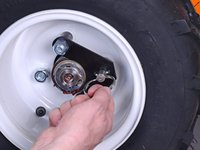
Pull the locking pin out and rotate it 90˚ to unlock the right wheel from the hub.
-
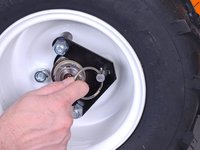
Repeat for the left wheel.
-
-
-
Insert wheel chocks underneath each wheel to keep the device stationary during disassembly.
-
-
-
Use a siphon to pump out as much fluid as you're able to, totaling about 14 gallons.
-
-
-
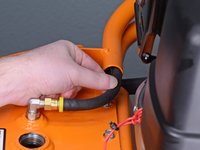
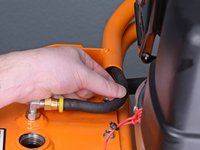
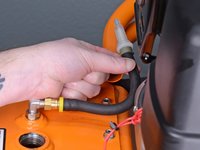
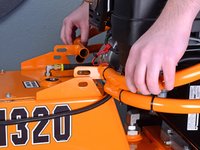
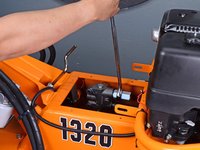
Remove the end of the tank breather tube from inside the engine guard structural pipe.
-
-
-
-
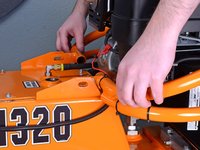
Use a 9/16 inch socket and wrench to remove the two bolts and accompanying nuts securing the engine guard to the tank lid, one on each side.
-
-
-
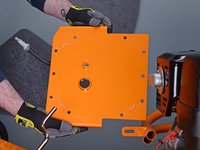
Use a 3/8 inch socket to remove the ten bolts securing the tank lid.
-
-
-
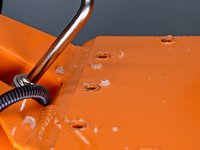
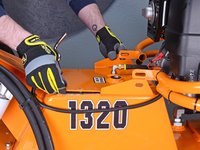
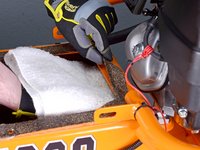
Use a shop towel to clean and remove any remnants of silicone gasket material from the top of the lid and surrounding areas.
-
-
-
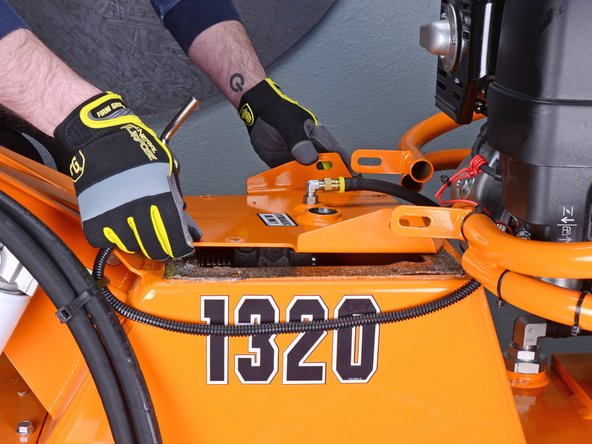
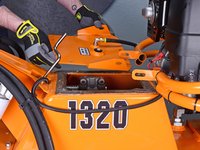
Lift up on the lid to break the seal around the perimeter of the gasket.
-
-
-
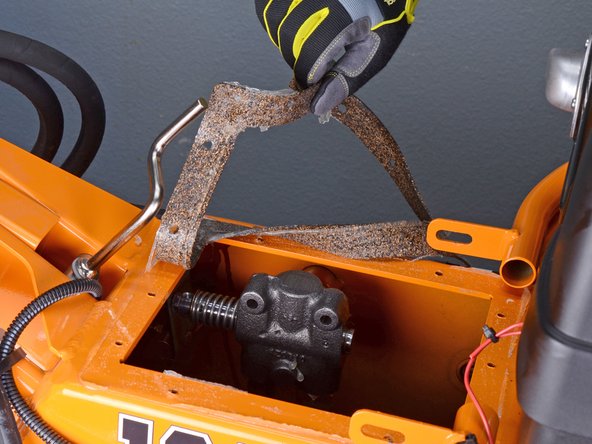
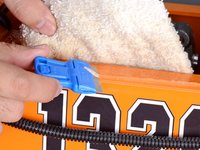
Peel the gasket up from around the perimeter of the tank.
-
Remove the gasket.
-
-
-
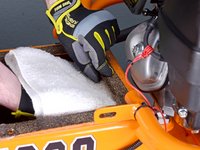
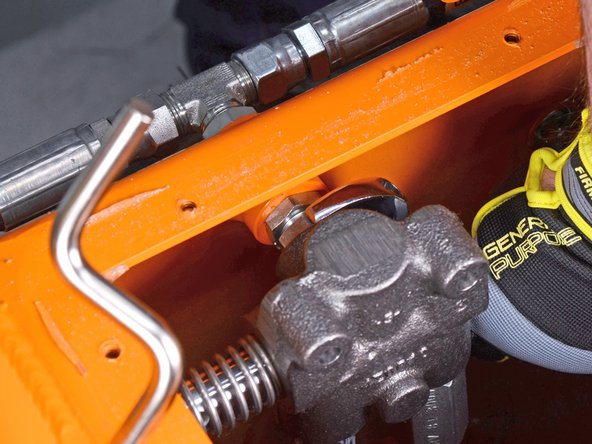
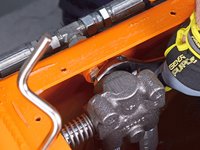
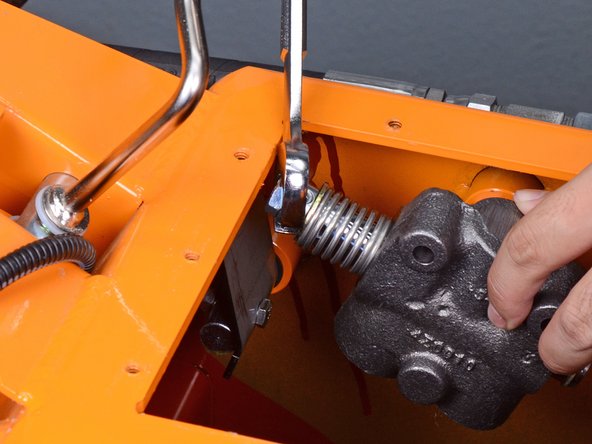
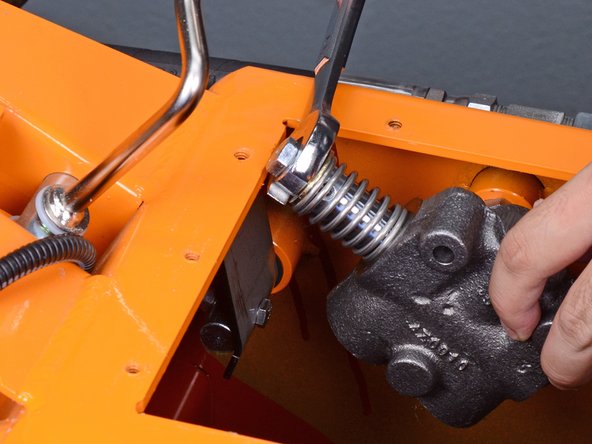
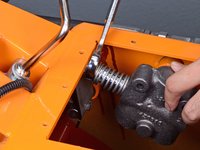
Use a 7/8 inch open-ended wrench or an adjustable wrench to loosen the lock nut closest to the valve on the actuator fitting.
-
-
-
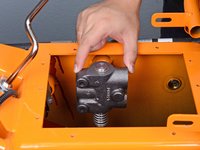
Rotate the actuator valve so the return tube and relief valve are horizontal and parallel to the tank opening, facing the engine.
-
-
-
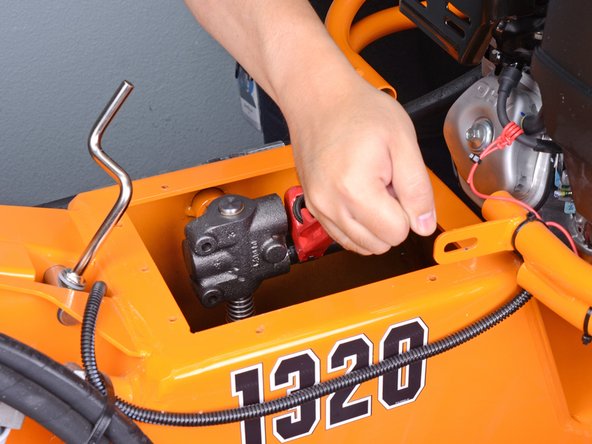
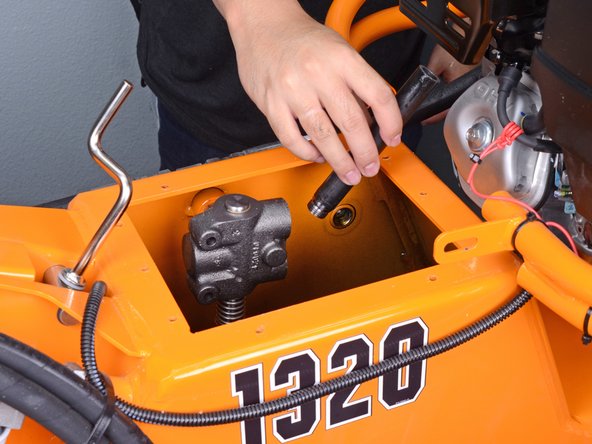
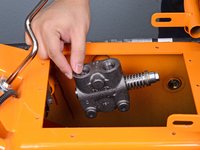
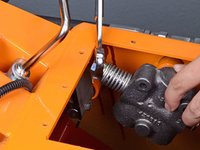
Use a 1-1/16 inch wrench to loosen and remove the relief valve.
-
-
-
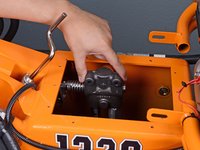
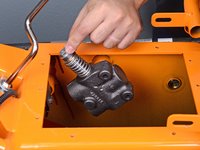
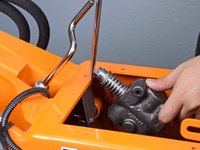
Rotate the actuator valve counterclockwise to loosen it from the tank fitting.
-
-
-
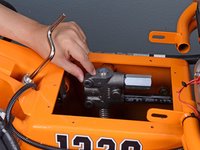
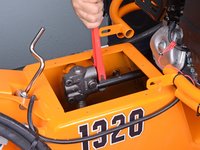
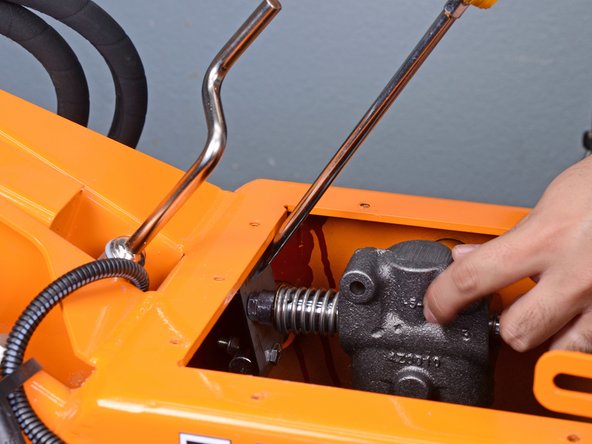
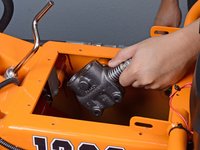
Using a long flathead screwdriver, pivot one end off of the edge of the tank, compressing the plunger assembly on the actuator valve.
-
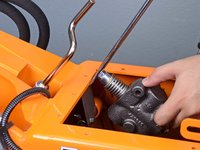
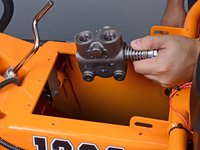
While the plunger assembly is compressed, rotate the actuator valve down, past the edge of the tank, and onto the strike plate.
-
Repeat the last two steps to continue to loosen the actuator valve from the tank fitting.
-


To reassemble your device, follow these instructions in reverse order.
To reassemble your device, follow these instructions in reverse order.
Rückgängig: Ich habe diese Anleitung nicht absolviert.
Eine weitere Person hat diese Anleitung absolviert.

