
Brother MFC-490CW Glasscheibe des Scanners tauschen
Einleitung
Zu Schritt 1 der AnleitungWenn die Glasscheibe des Scanners gebrochen ist, wird der Scanner unbrauchbar und du musst sie austauschen. Diese Anleitung zeigt, wie das geht.
Was du brauchst
-
-
Verdrehe den grünen Halter, damit du ihn weiter öffnen kannst.
-
-
-
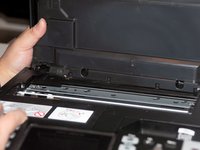
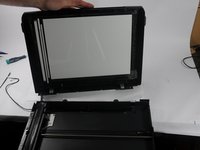
Um die Abdeckung zu entfernen, öffne sie so weit wie möglich auf halbem Weg und schiebe die Scharniere heraus.
-
-
-
-
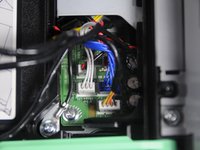
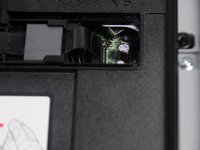
Wenn die Scannerabdeckung gelöst ist, werden die Verbindungskabel sichtbar.
-
Ziehe alle farbigen Kabel ab und schraube das andere Kabel ab, um es ganz zu entfernen.
-
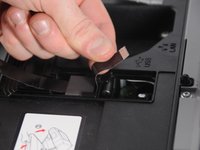
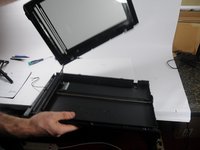
Ziehe die schwarze Lasche vom Drucker ab und entferne sie.
-
-
-
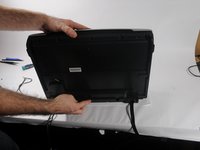
Wenn der Scanner vom Drucker abgelöst ist, kannst du alle Schrauben auf der Unterseite entfernen.
-
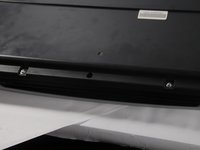
Entferne die beiden 12,1 mm langen Kreuzschlitzschrauben #2.
-
-
-
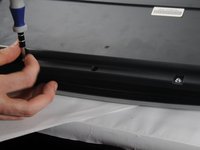
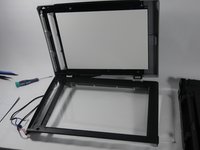
Um das Scannerglas vom Unterteil zu befreien, halte es aufrecht und trenne es ab der Kante ab, wo du eben die Schrauben entfernt hast.
-
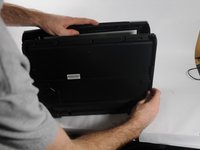
Lege das Glas mit den Händen frei.
-
-
-
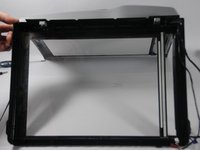
Hole das Glas aus den Führungen heraus.
-
Entferne das alte Glas oder die Scherben.
-
Befestige Klebeband an der Unterkante der Scannerabdeckung und baue alles wieder zusammen.
-


Um dein Gerät wieder zusammenzubauen, folge den Schritten in umgekehrter Reihenfolge.
Um dein Gerät wieder zusammenzubauen, folge den Schritten in umgekehrter Reihenfolge.
Rückgängig: Ich habe diese Anleitung nicht absolviert.
2 weitere Personen haben diese Anleitung absolviert.
Besonderer Dank geht an diese Übersetzer:innen:
100%
VauWeh hilft uns, die Welt in Ordnung zu bringen! Wie kann ich mithelfen?
Hier starten ›
Team

UMass Dartmouth, Team 4-4, Miles Fall 2014 Mitglied von UMass Dartmouth, Team 4-4, Miles Fall 2014
UMASSD-MILES-F14S4G4
3 Mitglieder
11 Anleitungen geschrieben