
Motorola Razr V3c Upper Casing (CDMA) Replacement
Einleitung
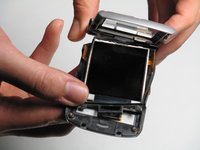
Zu Schritt 1 der AnleitungThis guide will help you replace the upper casing on your device. Following these steps will also enable you to replace the camera.
Was du brauchst
Werkzeuge


-
-
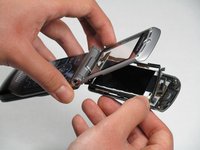
Remove the four rubber pieces from all corners of the area around the screen.
-
-


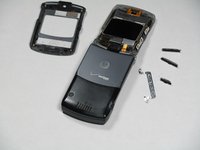
To reassemble your device, follow these instructions in reverse order.
To reassemble your device, follow these instructions in reverse order.
Rückgängig: Ich habe diese Anleitung nicht absolviert.
4 weitere Personen haben diese Anleitung absolviert.
Team

Cal Poly, Team 11-4, Forte Winter 2010 Mitglied von Cal Poly, Team 11-4, Forte Winter 2010
CPSU-FORTE-W10S11G4
3 Mitglieder
8 Anleitungen geschrieben