
Samsung Galaxy Note 4 Micro USB Tochterplatine Austausch
Einleitung
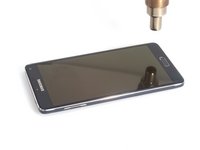
Zu Schritt 1 der AnleitungDiese Anleitung zeigt dir, wie du die Micro USB Tochterplatine an deinem Samsung Galaxy Note 4 austauschen kannst.
Was du brauchst
Ersatzteile


Werkzeuge


Mehr anzeigen …
-
-
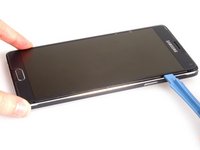
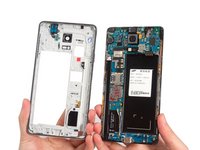
Mit einem Fingernagel oder Plastikspudger lässt sich die Rückabdeckung leicht entfernen. Entferne auch gleich den Akku, den S-Pen und – wenn vorhanden – die SIM-Karte und die MicroSD-Karte.
-
-
-
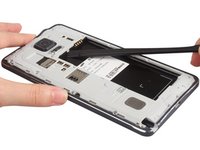
Entferne alle sechzehn 4.0 mm Kreuzschlitz #00 Schrauben, die den Mittelrahmen am Display befestigen.
-
-
-
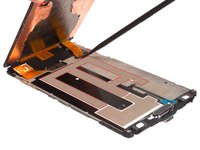
Erwärme mit niedriger Stufe und löse die Klebverbindungen an den Kanten des Bildschirms.
-
-
-
-
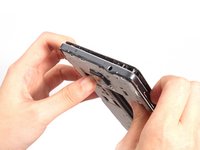
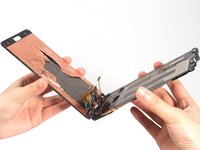
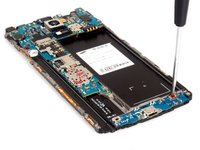
Löse die Klammern rings um die Aufnahme des Akkus. Drücke dann die Fronteinheiten mit Kraft aus dem Mittelrahmen.
-
Die USB Platine ist zwar sichtbar, lässt sich aber noch nicht entfernen, denn 1. ist das USB Flachbandkabel noch mit der Rückseite der Hauptplatine verbunden 2.Musst du vorher das LCD ausbauen 3. enthält die USB Einheit zwei Knöpfe, diese befinden sich aber unter dem Frontglas.
-
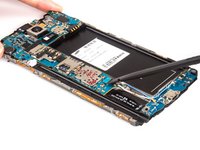
Also musst du zuerst die Hauptplatine und dann das LCD entfernen.
-
-
-
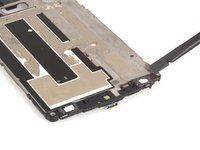
Trenne den Kleber unter dem LCD auf, löse die Verbinder und entferne das LCD. Genaueres hier: Samsung Galaxy Note 4 LCD Austausch.
-
-
-
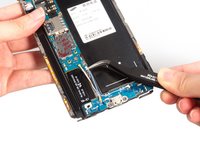
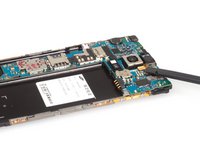
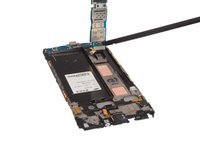
Entferne zwei Kabel und zwei Schrauben die die USB Platine und die Hauptplatine festhalten.
-
-
-
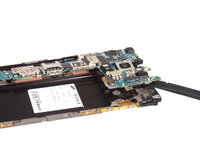
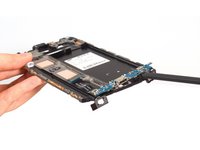
Befreie zuerst die Knöpfe vom Kleber. Hebe dann die USB Platine an und entferne sie dann.
-
Es ist kompliziert beim Samsung Galaxy Note 4 die USB Platine zu wechseln. Du musst zuerst das LCD, dann die Hauptplatine ausbauen, sei vorsichtig.
-


Um dein Gerät wieder zusammen zu setzen, folge den Schritten in umgekehrter Reihenfolge.
Um dein Gerät wieder zusammen zu setzen, folge den Schritten in umgekehrter Reihenfolge.
Rückgängig: Ich habe diese Anleitung nicht absolviert.
55 weitere Personen haben diese Anleitung absolviert.
Besonderer Dank geht an diese Übersetzer:innen:
100%

Diese Übersetzer:innen helfen uns, die Welt zu reparieren! Wie kann ich mithelfen?
Hier starten ›
9 Kommentare
charging port from 910C will be suitable to 910F model? Pls answer
After replacing USB ass'y, my AT&T phone does not recognize the Sim being installed.
Any suggestions?
Dan