
ZTE Blade X Max Midframe Replacement

Einleitung
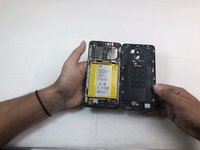
Zu Schritt 1 der AnleitungThis guide explains how to replace the Mid Frame in a ZTE Blade X Max in step-by-step format. Make sure your device is powered off and you have access to a clear workspace before you begin.
Was du brauchst
Werkzeuge


Mehr anzeigen …
-
-
Use the iOpener or heating pad to heat around the edges of the phone to melt the adhesive.
-
-
-
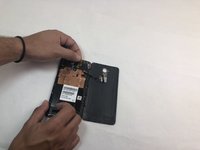
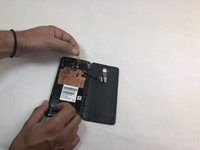
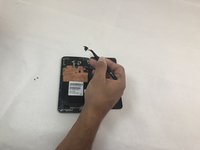
Remove the opaque yellow sticker that indicates where the fingerprint scanner is connected to the back of the device.
-
-
In diesem Schritt verwendetes Werkzeug:Tweezers$4.99
-
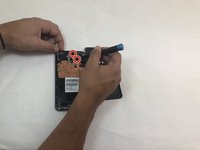
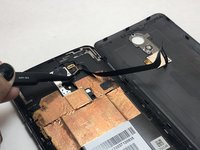
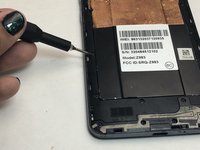
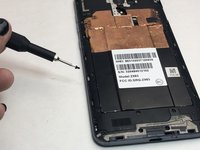
Remove the two 1mm Phillips #000 screws on the small panel that was underneath the sticker.
-
Use the tweezers to remove the panel.
-
-
-
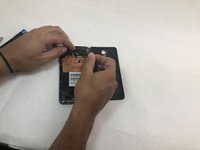
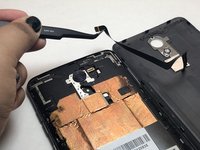
Use the tweezers to pull at the base of the film to remove the fingerprint scanner.
-
-
-
Remove the SD and SIM cards by pulling out the card tray from the slot on the right side of the device.
-


To reassemble your device, follow these instructions in reverse order.
To reassemble your device, follow these instructions in reverse order.

