Zum Hauptinhalt wechseln
ZTE Lever Motherboard Replacement

ZTE Lever Motherboard Replacement

Luke Kilbourne

Luke Kilbourne und 3 weitere Mitwirkende

Zuletzt aktualisiert am January 10, 2025

30 Minuten
Schwierig
Umwege erhöhen die Ortskenntnis
Bessere Einleitung

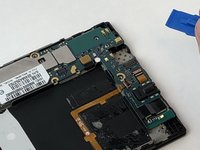
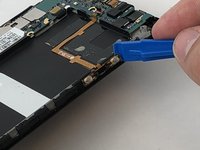
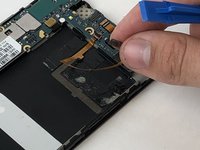
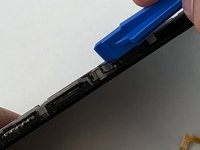
Follow this guide to perform the replacement of the motherboard on a ZTE Lever smartphone.

Was du brauchst

Werkzeuge

Mehr anzeigen …

  1. ZTE Lever Motherboard Replacement, Battery: Schritt 1, Bild 1 von 1
    • Remove the SD card and the Sim card from the device.

    • The Sim and SD cards are not shown here as our device did not come with them.

  2. ZTE Lever Motherboard Replacement: Schritt 2, Bild 1 von 2 ZTE Lever Motherboard Replacement: Schritt 2, Bild 2 von 2
    • Use an iFixit opening tool to separate the back from the device.

  3. ZTE Lever Motherboard Replacement: Schritt 3, Bild 1 von 2 ZTE Lever Motherboard Replacement: Schritt 3, Bild 2 von 2
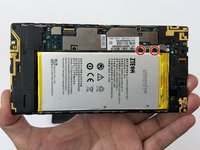
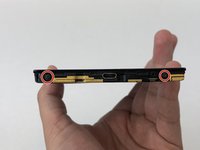
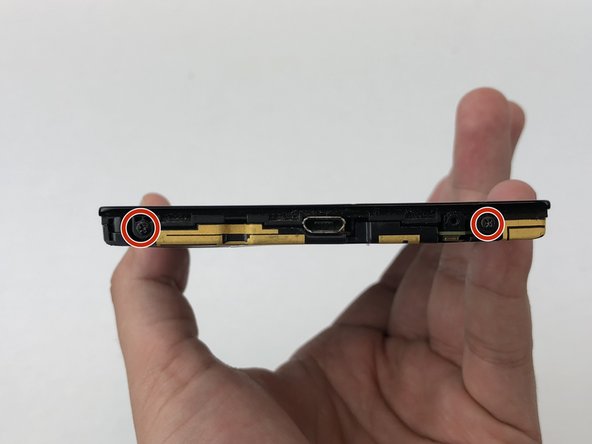
    • Remove the two 1.6mm Phillips #0 screws from the battery plug cover.

    • Remove the cover.

  4. ZTE Lever Motherboard Replacement: Schritt 4, Bild 1 von 2 ZTE Lever Motherboard Replacement: Schritt 4, Bild 2 von 2
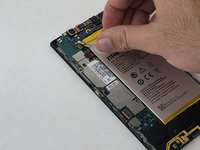
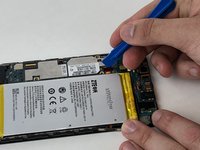
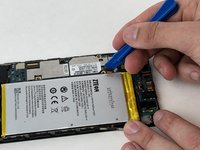
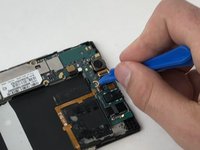
    • Disconnect the battery cable from the motherboard with a plastic opening tool.

  5. ZTE Lever Motherboard Replacement: Schritt 5, Bild 1 von 1
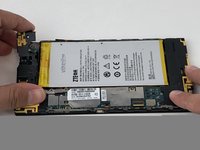
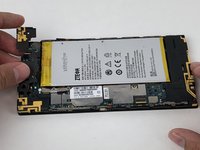
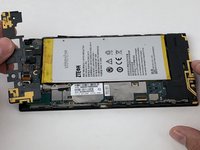
    • Use your hands, or a plastic opening tool, to pry the battery from the phone.

  6. ZTE Lever Motherboard Replacement, Volume Buttons: Schritt 6, Bild 1 von 1
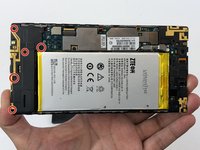
    • Remove the three 1.6mm Phillips #0 screws from the plastic cover on the motherboard.

  7. ZTE Lever Motherboard Replacement: Schritt 7, Bild 1 von 3 ZTE Lever Motherboard Replacement: Schritt 7, Bild 2 von 3 ZTE Lever Motherboard Replacement: Schritt 7, Bild 3 von 3
    • Remove the top plastic motherboard cover using a plastic opening tool.

  8. ZTE Lever Motherboard Replacement: Schritt 8, Bild 1 von 2 ZTE Lever Motherboard Replacement: Schritt 8, Bild 2 von 2
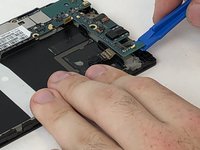
    • Use a plastic opening tool to flip up the retaining flap on the volume ribbon cable ZIF socket.

  9. ZTE Lever Motherboard Replacement: Schritt 9, Bild 1 von 2 ZTE Lever Motherboard Replacement: Schritt 9, Bild 2 von 2
    • Peel up the volume button cable from the phone with hands, or plastic opening tool.

  10. ZTE Lever Motherboard Replacement, Power Button: Schritt 10, Bild 1 von 1
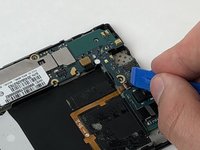
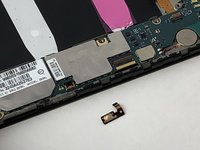
    • Disconnect the power button from the motherboard with a plastic opening tool.

  11. ZTE Lever Motherboard Replacement: Schritt 11, Bild 1 von 2 ZTE Lever Motherboard Replacement: Schritt 11, Bild 2 von 2
    • Peel the power button cable up from the phone with you hands, or a plastic opening tool.

  12. ZTE Lever Motherboard Replacement, Motherboard: Schritt 12, Bild 1 von 2 ZTE Lever Motherboard Replacement, Motherboard: Schritt 12, Bild 2 von 2
    • Remove the seven 1.6mm Phillips #0 screws from the plastic cover on the bottom of the motherboard.

  13. ZTE Lever Motherboard Replacement: Schritt 13, Bild 1 von 1
    • Remove the bottom plastic motherboard cover with your fingers

  14. ZTE Lever Motherboard Replacement: Schritt 14, Bild 1 von 2 ZTE Lever Motherboard Replacement: Schritt 14, Bild 2 von 2
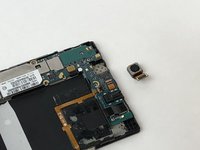
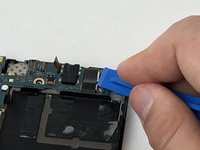
    • Disconnect the camera from the motherboard with a plastic opening tool.

  15. ZTE Lever Motherboard Replacement: Schritt 15, Bild 1 von 1
    • Disconnect the display cable from the motherboard with a plastic opening tool.

  16. ZTE Lever Motherboard Replacement: Schritt 16, Bild 1 von 3 ZTE Lever Motherboard Replacement: Schritt 16, Bild 2 von 3 ZTE Lever Motherboard Replacement: Schritt 16, Bild 3 von 3
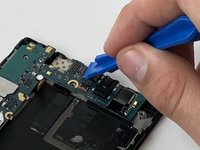
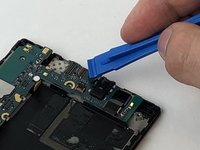
    • Disconnect the camera from the motherboard with a plastic opening tool.

  17. ZTE Lever Motherboard Replacement: Schritt 17, Bild 1 von 1
    • Disconnect the rear speaker cable from the motherboard with a plastic opening tool.

  18. ZTE Lever Motherboard Replacement: Schritt 18, Bild 1 von 1
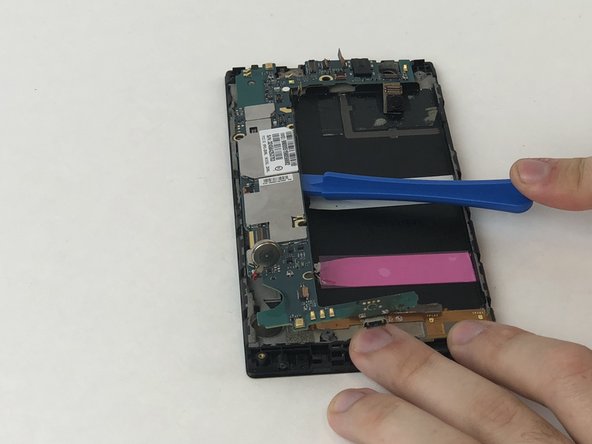
    • Pry the motherboard cell battery from its position on the case of the phone

  19. ZTE Lever Motherboard Replacement: Schritt 19, Bild 1 von 3 ZTE Lever Motherboard Replacement: Schritt 19, Bild 2 von 3 ZTE Lever Motherboard Replacement: Schritt 19, Bild 3 von 3
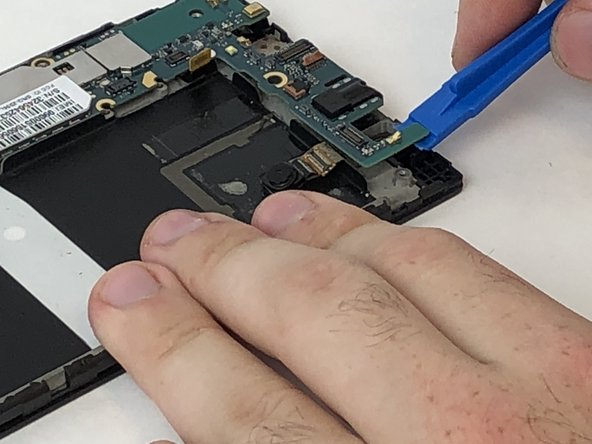
    • Using the plastic opening tool, pry the motherboard up, sliding along the edge to separate the pieces.

  20. ZTE Lever Motherboard Replacement: Schritt 20, Bild 1 von 1
    • Remove the motherboard with your fingers.

Abschluss

To reassemble your device, follow these instructions in reverse order.

Luke Kilbourne

Mitglied seit: 01/29/18

294 Reputation

2 Anleitungen geschrieben

Team

USF Tampa, Team S5-G2, Passmore Spring 2018 Mitglied von USF Tampa, Team S5-G2, Passmore Spring 2018

USFT-PASSMORE-S18S5G2

3 Mitglieder

12 Anleitungen geschrieben

Ein Kommentar

Those are excellent instructions but I need to know where at on the motherboard is the internal memory storage cuz my phone is so screwed up that it won't charge or turn on or anything lol,so I got a different phone n got my SD card out of the ZTE n put in my new phone and there are some pics that I really need,but I was wondering if there was any way possible that I could put the SD card back in the ZTE motherboard and some how move the pics onto my SD card so I can have them on my new phone.This is killing my brain on trying to think of ways to succeed n can't please get back to me,,,thanks.

-ROGER-

Roger Knight - Antwort
Kommentar hinzufügen

Seitenaufrufe:

Letzte 24 Stunden: 0

Letzte 7 Tage: 3

Letzte 30 Tage: 4

Insgesamt: 367