
Zte Avail 2 Display Replacement
Einleitung
Zu Schritt 1 der AnleitungIs your phone’s touch screen not working correctly or not responding to your touch? Use this guide to replace your screen and return your device to a working state.
Was du brauchst


-
-
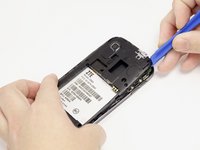
Remove the back cover using the notch at the bottom of the device.
-
Pull the back cover from the front panel gently to remove it.
-
-
-
Using your J00 screwdriver, unscrew each of the 8 Philips head 1.19mm screws from the black plate of the device.
-
-
-
-
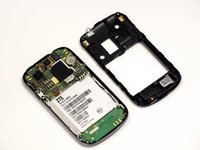
Using a spudger or plastic opening tool, pull up from underneath the back plate and pop off the piece.
-
-
In diesem Schritt verwendetes Werkzeug:Tweezers$4.99
-
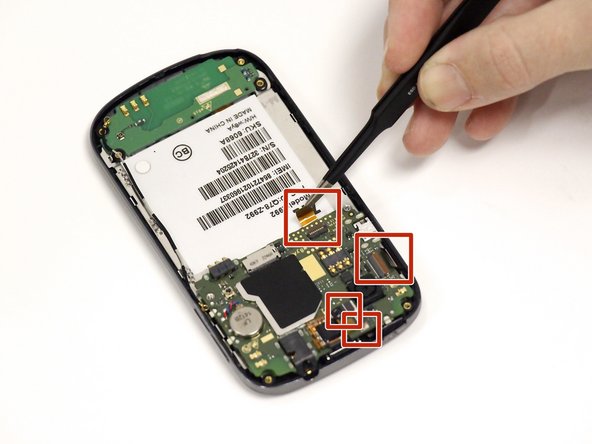
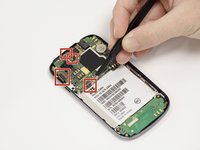
Using the tweezers remove the 4 orange ribbon cables. Do this by lifting their corresponding black connectors and pulling the ribbon out.
-
-
-
On the left side you will see a cellular antenna cable wire. Remove this wire by gently pulling it off.
-
-
-
Lift and set aside the motherboard from lying on top of the silver plate (this may require some force because it is held on by adhesive).
-
-
-
Using an opening tool, lift and remove the silver metal plate off the back of the device (use some force here).
-
-
-
Pry open to separate the metal piece from the front screen attachment using a plastic spudger.
-


To reassemble your device, follow these instructions in reverse order.
To reassemble your device, follow these instructions in reverse order.
Rückgängig: Ich habe diese Anleitung nicht absolviert.
5 weitere Personen haben diese Anleitung absolviert.
Team

University of Alabama, Team 1-6, Sydow campbell Fall 2015 Mitglied von University of Alabama, Team 1-6, Sydow campbell Fall 2015
UA-SYDOW CAMPBELL-F15S1G6
5 Mitglieder
8 Anleitungen geschrieben
Ein Kommentar
My screen is completely white and I DON'T have to turn the power off, jus the screen off n on n still screen is white. I can't hardly see my apps. Plz tell me what's wrong with my phone. I was thinking somewhere along the lines of my LED cuz everything looks kind of like a negative photo.