Einleitung
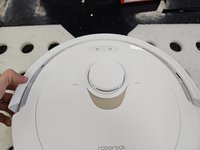
Zu Schritt 1 der AnleitungDies ist eine allgemeine Anleitung zum Zerlegen des Roborock Q Revo Staubsaugerroboters.
Hier wird nur das Gerät gezeigt, nicht die Ladestation.
Was du brauchst

-
-
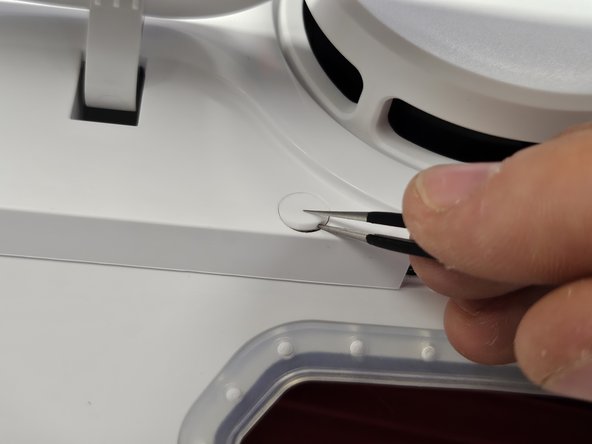
Entferne die Kappe und bewahre sie auf. Sie hat eine reine Zierfunktion, es ist auch nicht schlimm, wenn sie verloren geht.
-
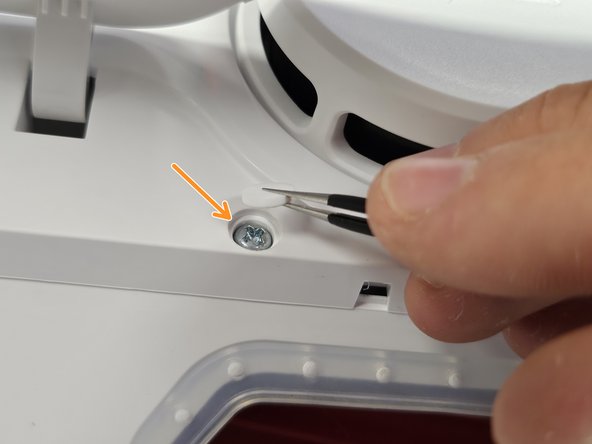
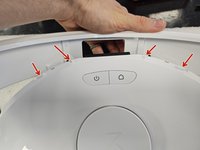
Entferne die darunter liegende Kreuzschlitzschraube #2.
-
-
-
Drehe den Roboter um.
-
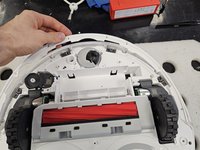
Entferne die Seitenbürste mit einem Kreuzschlitzschraubendreher #2.
-
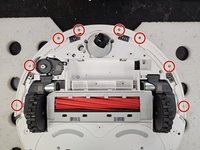
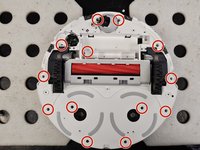
Entferne die rot markierten Kreuzschlitzschrauben #2.
-
-
-
-
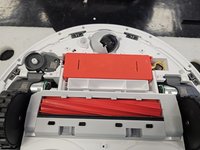
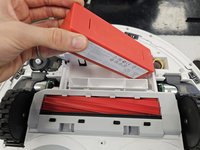
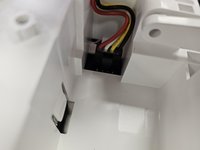
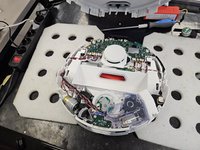
Hebe den Akku an der linken Seite hoch, bis du an den Stecker herankommst. Drücke den Sicherungsriegel am Akkustecker und trenne ihn ab. Entferne den Akku.
-
-
-
Entferne die Kreuzschlitzschrauben #1.
-
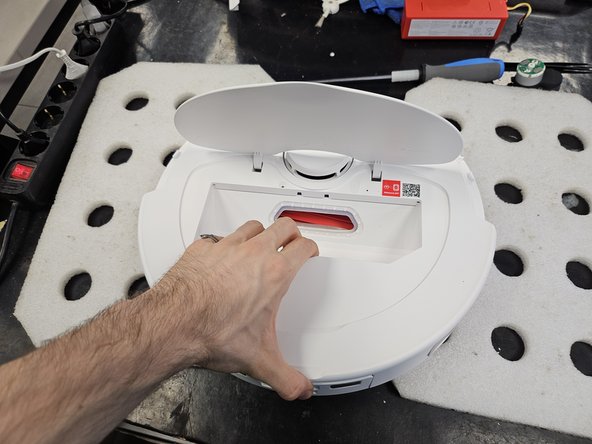
Hebe die Abdeckung der Stoßleiste ab.
-
-
-
Drehe den Roboter um.
-
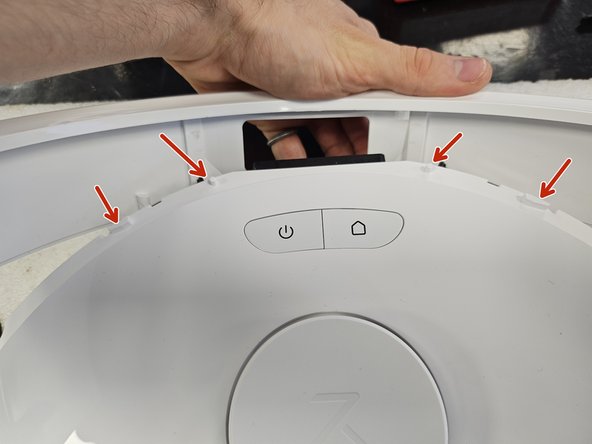
Kippe die Stoßleiste nach vorne, um sie vorne aus den kleinen Laschen zu lösen. Entferne die Stoßleiste.
-
-
-
Entferne die Kreuzschlitzschrauben #2.
-
Hebe den Motor heraus.
-
-
-
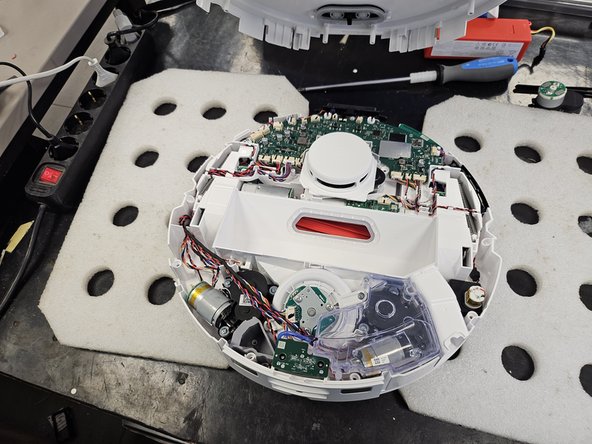
Entferne die restlichen Schrauben, die das Gehäuse zusammenhalten.
-
Drehe das Gerät um und nimm es auseinander.
-


Besonderer Dank geht an diese Übersetzer:innen:
100%
VauWeh hilft uns, die Welt in Ordnung zu bringen! Wie kann ich mithelfen?
Hier starten ›

10 Kommentare
Hello,
I am contacting you regarding a persistent issue with my Roborock QRevo
For some time now, my device has been regularly showing "error 13"
When the robot connects to the charging station, it stays there for about 3-5 minutes before disconnecting on its own. It then attempts to reconnect several times, entering and exiting the station repeatedly, until an error 13 appears
Each time it docks, the device indicates "charging in progress," but after a few minutes, the problem reoccurs.
Actions taken so far:
I have thoroughly cleaned the charging contacts on both the robot and the station using a specific electrical contact cleaner.
I measured the voltage of the charging station terminals: it reads 4.15 volts.
I measured the battery voltage of the robot: it reads 14.7 volts.
After a full night of complete shutdown, the robot attempted to charge again, but only gained 1 to 2% battery after 10 minutes before disconnecting
Could you please advise on the next steps to resolve this problem?
Error code 13 is a fault of the mainboard. This is pretty common on this robots. There is no other fix than to change the mainboard
joel hil -
In my experience, error 13 (Charging error) is caused by one of 4 things. Robot's motherboard, Robot's battery, dock's motherboard or the dock's PSU.
The robot's motherboard is one possibility, but it is not the only one.
This is so good, there is a suction filter on the dock, inside the dust bag compartment. Is it easy to remove and clean? I have not found the way to do it, and when the suction from the mobile vacuum takes place, any smell in the bag vents out/impregnates that filter or ducts apparently.
Any help would be appreciated
Not sure which filter you mean, but if you mean the circular filter in the dust bag compartment, you just twist it off and clean it using a brush.