
ANKER SoundCore Microphone Replacement

Einleitung
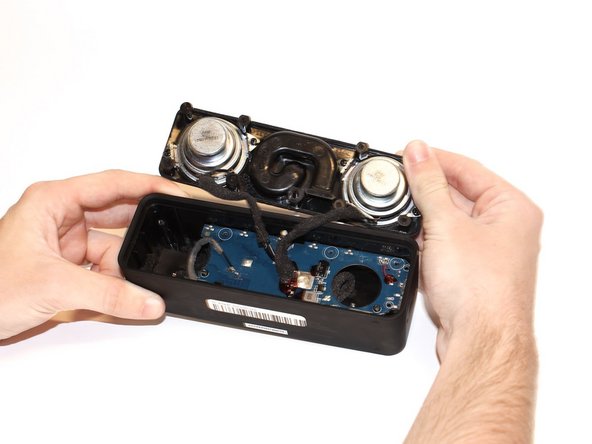
Zu Schritt 1 der AnleitungThe microphone in this device is located on the circuit board, below the speakers a speaker mount.
Before attempting to replace anything, it is recommended that you look at this device’s troubleshooting guide.
This procedure is necessary if the microphone is broken and not allowing the user to make calls through the device. The procedure requires tools to open the speaker and unscrew the fastening screws. Soldering experience is also suggested.
Was du brauchst


-
-
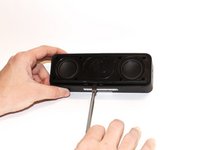
Use the plastic opening tool to pry off the screen.
-
Remove the screen from the device.
-
-
-
Use a Phillips #0 screwdriver to remove the eight 10mm screws securing the speaker mount to the speaker body.
-
-
-
-
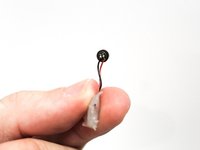
Desolder the two points connecting the microphone to the circuit board.
-
Remove the microphone from circuit board.
-


To reassemble your device, follow these instructions in reverse order.
To reassemble your device, follow these instructions in reverse order.

Team

Cal Poly, Team S22-G1, Regan Winter 2020 Mitglied von Cal Poly, Team S22-G1, Regan Winter 2020
CPSU-REGAN-W20S22G1
5 Mitglieder
7 Anleitungen geschrieben