
Acer Chromebook cb3-532-c47c Display Assembly Replacement

Einleitung
Zu Schritt 1 der AnleitungThis procedure is not necessary if you're just replacing the LCD panel; it is only used if you need to replace the entire display assembly, including the LCD, top cover, front bezel and hinges, along with the associated antennas and camera.
Was du brauchst
Werkzeuge


Mehr anzeigen …
-
-
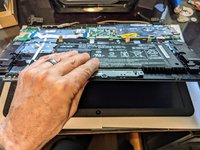
Using the Phillips #1 screwdriver, remove eighteen 7 mm screws from the back panel of the device.
-
-
-
Use a plastic opening tool around the edges of the laptop and remove the back panel from the device.
-
-
-
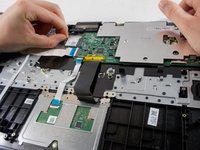
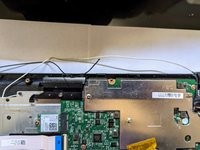
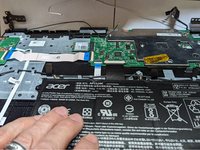
Push on the sides of the connector with a plastic spudger to separate the cable from the motherboard.
-
-
-
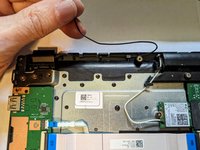
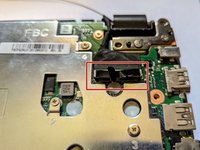
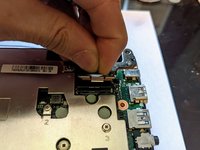
Firmly pull the end of the black wire attached to the Wi-Fi card upwards and remove it from the device.
-
Repeat with the white wire.
-
-
-
-
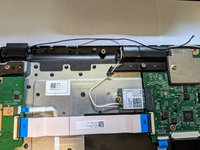
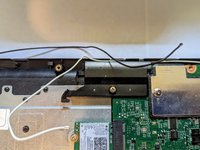
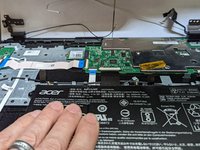
Deroute the black wifi wire from its slot in the palm rest.
-
-
-
Deroute the white wifi wire from the slot in the palm rest.
-
-
-
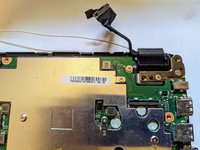
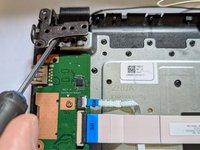
Pull the end of the display cable attached to the motherboard straight up to remove.
-
Rotate the cable out away from the motherboard.
-
-
-
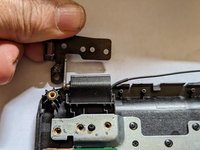
Insert a screwdriver or spudger under the hinge to get it started then rotate it open by hand as far as possible.
-
-
-
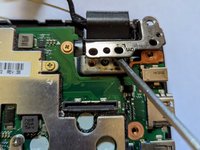
Insert a screwdriver or spudger under the hinge to get it started then rotate it open by hand as far as possible.
-
-
-
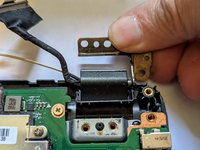
Lift the palm rest assembly from the front then slide it away from the hinges slightly to remove the assembly from the display.
-


To reassemble your device, follow these instructions in reverse order.
To reassemble your device, follow these instructions in reverse order.
Rückgängig: Ich habe diese Anleitung nicht absolviert.
Eine weitere Person hat diese Anleitung absolviert.

Team
