Anker SoundCore 2 Charging Port Replacement
Einleitung
Zu Schritt 1 der AnleitungThis is a step by step guide on how to replace the charging port in the Anker SoundCore 2 bluetooth speaker. There are a few reasons on why you may need to replace the charging port, including if your speaker will no longer charge or no longer achieve a full charge. Take a look at the troubleshooting page to see if you need to replace the charging port or not. For this guide, you will need a screwdriver and a soldering tool.
Was du brauchst
-
-
Insert a spudger between the front panel and the body of the speaker.
-
Pry around the edges of the front panel with the spudger to pry it away from the speaker body.
-
-
-
Remove eight 10 mm screws from the speaker mount using a Phillips #0 screwdriver.
-
Insert a spudger in the gap between the speaker mount and speaker body to remove the speaker mount.
-
Use your hand to remove the speakers.
-
-
-
-
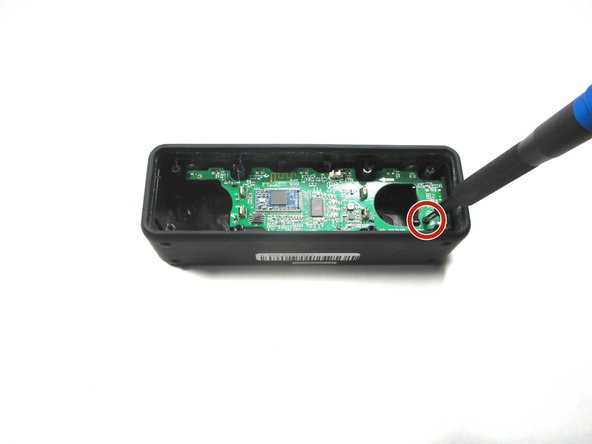
Remove the 10 mm screw that is holding the motherboard in place using a Phillips #0 screwdriver.
-
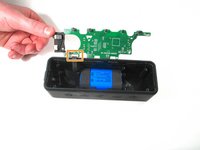
Flip up the motherboard and disconnect the cord that connects the motherboard and the battery.
-
-
-
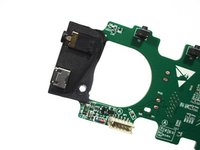
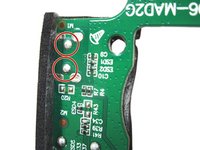
Desolder the charging port from the motherboard and solder a new one on.
-
To reassemble your device, follow these instructions in reverse order.
To reassemble your device, follow these instructions in reverse order.
Rückgängig: Ich habe diese Anleitung nicht absolviert.
5 weitere Personen haben diese Anleitung absolviert.
5 Kommentare zur Anleitung
Hello please what's the model of the ESD4 and C34 close to the charging port?
what's the micro usb port part number? I want to replace it but can't find info on it anywhere.
I use Anker OEM style replacement in my repair shop from eBay listing 254057783007
Perfect fit.
https://www.ebay.com/itm/254057783007
Good luck with the project


