
Asus ROG Strix GL702VS Fan Replacement

Einleitung
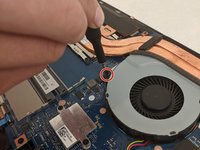
Zu Schritt 1 der AnleitungThis is a step by step guide for the removal of the Asus ROG Strix GL702VS cooling fans for replacement or repair. If you are experiencing overheating problems or loud fan noises and grinding, follow these steps to remove the fans for replacement, repair, or cleaning.
Was du brauchst


-
-
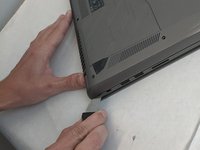
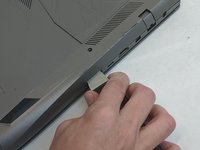
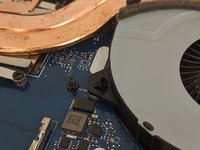
Remove the ten JIS #0 screws around the edge of the laptop.
-
The two bottom screws are slightly shorter
-
-
-
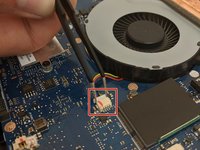
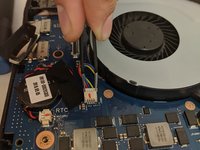
In diesem Schritt verwendetes Werkzeug:Tweezers$4.99
-
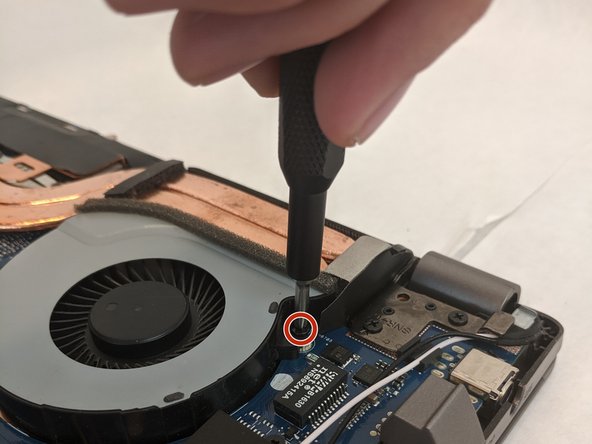
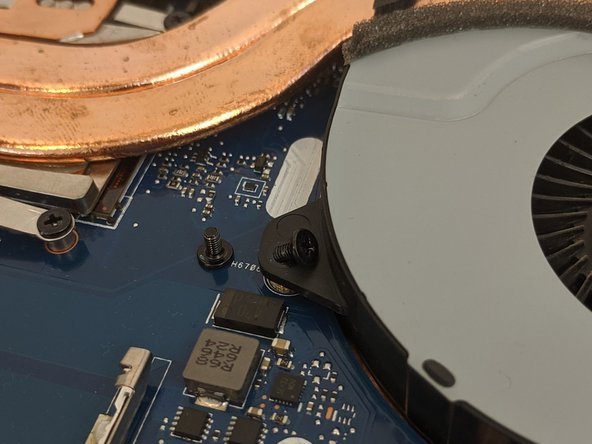
Remove the fan's connector on the motherboard using a pair of tweezers.
-


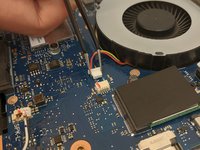


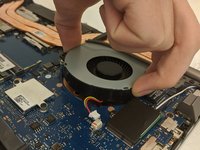

To reassemble your device, follow these instructions in reverse order.
To reassemble your device, follow these instructions in reverse order.
Rückgängig: Ich habe diese Anleitung nicht absolviert.
Eine weitere Person hat diese Anleitung absolviert.

Team

Embry-Riddle Aeronautical University, Team S8-G6, Salas Fall 2019 Mitglied von Embry-Riddle Aeronautical University, Team S8-G6, Salas Fall 2019
ERAU-SALAS-F19S8G6
4 Mitglieder
7 Anleitungen geschrieben