Zum Hauptinhalt wechseln
Asus ROG Strix GL702VS Trackpad Replacement

Asus ROG Strix GL702VS Trackpad Replacement

Conor H Allen

Conor H Allen und 5 weitere Mitwirkende

Zuletzt aktualisiert am May 7, 2024

25 - 35 Minuten
Mittel

This guide will walk you through the process of replacing your Asus ROG Strix GL702VS trackpad (touchpad) in the event of damage or malfunction. This process is necessary when the trackpad is unable to be used and is unresponsive and updating the drivers fails to solve cursor tracking issues.

Was du brauchst

Werkzeuge

Mehr anzeigen …

  1. Asus ROG Strix GL702VS Trackpad Replacement, Back Cover: Schritt 1, Bild 1 von 1
    • Flip the computer so the bottom of the laptop is facing up.

  2. Asus ROG Strix GL702VS Trackpad Replacement: Schritt 2, Bild 1 von 1
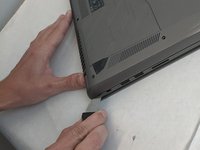
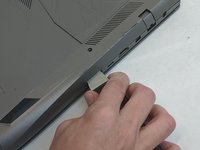
    • Remove the ten JIS #0 screws around the edge of the laptop.

    • The two bottom screws are slightly shorter

  3. Asus ROG Strix GL702VS Trackpad Replacement: Schritt 3, Bild 1 von 2 Asus ROG Strix GL702VS Trackpad Replacement: Schritt 3, Bild 2 von 2
    • Use a Jimmy to carefully free each side of the bottom casing.

  4. Asus ROG Strix GL702VS Trackpad Replacement: Schritt 4, Bild 1 von 1
    • Lift up the back casing from the computer.

    • You may hear clicking or snapping sounds. This is just the plastic clips coming loose.

  5. Asus ROG Strix GL702VS Trackpad Replacement, Trackpad: Schritt 5, Bild 1 von 3 Asus ROG Strix GL702VS Trackpad Replacement, Trackpad: Schritt 5, Bild 2 von 3 Asus ROG Strix GL702VS Trackpad Replacement, Trackpad: Schritt 5, Bild 3 von 3
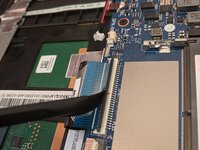
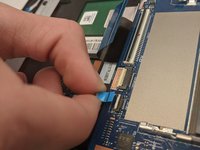
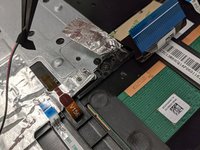
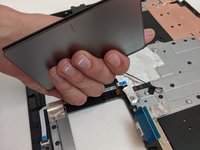
    • Disconnect the ribbon cables from the connectors at the bottom of the motherboard by lifting up the tabs with a nylon spudger tool.

    • Slide the ribbon cables out of the connectors on the motherboard.

  6. Asus ROG Strix GL702VS Trackpad Replacement: Schritt 6, Bild 1 von 2 Asus ROG Strix GL702VS Trackpad Replacement: Schritt 6, Bild 2 von 2
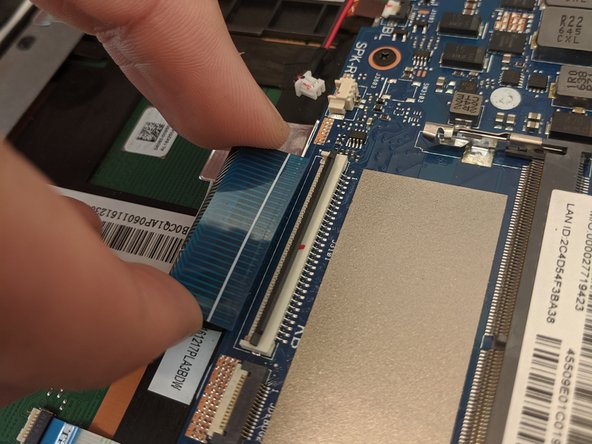
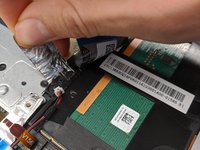
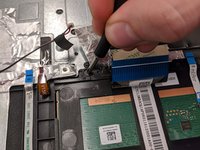
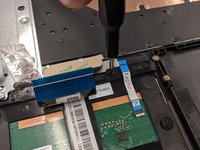
    • Remove the covering foil holding the trackpad into place.

    • Completely peel the foil back to ensure it does not interfere with the following processes.
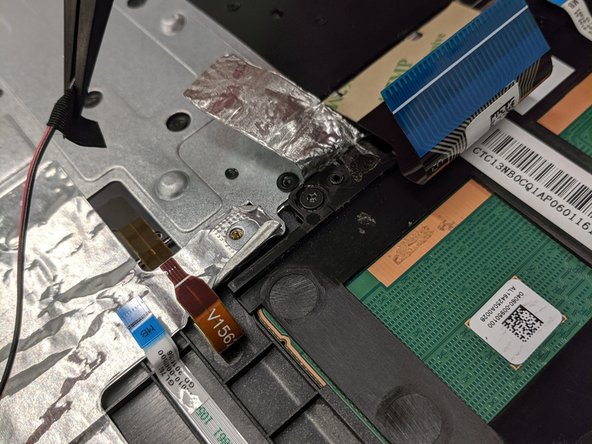
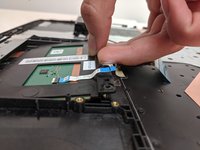
  7. Asus ROG Strix GL702VS Trackpad Replacement: Schritt 7, Bild 1 von 2 Asus ROG Strix GL702VS Trackpad Replacement: Schritt 7, Bild 2 von 2
    In diesem Schritt verwendetes Werkzeug:
    Tweezers
    $4.99
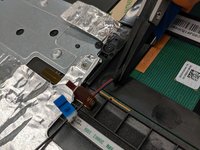
    • Lift up speaker cable that is laying overtop using a pair of tweezers.

    • Do not to overextend the wire since you may accidently pull the wire out.

  8. Asus ROG Strix GL702VS Trackpad Replacement: Schritt 8, Bild 1 von 3 Asus ROG Strix GL702VS Trackpad Replacement: Schritt 8, Bild 2 von 3 Asus ROG Strix GL702VS Trackpad Replacement: Schritt 8, Bild 3 von 3
    • Remove the three 4mm JIS #0 screws that are securing the trackpad.

  9. Asus ROG Strix GL702VS Trackpad Replacement: Schritt 9, Bild 1 von 2 Asus ROG Strix GL702VS Trackpad Replacement: Schritt 9, Bild 2 von 2
    • Once freed, slide the trackpad backwards towards the center of laptop.

    • This may require some jiggling. Lifting the laptop off your working surface may help.

    • Sliding the trackpad back in can be a bit tricky. Ensure it is fully seated before continuing reassembly.

Abschluss

To reassemble your device, follow these instructions in reverse order.

0 Kommentare

Kommentar hinzufügen

Seitenaufrufe:

Letzte 24 Stunden: 0

Letzte 7 Tage: 4

Letzte 30 Tage: 16

Insgesamt: 956