
Bush Pump Traveling Valve Replacement

Einleitung
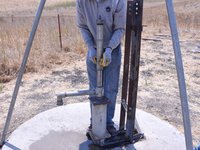
Zu Schritt 1 der AnleitungFollow this guide to remove and disassemble the traveling valve. You can then inspect or replace the valve, itself, or any of its components.
Was du brauchst
Werkzeuge

-
-
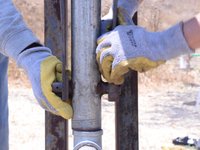
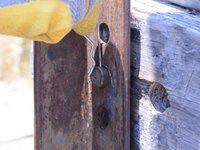
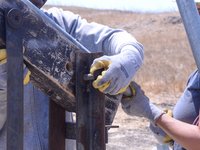
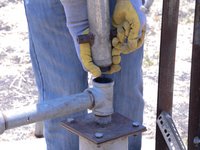
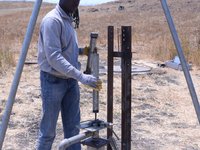
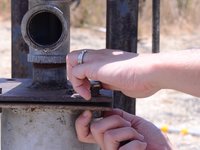
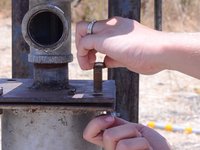
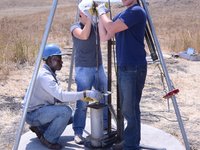
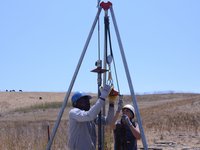
Lift the two pins attaching the pump frame to the head and handle up, off of the pump frame.
-
-
-
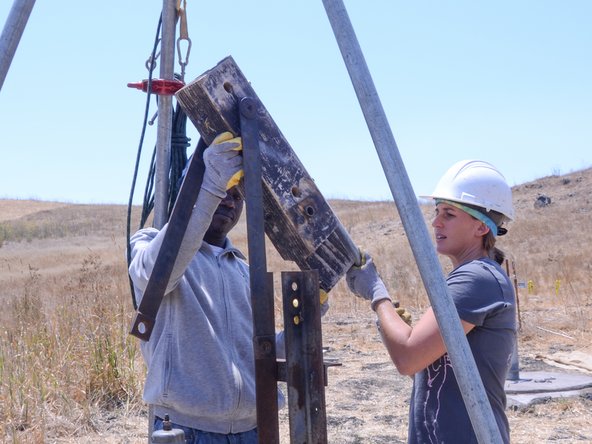
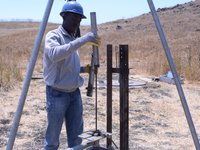
Remove the head and handle, and place them on a clean surface to prevent contamination.
-
-
-
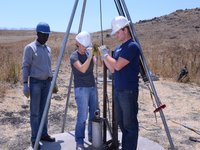
Lift the slider and riser main pipe.
-
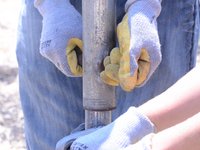
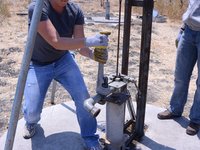
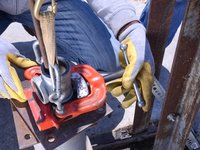
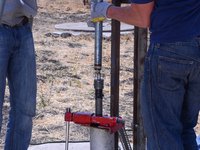
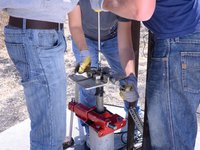
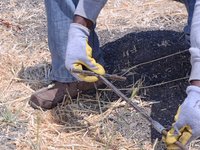
Place a pump rod clamp around the rod, and tighten it securely against the pump rod.
-
Carefully lower the riser main and slider to allow it to rest on the rod clamp.
-
-
-
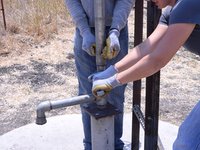
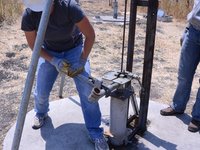
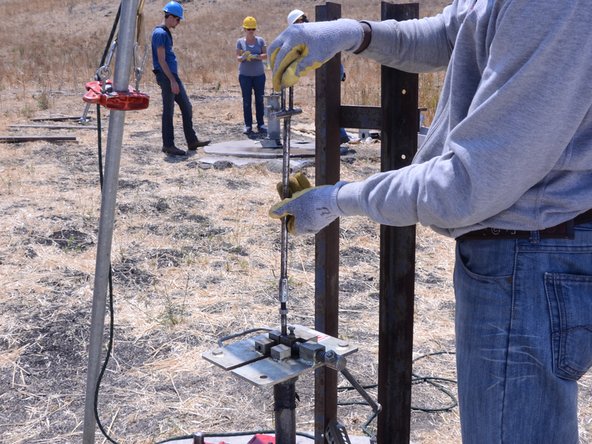
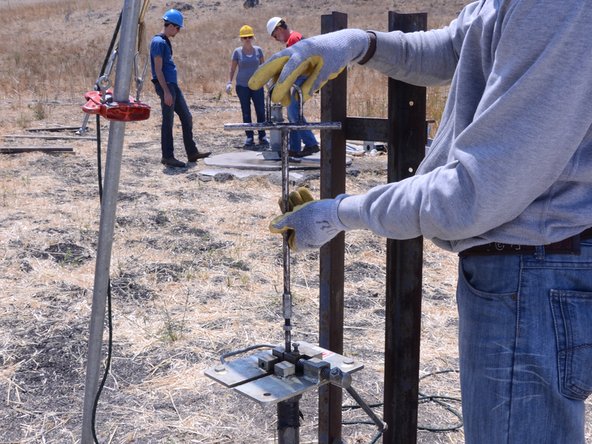
Loosen and remove both the pump rod jam nut and pump rod nut on the top of the slider.
-
-
-
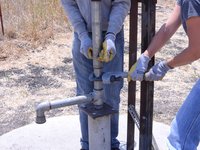
Remove the riser main slider, and inspect it for wear and tear.
-
Set the slider in a sanitary place to prevent contamination.
-
-
-
Remove the above grade riser pipe.
-
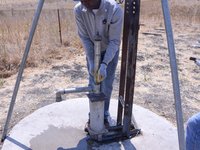
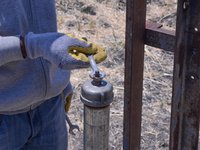
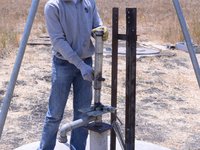
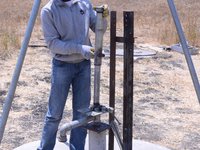
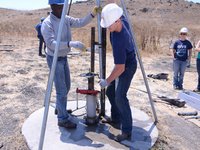
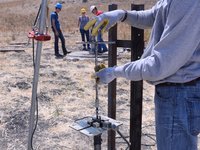
Firmly screw a T-handle onto the pump rod.
-
-
-
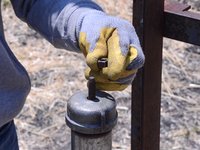
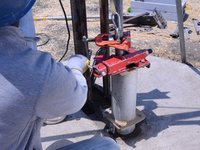
Use a pipe wrench to loosen and remove the pump spout.
-
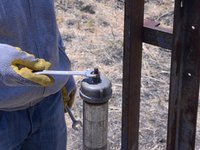
Place the spout on a clean surface to prevent any contamination.
-
-
-
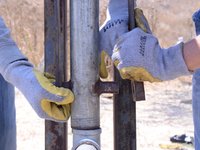
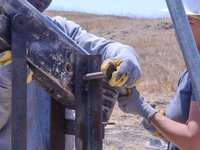
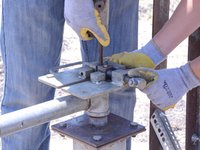
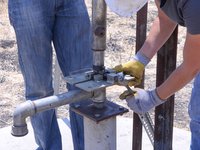
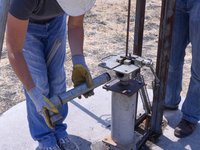
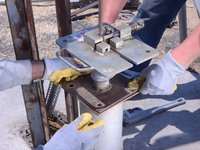
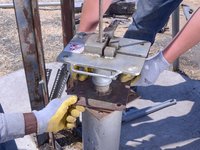
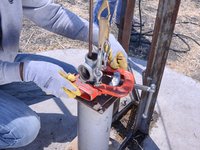
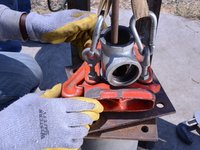
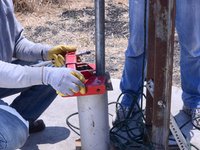
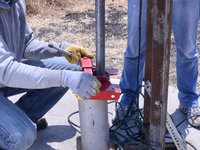
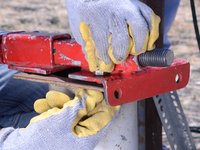
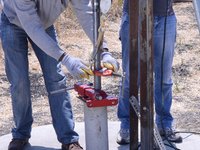
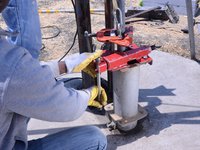
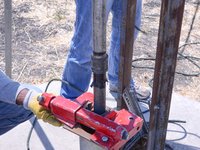
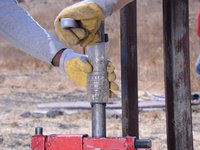
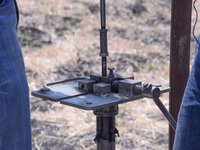
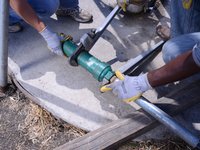
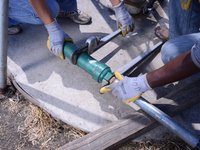
Place one wrench on the top of one of the pump riser plate bolts.
-
Place another wrench around the bottom of the bolt.
-
Pull the wrenches apart to loosen the bolt.
-
-
-
-
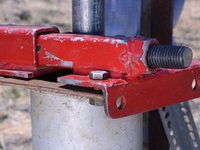
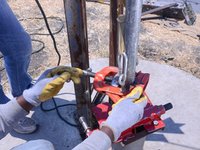
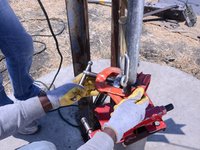
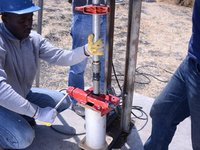
Remove the four nuts and bolts securing the pump riser plate, and store them in a sanitary container such as a bucket.
-
-
-
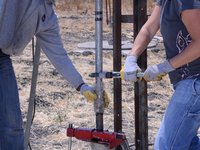
Rotate the pump plate 45 degrees. This will allow for a better grasp when lifting the plate.
-
-
-
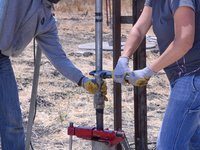
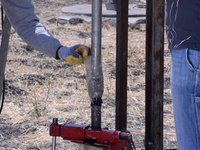
Securely lift the T-handle several inches.
-
While 2 people support the T-handle, remove the pump rod clamp.
-
Lower the T-handle gently until the pump rod is supporting itself.
-
-
-
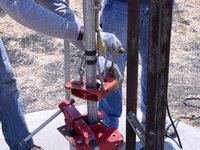
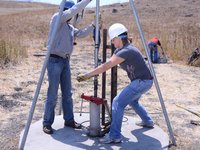
Securely clamp and tighten the pipe elevator to the riser main below the spout exit.
-
-
-
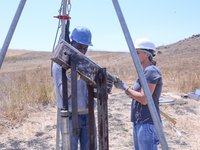
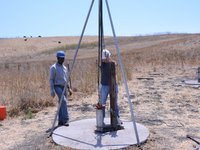
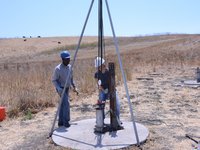
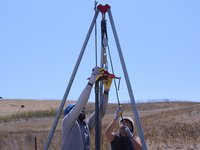
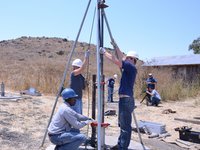
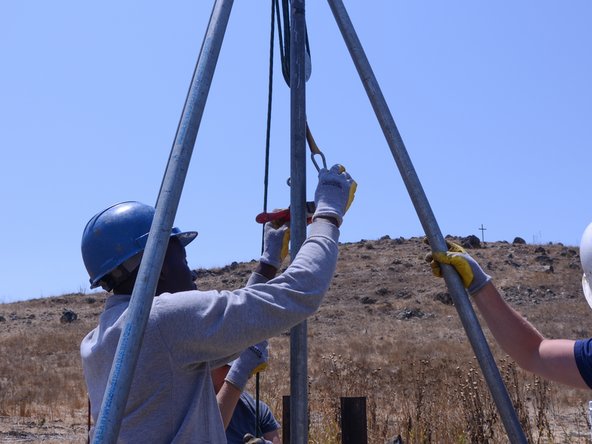
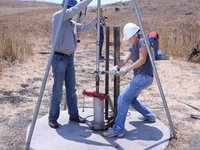
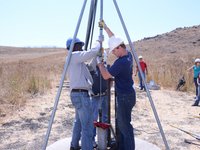
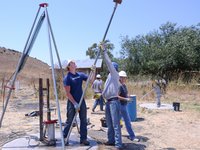
Being careful not to let the rope slip, use the block and tackle to lift the riser main until the pipe elevator reaches the block and tackle.
-
-
-
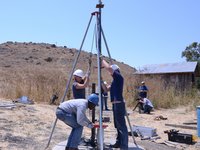
Once the riser main has reached the block and tackle, tighten the base clamp against the riser main.
-
-
-
While supporting the top portion of the pipe, carefully move the elevator clamp off of the pipe.
-
Lower the elevator clamp while providing tension towards the ground to prevent the ropes from tangling in the block and tackle.
-
-
-
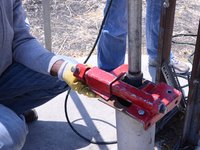
Attach and tighten the elevator clamp to the riser main as close to the bottom as possible.
-
-
-
Once the elevator clamp is tight, provide tension on the rope.
-
While keeping tension on the rope to support the riser, loosen the base clamp.
-
-
-
Remove the clamp from the riser main, and repeat steps 23-25 until first joint is exposed.
-
-
-
Remove the elevator clamp from the riser main, and secure it to the tripod to keep it out of the way.
-
-
-
Using a pipe wrench, unscrew the first section of the riser main from the connection.
-
-
-
Secure a splash guard over the joint to prevent water from spraying out of the connection when separated.
-
Using the pipe wrench, loosen the riser main until water begins to spray into the splash guard.
-
-
-
Remove the splash guard, and finish loosening the riser main.
-
Remove the first section of the riser main by lifting it straight up, while supporting the top of the section and keeping the pipe within the support slot on the top of the tripod.
-
-
-
Attach and tighten the rod clamp a few inches below the first pump rod connection.
-
-
-
Using two crescent wrenches, unscrew the pump rod from the remaining portion.
-
When the joint is separated, carefully lower the riser main to the ground.
-
-
-
Carefully lower the riser main, horizontally, and place it in a sanitary place, preferably resting above the ground, to prevent contamination.
-
-
-
Remove the T-handle from the separated pump rod.
-
Attach the T-handle to the remaining pump rod.
-
-
-
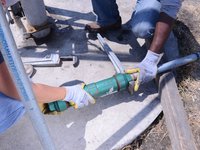
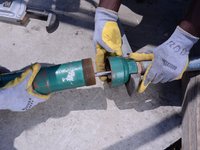
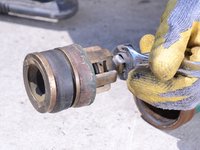
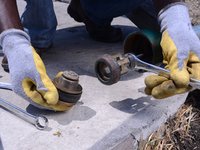
Slowly pull the cylinder off of the pump rod, exposing the traveling valve and foot valve.
-
-
-
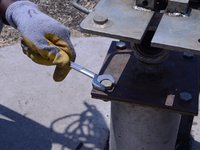
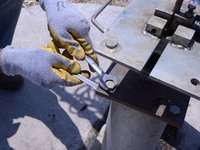
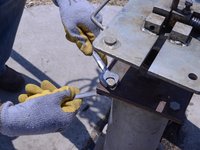
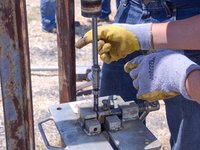
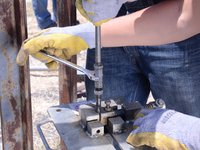
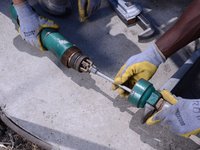
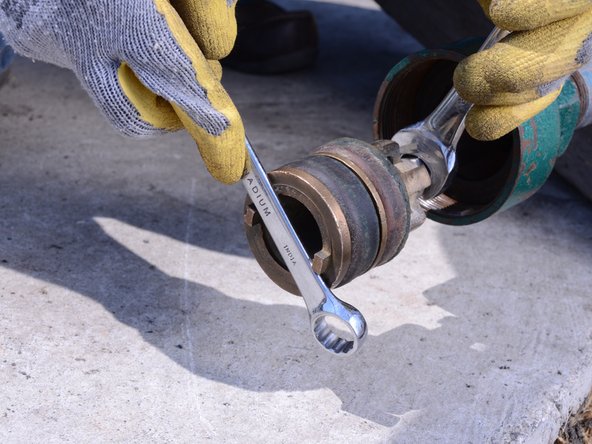
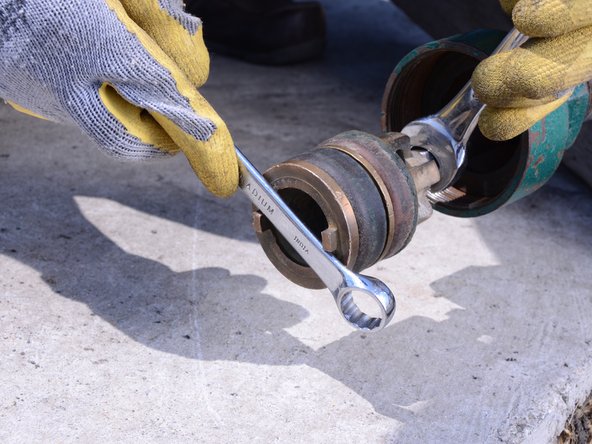
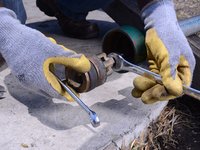
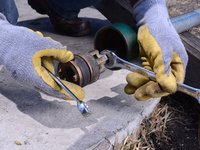
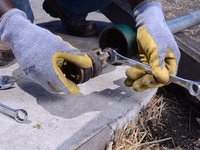
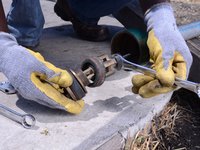
Insert a wrench into the slots located at the bottom of the traveling valve.
-
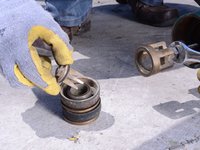
Using another wrench for leverage, unscrew the valve off the pump rod.
-


To reassemble your device, follow these instructions in reverse order.
To reassemble your device, follow these instructions in reverse order.
