
Conair Infiniti Pro Model 259NP On/Off Button Replacement

Timothy Lo und
Zuletzt aktualisiert am 10. Jun 2014
Aufrufe: 9530
Statistik anzeigen:
- Letzte 24 Stunden:
- 5
- Letzte 7 Tage:
- 27
- Letzte 30 Tage:
- 136
- Insgesamt:
- 9.530
Kommentare: 0
Es gibt noch keine Kommentare zu dieser Anleitung. Schreibst du den ersten?
Zu den KommentarenAbgeschlossen: 3 4
3 Personen haben diese Anleitung schon erfolgreich absolviert. Du auch?
4 Personen haben diese Anleitung schon erfolgreich absolviert, unter anderem du. Gut gemacht!
Favoriten: 0 1
Diese Anleitung hat noch niemand unter Favoriten gespeichert (und abonniert). Mach du den Anfang!
1 Person hat diese Anleitung als Favorit gespeichert (und abonniert) – du!
Fehlende Schritte
Hoppla! In dieser Anleitung fehlt noch mindestens ein wichtiger Schritt.
Einleitung
Zu Schritt 1 der Anleitung ↓For sticky on/off buttons, you may only need to clean the button. This guide will show you how to fully remove and replace the button.
Note: This guide requires soldering skills. If you don't know how to solder or want to brush up on your skills check out this handy tutorial.
Was du brauchst
Werkzeuge


-
-
-
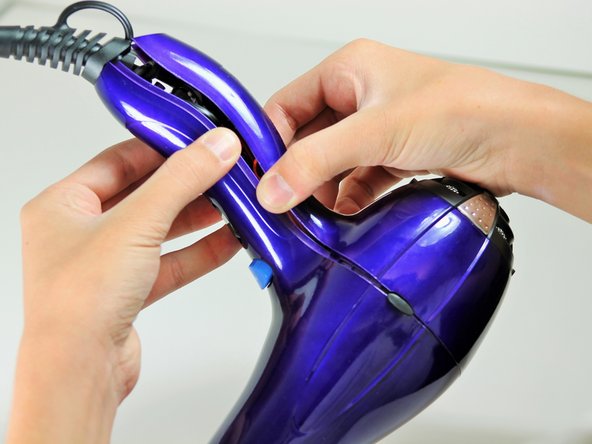
Hold the hair dryer by the handle so that the back panel faces up.
 Frag FixBot
-
-
-
Starting from where the cord attaches to the handle, pull apart the two plastic panels.
-
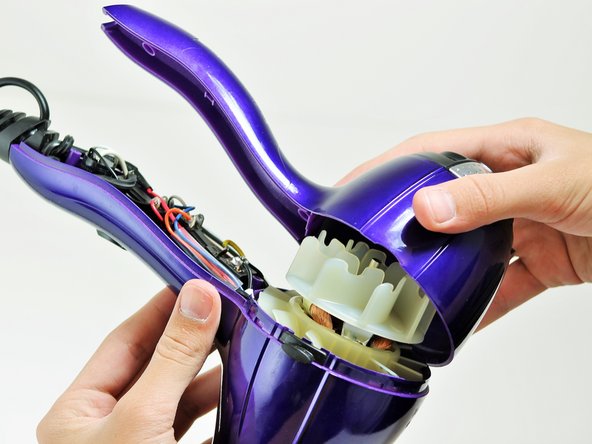
Continue separating the back panel, working along the seam.
-
With moderate force, completely remove the back panel from the hair dryer.
-
-
-
-
-
-
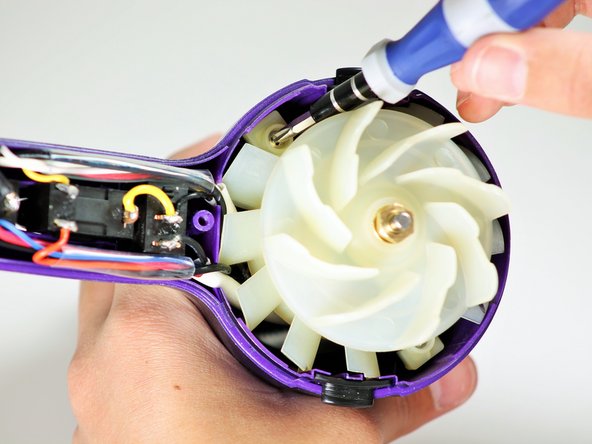
Hold the hair dryer by the nozzle so that the handle points to the left.
-
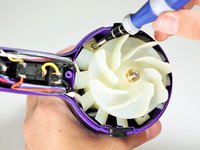
Remove the two 1-inch Phillips #2 screws from the back of the fan motor.
-
-
-
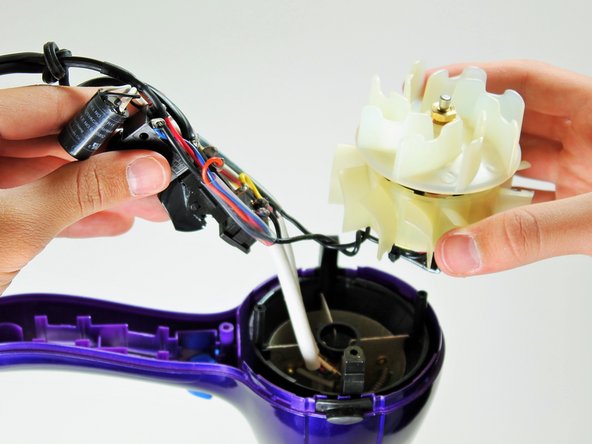
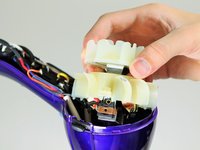
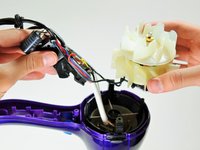
Pull on the back of the fan motor to gently lift the motor out of the hair dryer.
-
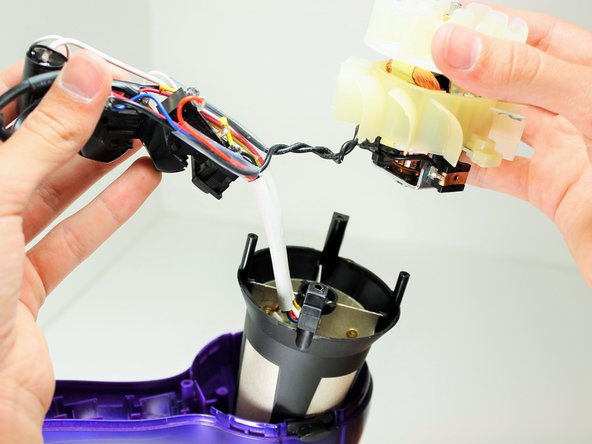
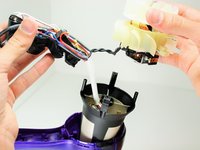
Lift the attached electrical wiring and heat shield completely out of the hair dryer.
-
-
-
-
-
Hold the electrical switches so that the wires are facing upwards.
-
-
-
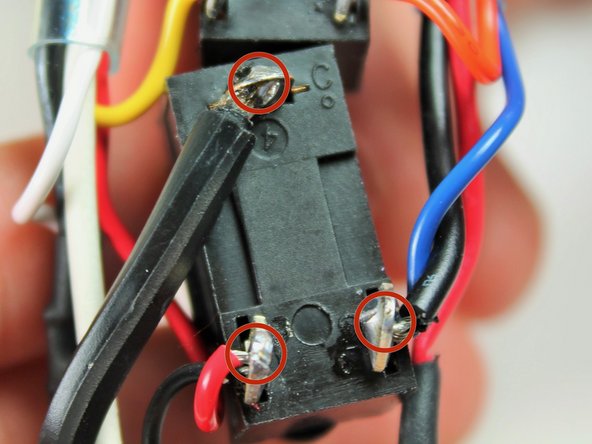
Focus on the button directly next to the cylindrical capacitor.
-
Desolder the button at the circled locations.
-
-






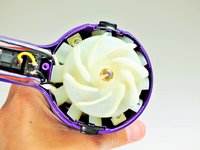


To reassemble your device, follow these instructions in reverse order.
Rückgängig: Ich habe diese Anleitung nicht absolviert.
3 weitere Personen haben diese Anleitung absolviert.

Team

Cal Poly, Team 10-58, Amido Spring 2014 Mitglied von Cal Poly, Team 10-58, Amido Spring 2014
CPSU-AMIDO-S14S10G58
4 Mitglieder
84 Anleitungen geschrieben
