
Samsung BD-JM57C Open Button Replacement

Einleitung
Zu Schritt 1 der AnleitungFollow this guide to replace a broken or faulty open button on your Samsung BD-JM57C Blu ray player.
The open button on the Blu-ray player allows all the disc tray to open and close, allowing you to insert a DVD or Blu-ray disc. A broken or faulty open button will prohibit the disc tray from operating.
Before taking apart the Blu-ray player and replacing the open button, look at the troubleshooting page for the Samsung BD-JM57C and see if your problem can be resolved.
Make sure the device is not plugged in before working on it.
Soldering is a requirement to complete this guide. Use the How to Solder and Desolder Connections guide for more information on soldering.
Was du brauchst


-
-
Use the Phillips #00 Screwdriver to remove the single 9.6mm screw holding the top cover in place.
-
Remove the cover by sliding it up and then out.
-
-
-
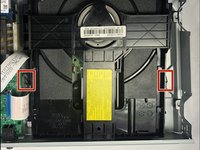
Disconnect the two ribbons that connect the disc drive to the motherboard.
-
-
-
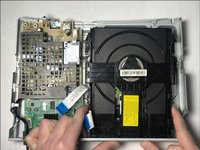
Push in on the two metal tabs on the side of the disc drive.
-
Push forward to slide the disc drive out of the casing.
-
-
-
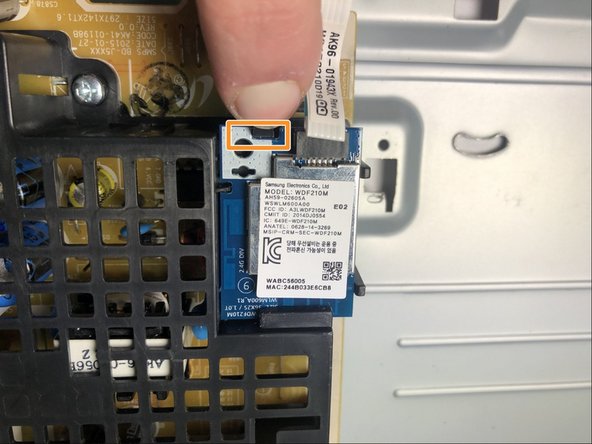
Pull clip to remove the WiFi card ribbon connected to the circuit board.
-
Push the black plastic tab out and slide the WiFi card out from the cage.
-
-
-
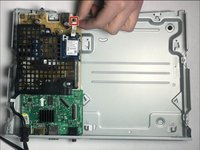
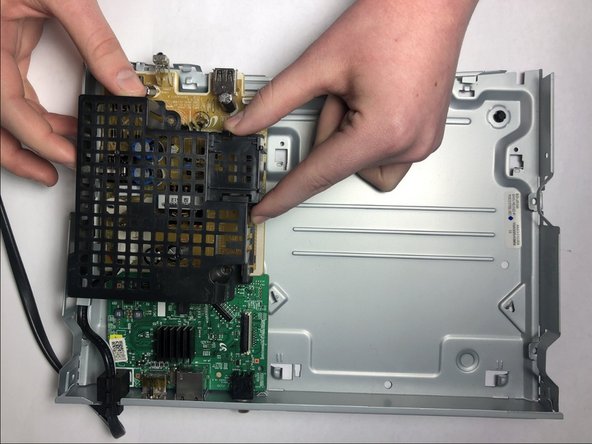
Use the Phillips #00 Screwdriver to remove the two 6.4 mm screws holding the cage in place.
-
Lift the cage up to remove it.
-
-
-
-
Remove the rubber spacer on the edge of the case holding the cord in place.
-
Remove the power cord from the device.
-
-
-
After the power cord has been disconnected, remove the yellow circuit board from the Blu ray player.
-
-
-
Use the Phillips #00 screwdriver to remove the 9.7mm screw holding the HDMI port in place on the outside of the case.
-
-
-
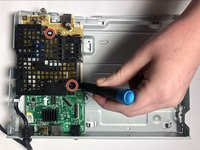
Use the Phillips #00 screwdriver to remove the 6.4mm screw holding the motherboard in place.
-
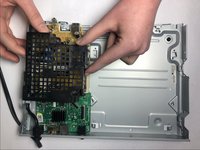
Pull the motherboard up to remove it from the device.
-
-
-
Flip the motherboard over so that the green side is facing you.
-
Use a soldering iron to desolder the two points to disconnect the open button.
-


To reassemble your device, follow these instructions in reverse order.
To reassemble your device, follow these instructions in reverse order.
Rückgängig: Ich habe diese Anleitung nicht absolviert.
2 weitere Personen haben diese Anleitung absolviert.

Team

Embry-Riddle Aeronautical University, Team S1-G5, Cromer Twal Spring 2020 Mitglied von Embry-Riddle Aeronautical University, Team S1-G5, Cromer Twal Spring 2020
ERAU-CROMER TWAL-S20S1G5
4 Mitglieder
5 Anleitungen geschrieben