
TopTro TR23 Lens Replacement

Einleitung
Zu Schritt 1 der AnleitungHaving trouble viewing the picture on you screen While using your TopTro TR23 projector? This is a guide on how to take the lens off of your projector.
Before continuing onto this guide I would first make sure that your lens I clean and free from smudges. By taking some glass cleaner and terry cloth, spraying and wiping down you lens, you could save some time with taking apart and replacing the lens.
Before starting to this guide make sure that your projector is unplugged from it's power source and in on a sturdy, level surface.
Was du brauchst
Werkzeuge


Mehr anzeigen …
-
-
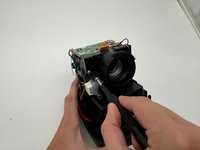
Set the projector on its side so the the front is facing to your left.
-
Insert an opening tool into the seam between the black chassis and the silver case.
-
Pry around the perimeter until the case fully releases.
-
Remove the case.
-
-
-
-
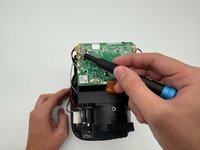
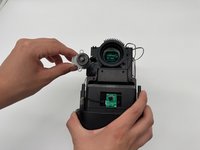
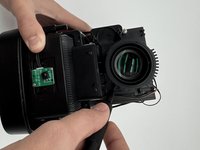
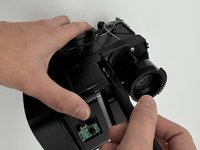
Use your fingernails to gently disconnect the motor connector from its motherboard socket.
-
Remove the focus motor.
-
-
-
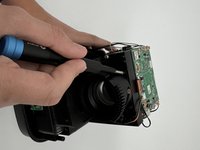
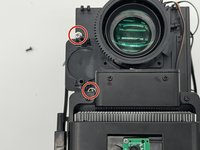
Face the lens towards you.
-
Remove the four small black screws around the lens with a Phillips screwdriver.
-


To reassemble your device, follow the above steps in reverse order.
Take your e-waste to an R2 or e-Stewards certified recycler.
Repair didn’t go as planned? Try some basic troubleshooting or ask our Answers community for help.
To reassemble your device, follow the above steps in reverse order.
Take your e-waste to an R2 or e-Stewards certified recycler.
Repair didn’t go as planned? Try some basic troubleshooting or ask our Answers community for help.

Team

University of North Texas, Team 6-2, Kilpatrick Fall 2024 Mitglied von University of North Texas, Team 6-2, Kilpatrick Fall 2024
UNT-KILPATRICK-F24S6G2
4 Mitglieder
5 Anleitungen geschrieben