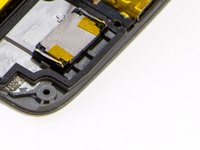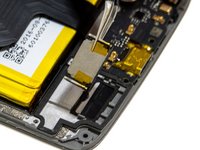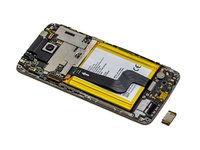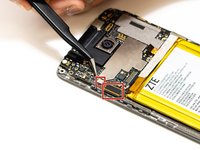
ZTE Axon 7 Screen Replacement
Einleitung
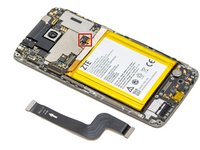
Zu Schritt 1 der AnleitungWhen the display on your ZTE Axon 7 smartphone is cracked or is displaying lines and/or won't display anything at all, the screen assembly may need to be replaced. To view some troubleshooting issues for the display, visit the troubleshooting page.
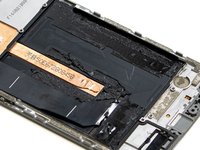
The entire assembly must be replaced instead of just the glass or the LCD. Both are connected as one. This process is tedious, yet straightforward and requires some patience. In this guide, all internal parts must be removed from the screen assembly and placed into a new screen assembly.
Before beginning this repair, power off your phone and unplug it from the charger.
Was du brauchst
-
-
Using the SIM Tray Removal Tool, press the pin into the hole on the SIM Tray (located on the top left of the device) to eject the tray.
-
-
-
Heat the iOpener in the microwave for 15-30 seconds.
-
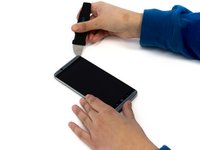
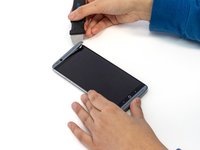
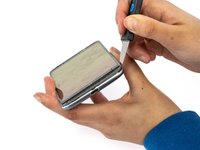
Place the iOpener on top of the top and bottom speaker grills to loosen up the adhesive underneath.
-
-
-
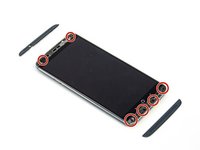
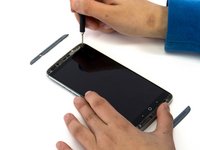
Use a Phillips #00 screwdriver to remove the six 3 mm screws located under the speaker grills.
-
-
-
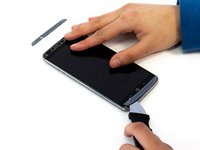
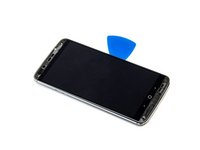
Carefully wedge the Jimmy between the screen and aluminum back plate of the device.
-
Begin near the bottom right of the device and carefully work under the screen and slide the Jimmy up the edge of the device to remove the back case.
-
-
-
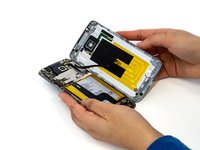
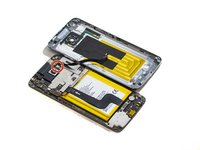
Separate the front and back of the phone, (like a book) to open and gain access to the internal components.
-
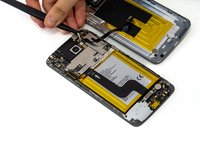
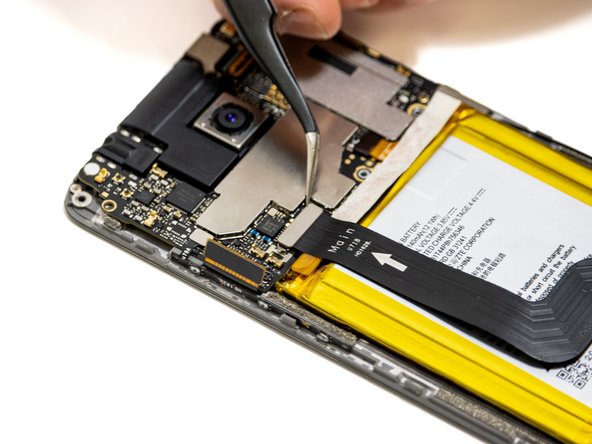
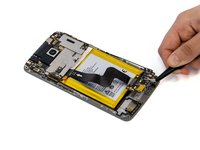
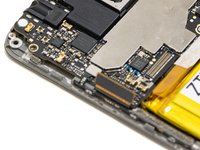
Place the tip of your opening tool under the edge of the connector, and pry the connector straight up from its socket.
-
-
In diesem Schritt verwendetes Werkzeug:Tweezers$3.99
-
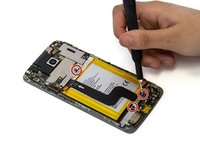
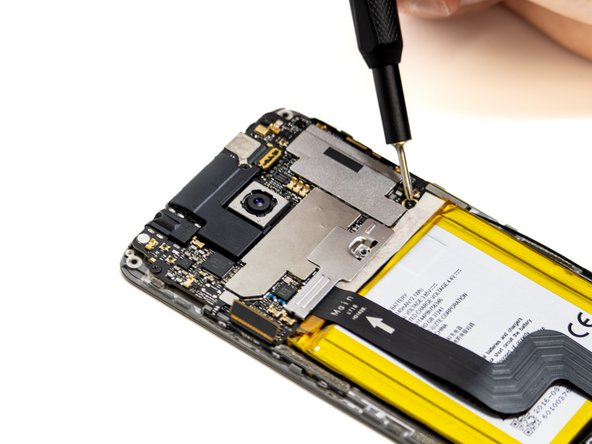
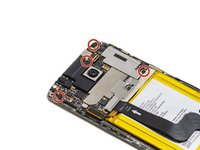
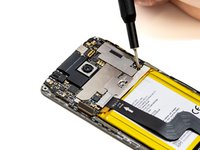
Use a Phillips #00 screwdriver to remove three 2.0 mm screw securing brackets on the top and bottom of the battery.
-
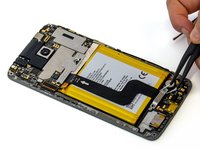
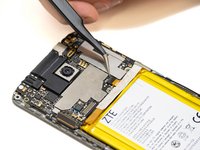
Use the angled tweezers and lift the bottom bracket up and off the phone.
-
Use the angled tweezers to slide the top bracket up and off the phone.
-
-
-
-
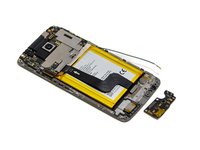
Disconnect both ends of the cable covering the battery by placing the tip of your opening tool or spudger under the edge of the connector and prying the connector straight up from its socket.
-
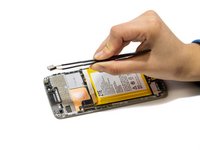
Remove the press fit cable.
-
-
-
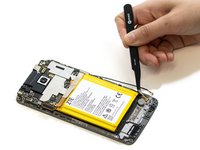
Place the tip of your opening tool or spudger under the edge of the battery connector, and pry the connector straight up from its socket to disconnect from the motherboard.
-
-
-
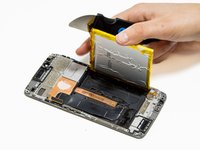
To remove the battery, use a spudger to carefully pry and slide along the edges of the battery in small increments to release the adhesive.
-
-
-
Use a Phillips #00 screwdriver to remove a single 2.0 mm screw near the vibration motor.
-
-
-
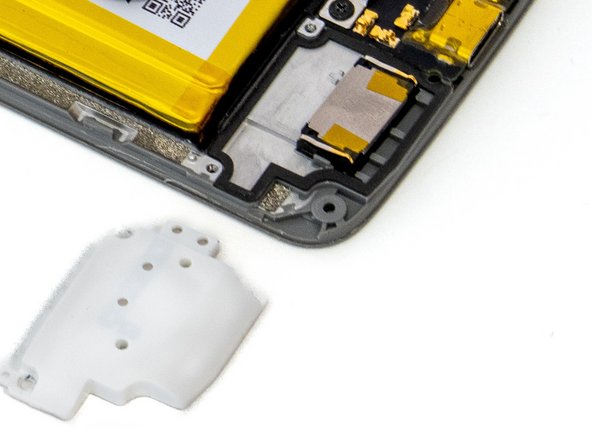
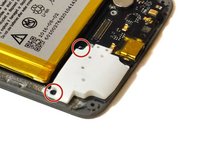
Use a Phillips #00 screwdriver to remove the two 2.0 mm screws securing the white speaker cover.
-
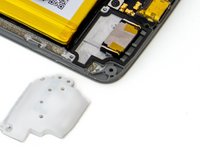
Remove the speaker cover.
-
-
In diesem Schritt verwendetes Werkzeug:Tweezers$4.99
-
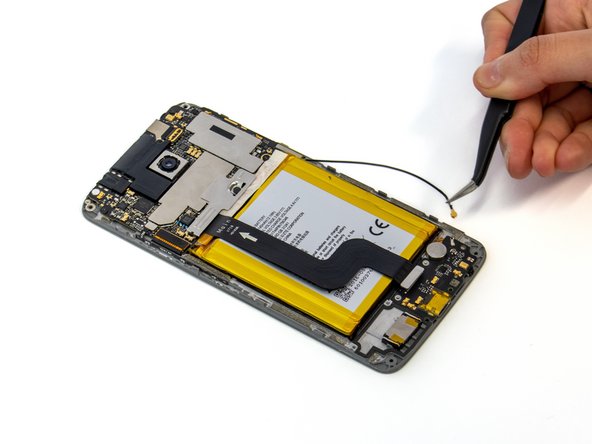
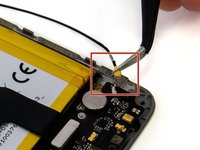
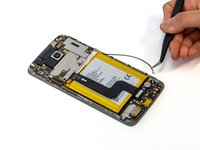
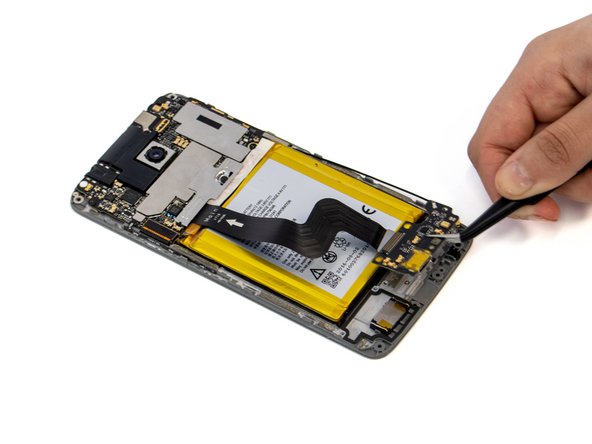
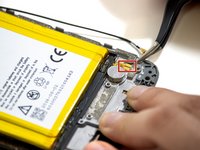
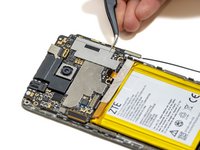
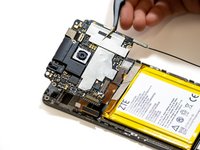
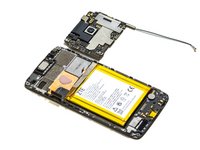
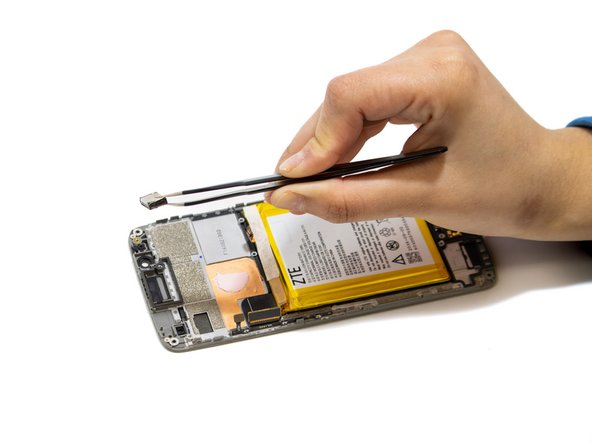
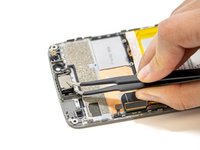
Slide a thin, ESD-safe pry tool or tweezers under the wire until it's snug against the connector, and pry straight up from the board to disconnect the coaxial antenna cable.
-
-
-
Disconnect the vibration motor cable by placing the tip of an opening tool or spudger under the edge of the connector.
-
Pry the connector straight up from its socket.
-
-
-
Use a spudger to pry the lower speaker from the case.
-
Use tweezers to remove the lower speaker out of the device.
-
-
-
Place the tip of your opening tool or spudger under the edge of the two press connectors on the left side of the motherboard.
-
Pry the connector straight up from its socket to disconnect from the motherboard.
-
-
-
Use a Phillips #00 screwdriver to remove the four 3.0 mm screws securing the motherboard.
-
-
-
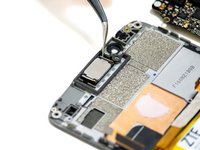
Use a spudger to pry the top speaker out from the phone chassis.
-
Remove the top speaker with tweezers.
-
-
-
Use tweezers to pull the volume/power buttons up and out from the display frame.
-
Repeat the steps in reverse order to reassemble into new display assembly. Use the 2mm Tesa Tape to secure the battery and speaker grills into place during reassembly.
Repeat the steps in reverse order to reassemble into new display assembly. Use the 2mm Tesa Tape to secure the battery and speaker grills into place during reassembly.
Rückgängig: Ich habe diese Anleitung nicht absolviert.
Eine weitere Person hat diese Anleitung absolviert.


