Zum Hauptinhalt wechseln
Gemeinsam reparieren - Jetzt registrieren

Asus ROG Strix GL702VS Motherboard Replacement

Was du brauchst

    1. Asus ROG Strix GL702VS Motherboard Replacement, Back Cover: Schritt 1, Bild 1 von 1
      • Flip the computer so the bottom of the laptop is facing up.

      Frag FixBot

      Kommentar hinzufügen

    2. Asus ROG Strix GL702VS Motherboard Replacement: Schritt 2, Bild 1 von 1
      • Remove the ten JIS #0 screws around the edge of the laptop.

      • The two bottom screws are slightly shorter

      Frag FixBot

      Kommentar hinzufügen

    3. Asus ROG Strix GL702VS Motherboard Replacement: Schritt 3, Bild 1 von 2 Asus ROG Strix GL702VS Motherboard Replacement: Schritt 3, Bild 2 von 2
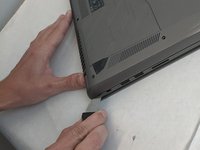
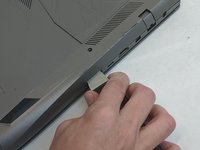
      • Use a Jimmy to carefully free each side of the bottom casing.

      Frag FixBot

      Kommentar hinzufügen

    4. Asus ROG Strix GL702VS Motherboard Replacement: Schritt 4, Bild 1 von 1
      • Lift up the back casing from the computer.

      • You may hear clicking or snapping sounds. This is just the plastic clips coming loose.

      Frag FixBot

      Kommentar hinzufügen

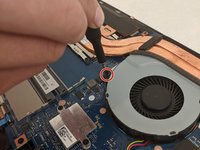
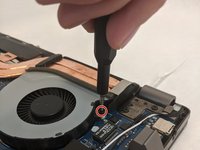
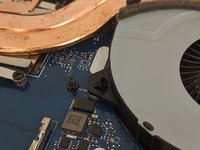
    1. Asus ROG Strix GL702VS Motherboard Replacement, Cooling Fans: Schritt 5, Bild 1 von 3 Asus ROG Strix GL702VS Motherboard Replacement, Cooling Fans: Schritt 5, Bild 2 von 3 Asus ROG Strix GL702VS Motherboard Replacement, Cooling Fans: Schritt 5, Bild 3 von 3
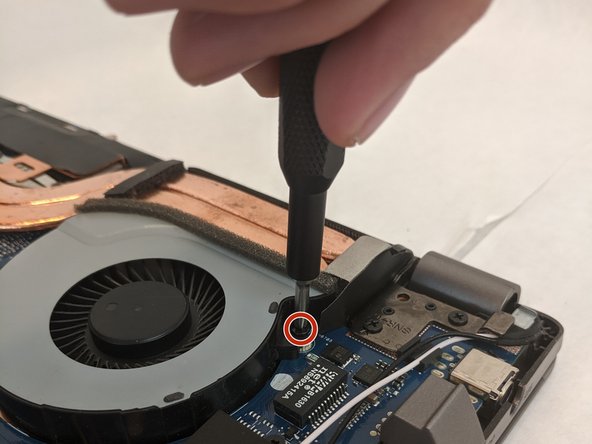
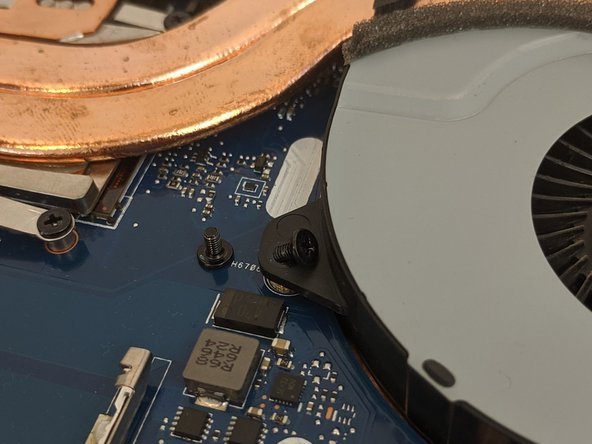
      • Remove the four 4.8mm JIS #0 screws (two on each fan).

      Frag FixBot

      Kommentar hinzufügen

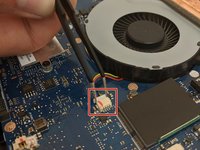
    2. Asus ROG Strix GL702VS Motherboard Replacement: Schritt 6, Bild 1 von 3 Asus ROG Strix GL702VS Motherboard Replacement: Schritt 6, Bild 2 von 3 Asus ROG Strix GL702VS Motherboard Replacement: Schritt 6, Bild 3 von 3
      In diesem Schritt verwendetes Werkzeug:
      Tweezers
      $4.99
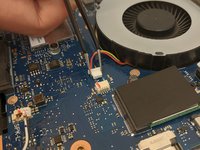
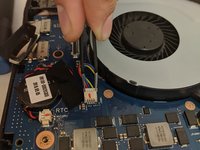
      • Remove the fan's connector on the motherboard using a pair of tweezers.

      • Be gentle, as the small clips and wires can be easily damaged.

      Frag FixBot

      Kommentar hinzufügen

    3. Asus ROG Strix GL702VS Motherboard Replacement: Schritt 7, Bild 1 von 2 Asus ROG Strix GL702VS Motherboard Replacement: Schritt 7, Bild 2 von 2
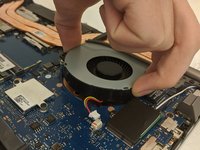
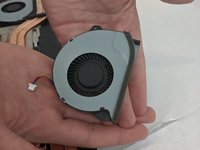
      • Gently lift each fan up and out of position.

      Frag FixBot

      Kommentar hinzufügen

    1. Asus ROG Strix GL702VS Motherboard Replacement, Motherboard: Schritt 8, Bild 1 von 1
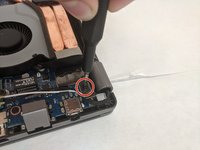
      • Disconnect the screen connector by lightly pulling the clip out.

      • The wires are delicate; disconnecting shouldn't take much force.

      Frag FixBot

      Kommentar hinzufügen

    2. Asus ROG Strix GL702VS Motherboard Replacement: Schritt 9, Bild 1 von 1
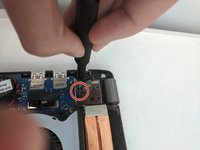
      • Remove the seven 4mm JIS #0 screws from the motherboard.

      • One may be hidden, requiring disconnecting the screen connector.

      Frag FixBot

      Kommentar hinzufügen

    3. Asus ROG Strix GL702VS Motherboard Replacement: Schritt 10, Bild 1 von 2 Asus ROG Strix GL702VS Motherboard Replacement: Schritt 10, Bild 2 von 2
      • Unscrew the two 6.5mm JIS #0 screws located at the top corners of the motherboard.

      Frag FixBot

      Kommentar hinzufügen

    4. Asus ROG Strix GL702VS Motherboard Replacement: Schritt 11, Bild 1 von 1
      • Using the opening tool, lift up the flaps that secure the screen to the base.

      Frag FixBot

      Kommentar hinzufügen

    5. Asus ROG Strix GL702VS Motherboard Replacement: Schritt 12, Bild 1 von 1
      • Disconnect the Wi-Fi antenna by unplugging the black and white wires located behind the ethernet port.

      • For reassembly, note the corresponding triangles for each wire.

      Frag FixBot

      Kommentar hinzufügen

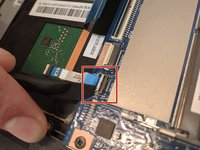
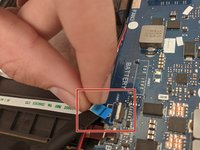
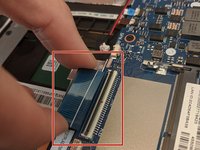
    6. Asus ROG Strix GL702VS Motherboard Replacement: Schritt 13, Bild 1 von 3 Asus ROG Strix GL702VS Motherboard Replacement: Schritt 13, Bild 2 von 3 Asus ROG Strix GL702VS Motherboard Replacement: Schritt 13, Bild 3 von 3
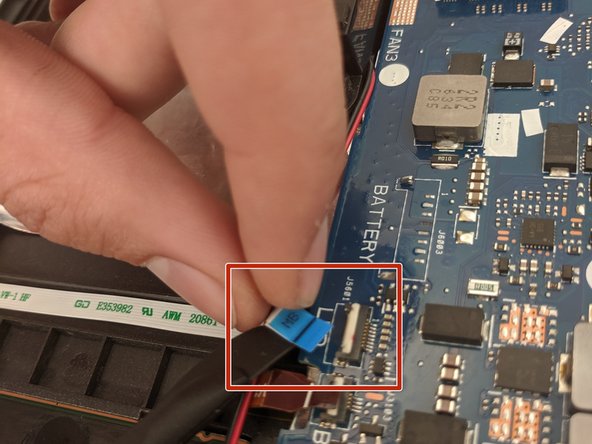
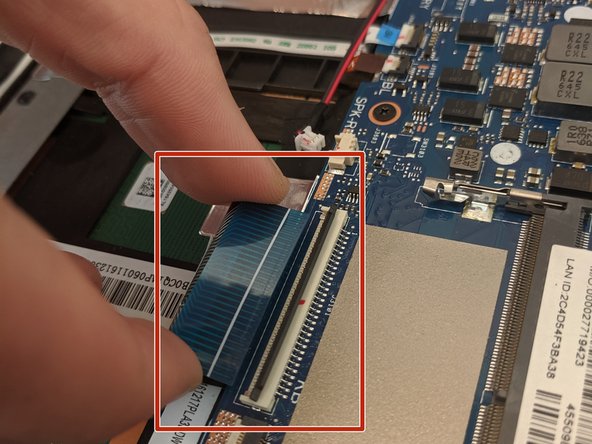
      • Use a spudger tool to lift the connector tabs on the motherboard and slide the four ribbons out.

      Frag FixBot

      Kommentar hinzufügen

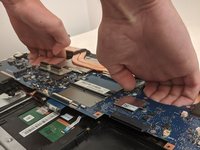
    7. Asus ROG Strix GL702VS Motherboard Replacement: Schritt 14, Bild 1 von 2 Asus ROG Strix GL702VS Motherboard Replacement: Schritt 14, Bild 2 von 2
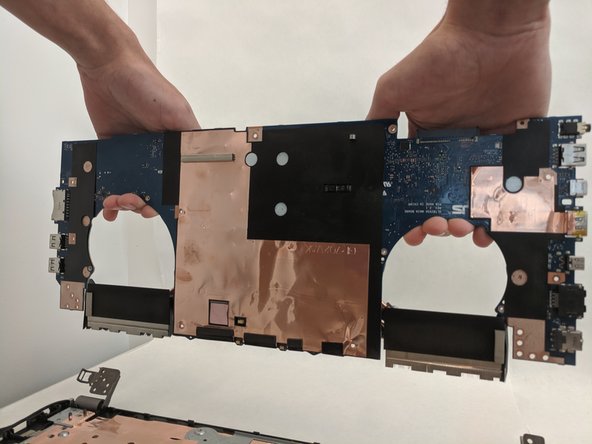
      • Grasp the motherboard where the fans are located and lift up.

      • Do not force it. If you feel resistance, restart this guide to ensure you have removed all screws and connectors.

      Frag FixBot

      Kommentar hinzufügen

Abschluss

To reassemble the device, follow these instructions in reverse order.


Rückgängig: Ich habe diese Anleitung nicht absolviert.

2 weitere Personen haben diese Anleitung absolviert.

4 Kommentare zur Anleitung

Any recommendation on WHERE to get a replacement mobo for this unit? Not having any luck in tracking one down.

help - Antwort Teilen

Try ebay -- that's where I got mine.. arrived in a few weeks from China.
turgut kalfaoglu - Antwort Teilen

What I wonder is that, when replacing the motherboard, should I remove all the aluminium tape that's at the bottom of the case? I suspect some of it has lifted and caused a short previously..

turgut kalfaoglu - Antwort Teilen

Yes I just replaced the motherboard. There are lots more tips that could have been added here but I used this page to remember where the screws are. Many thanks..

turgut kalfaoglu - Antwort Teilen

Kommentar hinzufügen

Seitenaufrufe:

Letzte 24 Stunden: 2

Letzte 7 Tage: 17

Letzte 30 Tage: 55

Insgesamt: 2,354