
Lenovo IdeaPad G50-45 Screen Replacement
Einleitung
Zu Schritt 1 der AnleitungThis is a guide to replace the faulty screen of the Lenovo IdeaPad G50-45 laptop.
The laptop screen is a component which displays graphics on a liquid crystal display (LCD) screen. Replacement is necessary if the screen becomes physically damaged such as having cracks, multi-colored vertical lines and black or white spots.
Before using this guide, troubleshoot the screen to make sure that physical damage is actually present- oftentimes image distortion and resolution lines can be caused by graphics card or processor failure too. Faulty video cable also causes these problems.
The replacement LCD panel must be compatible to your laptop specifications. This includes screen size, resolution, back-light and the connector type at the bottom of the screen. The exact screen model number can be checked at the backside of the original screen.
Handle the replacement screen with caution as it is fragile and easily damages if dropped or overly pressured. Make sure to power off your laptop completely and disconnect from any external power source prior to beginning this process.
Was du brauchst
Ersatzteile

Werkzeuge


Mehr anzeigen …
-
-
Remove the bezel by using the iFixit plastic opening tool to lift up an edge.
-
-
-
Finish removing the bezel by using your hand on the inside of the screen and popping it off.
-
-
-
-
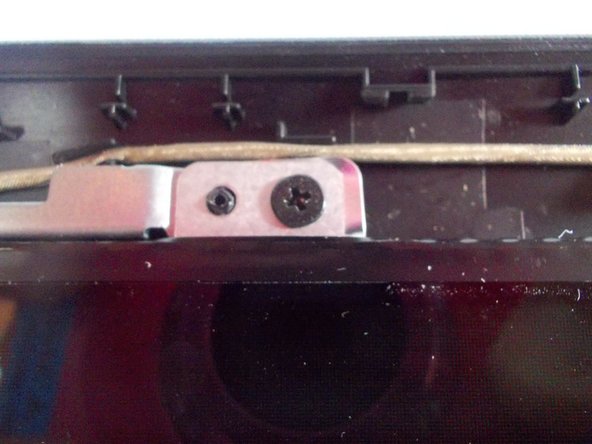
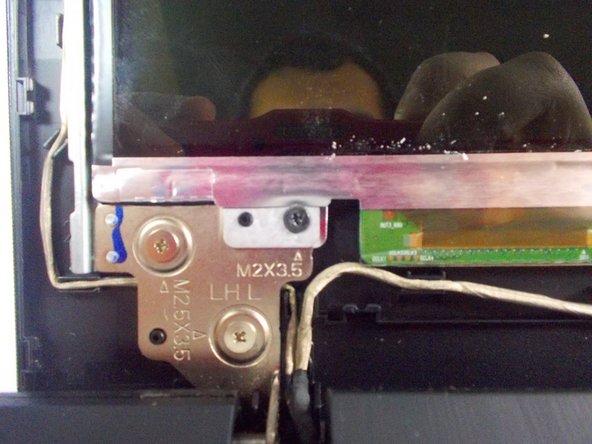
Remove the 4 screws located in each corner of the screen using the Phillips #2 screwdriver.
-
-
-
Peel back the sticker that attaches the connector to the back of the screen.
-
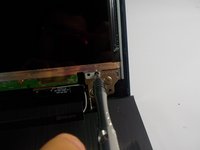
Disconnect the cable that connects the screen to the computer.
-


To reassemble your device, follow these instructions in reverse order.
To reassemble your device, follow these instructions in reverse order.
Rückgängig: Ich habe diese Anleitung nicht absolviert.
6 weitere Personen haben diese Anleitung absolviert.
Team

UMass Dartmouth, Team 2-6, Shastany Fall 2015 Mitglied von UMass Dartmouth, Team 2-6, Shastany Fall 2015
UMASSD-SHASTANY-F15S2G6
3 Mitglieder
5 Anleitungen geschrieben