
iPhone 6s Display Einheit ersetzen

Einleitung
Zu Schritt 1 der AnleitungDiese Anleitung wird nur für historische Zwecke beibehalten. Verwenden Sie die aktualisierte Version der Anleitung, um Ihre Reparatur durchzuführen. Sie können hier die aktualisierte Version dieser Anleitung finden.
Was du brauchst
Fix Kit
Dieses Kit enthält alle Ersatzteile und Werkzeuge, die für die Anleitung benötigt werden.

Ersatzteile


Werkzeuge


Mehr anzeigen …
-
-
Entferne die beiden 3,4 mm P2 Pentalobe Schrauben an der Unterseite des iPhones neben dem Lightning-Anschluss.
-
-
In diesem Schritt verwendetes Werkzeug:iSclack$24.99
-
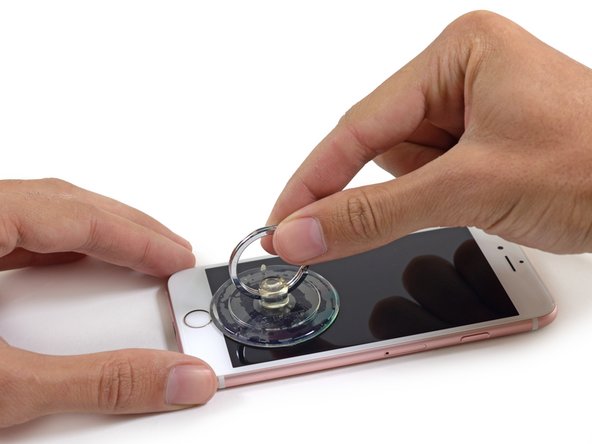
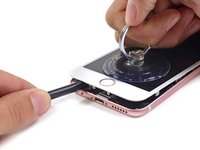
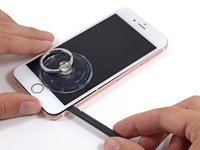
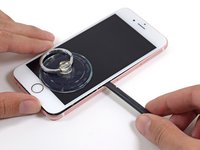
Wenn du keinen iSclack zur Verfügung hast, verwende einen Saugnapf, um das Front Panel anzuheben:
-
Presse den Saugnapf oberhalb des Home Buttons gegen das Display.
-
-
-
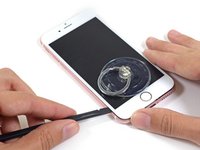
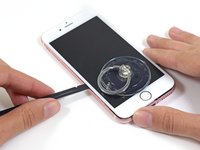
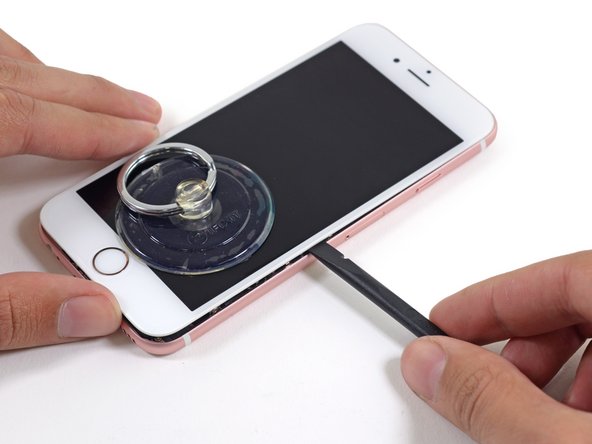
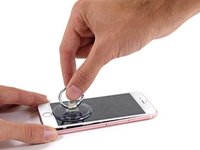
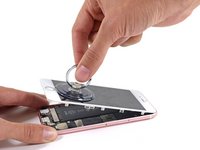
Halte das iPhone mit einer Hand fest und ziehe am Saugnapf, um das Front Panel vom hinteren Gehäuse zu trennen.
-
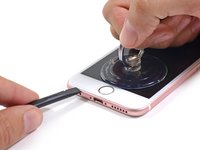
Sobald sich eine kleine Lücke zwischen dem Display und dem Rückgehäuse geöffnet hat, platziere den flachen Teil eines Spudgers darin, direkt über der Kopfhörer-Buchse.
-
-
-
Drehe den Spudger hochkant, um die Lücke zwischen Display-Einheit und dem Rest des iPhones zu vergrößern und vom Kleber zu befreien.
-
-
-
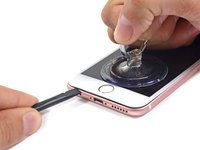
Fahre mit dem Spudger auf der linken Seite in Richtung obere Hälfte des iPhones, um den Kleber zu trennen und die Klammern zu lösen.
-
-
-
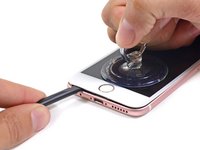
Fahre mit dem Rand eines Spudgers an der linken Seiten des Telefons entlang und löse dadurch den Kleber.
-
-
-
Nutze den Saugnapf, um das Display zu öffnen, dadurch sollte auch der letzte festsitzende Kleber entfernt werden.
-
-
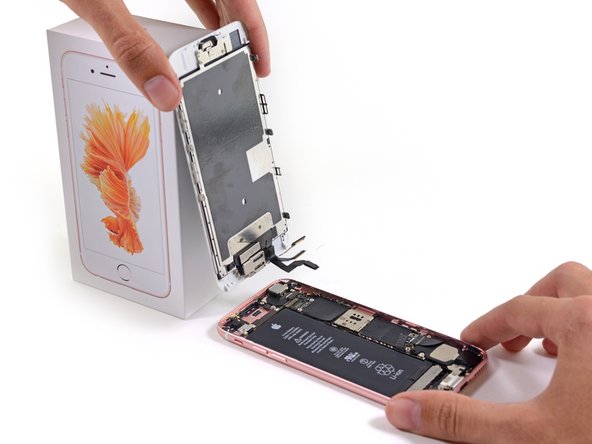
THESE INSTRUCTION / GUIDE IS NOT COMPLETE. I broke my phone and ended up with $250 in repairs at the local cell phone store at this step. You need to detach the display completely instead of prop it up against a box. It is very likely your cables will tear at this step if you don’t completely detach the display
-
-
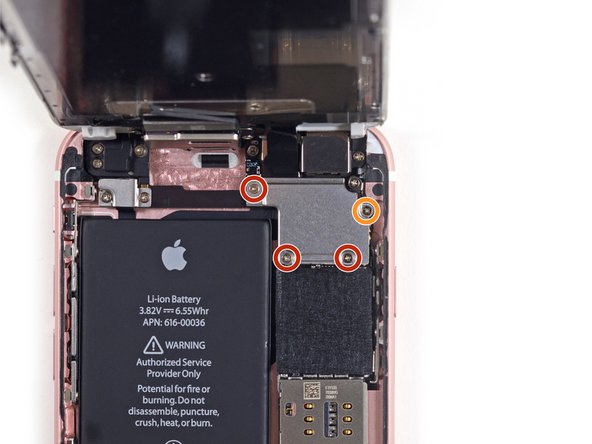
Entferne die beiden folgenden Kreuzschlitzschrauben von der Kabelabdeckung des Akkuanschlusses:
-
Eine 3,0 mm Kreuzschlitzschraube #00
-
Eine 2,3 mm Kreuzschlitzschraube #00
-
-
-
Heble den Akkustecker mit dem flachen Ende eines Spudgers vorsichtig von seinem Anschluss auf dem Logic Board.
-
Drücke den Akkustecker vom Logic Board weg, so dass es während der Reparatur nicht zu einer unbeabsichtigten Verbindung mit dem Anschluss kommt.
-
-
-
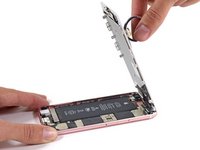
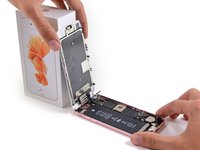
Halte das Front Panel in einem Winkel von 90° geöffnet und entferne die folgenden fünf Kreuzschlitzschrauben, mit dem die Klemme des Front Panel Kabels befestigt ist:
-
Drei 1,3 mm Schrauben
-
Eine 3,0 mm Schraube
-
-
-
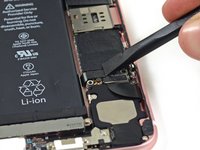
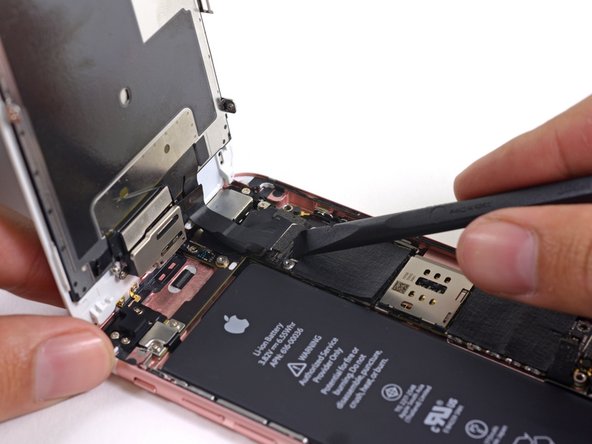
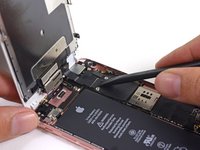
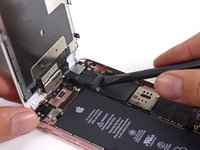
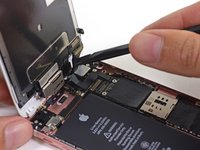
Verwende die flache Seite eines Spudgers, um die Frontkamera und den Sensorenkabelstecker zu trennen.
-
-
-
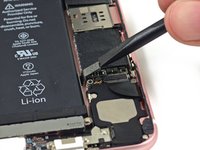
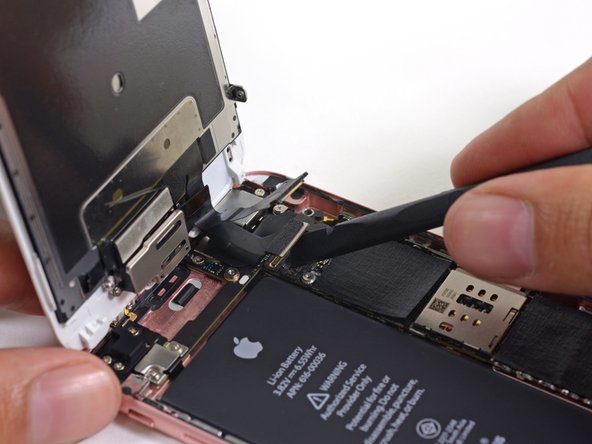
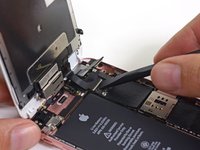
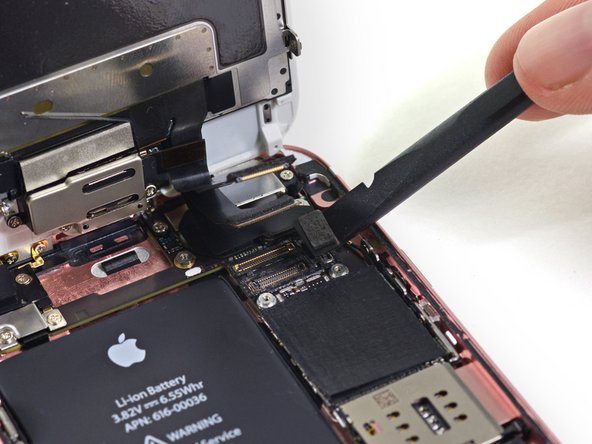
Verwende das flache Ende eines Spudgers, um den Display Datenkabelstecker zu trennen.
If you have connected the new digitizer and LCD screen and powered the phone back on to verify everything is working and if the Apple Logo starts blinking and does not bring you to the Login screen, then you need to also replace the iFixit front facing camera cable/assembly with the original one from the cracked screen.
-
-
-
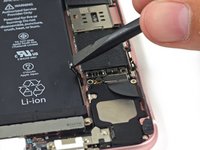
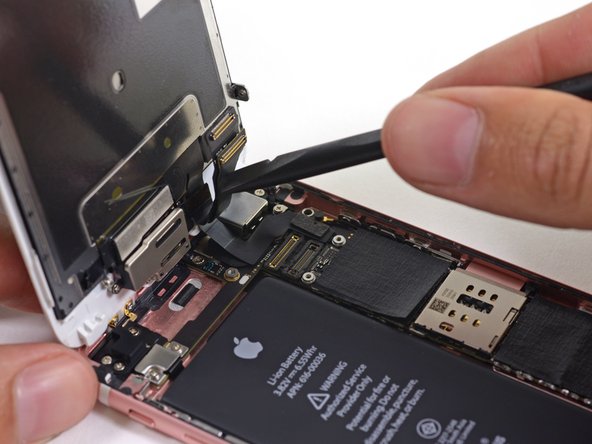
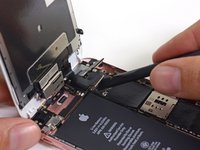
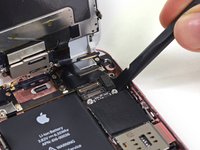
Verwende das flache Ende eines Spudgers, um den Kabelstecker des Digitizers zu trennen.
-
-
-
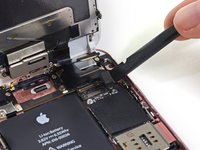
Entferne die Display Einheit vom hinteren Gehäuse.
-


Arbeite die Schritte in umgekehrter Reihenfolge ab, um dein Gerät wieder zusammenzubauen.
Arbeite die Schritte in umgekehrter Reihenfolge ab, um dein Gerät wieder zusammenzubauen.
Rückgängig: Ich habe diese Anleitung nicht absolviert.
153 weitere Personen haben diese Anleitung absolviert.
Besonderer Dank geht an diese Übersetzer:innen:
100%

Diese Übersetzer:innen helfen uns, die Welt zu reparieren! Wie kann ich mithelfen?
Hier starten ›


21 Kommentare
while technically correct, this guide is not complete in the sense that a new tech cannot follow it step-by-step to successfully complete a screen replacement. You should include the steps necessary to move the parts over from the old screen. Yes you can buy screen replacements with small parts but most repair operations don't do that as it isn't that hard to move them and much less expensive.
There are many small parts involved in moving from one screen to another. There are also a few steps that require prying a flex from the frame that is taped down. Having the additional steps in this guide that point out exactly where each small parts go and how to successfully pull the flex off without tearing it would be a huge improvement to this guide (and all the other screen replacement guides as they all have the same gap)
thanks - this is a great site and my techs use it for training every day.
The demo ends before it does what is stated in the heading (Display Replacement.) This demo is for Front Panel Assembly Replacement.
PJL500 -
As stated in the intro, this is just the full front panel assembly guide. We'll be posting more thorough screen replacement guides in the future. Stay tuned ;)
When will you be selling the 6S replacement screen. I only see on for the 6 and it says not compatible with the 6S.
Additionally is it possible to replace just the glass and not all the other parts?
That is what i am curious about as well!!!
just cracked the glass in the bottom left corner of my 6s Plus.
brink28 -
You do know that without replacing the adhesive the 6s' force touch can stop working entirely.
Plus you do not need to disconnect the battery if the iPhone is off. There is a component next to the battery connector that if damaged during the disconnection of the battery you could kill your iPhone.
Hi Brayden,
So I assume you're saying you can replace Just the Glass as long as you use the adhesive to glue down the replacement glass, does this mean you can use an iPhone 6 glass? Your feedback will be greatly appreciated,
Sincerely,
Jason.
Jason -
Hey Jason
If you damaged the display glass, you would need to find a way of moving over the 3D Touch sensor to the new display.
Even if you manage to replace the display without damaging the 3D Touch sensor then you will have to replace the Adhesive that holds the display panel to the main body of the iPhone. Otherwise you could have a non-functioning 3D touch.
Regards
Brayden
So I did a complete teardown of the 6s motherboard to do a water treatment but what I can't figure out is what the screw below the back camera and above the lcd plate does. My co-worker took the phone apart and in the pictures it looks like its a wifi ground or something but I cannot find anything that attaches there any one know what it is?
Should heating around lcd edge (bottom part first) only make suction then slowly heat the edge again be careful when suck the screen, don't hurry and don't use too much force.
Thank you for the demo. cheers! i will perform a build up from to iphone 6s soon this will help me i will record a video and share it.
There is an adhesive between each flex cable connector and the logic board socket. When we disconnected the flex cables for the LCD and Touch screen, the logic board sockets pulled away from the logic board. We have repaired hundreds of phones and never saw anything like this. Be careful the phone became a brick.
Dear do-it-yourself fellows. The guide is incomplete as it misses the dismantling of the fingerprint sensor (a link maybe?) and more important: the adhesive is not shown on all of the pictures. During disassembly the forces are much higher than on other iPhones.
It is of interest during assembly where to put the adhesive best: on the display or on the frame. Even more important: if you buy a new screen the adhesive is not part of the delivered screen in most cases. So you loose some of its waterproof abilities.
Hi there! This is an old version of the guide! Check out [the newer version here|iPhone 6s Display tauschen] , or maybe check the display replacement guide that removes all the peripherals. As for the adhesive, replacement will be necessary to preserve the waterproofing, you can check out What Adhesive or Glue is used to adhere Glass to Frame? for talk about what kind of adhesive to use!
How to replace front panel <u>only</u>
Thanks for the tutorial!!! I was lucky and got an extra iPhone 6s plus so I will just do a replacement of the screen with the same working phone that is not cracked....