
HMD Pulse Back Cover Replacement

Einleitung
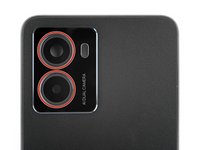
Zu Schritt 1 der AnleitungFollow this guide to replace a cracked or damaged back cover on your HMD Pulse smartphone.
Was du brauchst
Fix Kit
Dieses Kit enthält alle Ersatzteile und Werkzeuge, die für die Anleitung benötigt werden.

Ersatzteile

Werkzeuge


Mehr anzeigen …
-
-
Unplug all cables from your phone and completely power it down.
-
-
-
Firmly press a SIM eject tool, bit, or straightened paper clip into the SIM card tray hole on the left edge of your phone until the tray ejects.
-
Remove the SIM card tray.
-
-
-
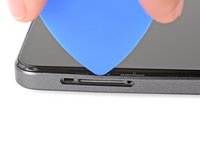
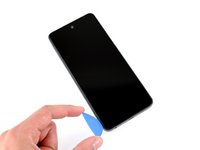
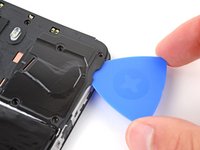
Insert the tip of an opening pick between the back cover and frame, at the SIM card tray cutout.
-
-
-
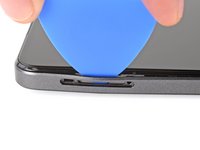
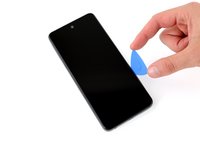
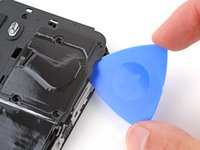
Position the opening pick straight down and slide it along the left edge to begin unclipping the back cover.
-
-
-
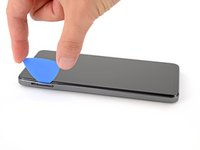
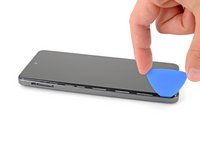
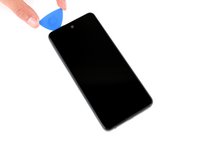
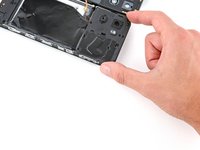
Continue sliding the pick around the perimeter of your phone until the back cover is fully unclipped.
-
-
-
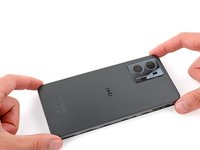
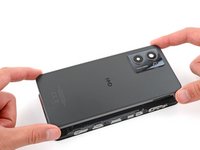
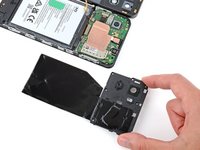
Carefully flip your phone over so the back cover is facing up.
-
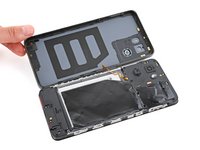
Lift the back cover off the frame and flip it over the left edge of your phone, laying the cover flat on your work surface.
-
-
-
In diesem Schritt verwendetes Werkzeug:Tweezers$4.99
-
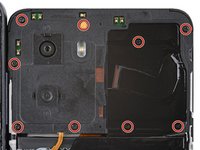
Use a Phillips screwdriver to remove the nine 3.6 mm‑long screws securing the motherboard cover.
-
-
-
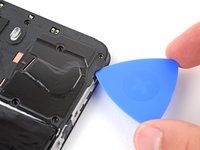
Insert an opening pick between the right edge of the motherboard cover and frame.
-
Twist the pick to fully unclip the cover.
-
-
-
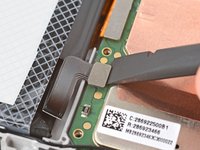
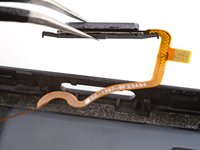
Use the flat end of a spudger to pry up and disconnect the battery press connector from the bottom edge of the motherboard.
-
-
-
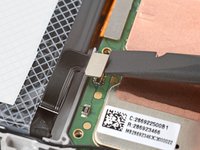
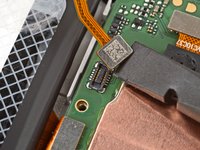
Use the flat end of a spudger to pry up and disconnect the back cover press connector from the bottom edge of the motherboard.
-
-
-
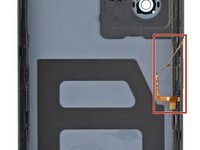
Check if your replacement back cover has a power button and rear camera lens covers installed.
-
If it doesn't, follow the remaining steps to remove and transfer the parts.
-
-
In diesem Schritt verwendetes Werkzeug:Tweezers$4.99
-
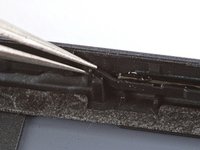
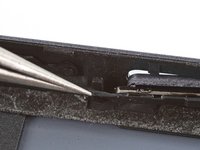
Use a pair of tweezers to gently grip the power button's top rubber arm and lift it out of its slot.
-
Lift and remove the power button.
-
Insert the bottom rubber arm and cable together into their slot and push the button into its cutout.
-
Slide the upper arm into its slot.
-
-
-
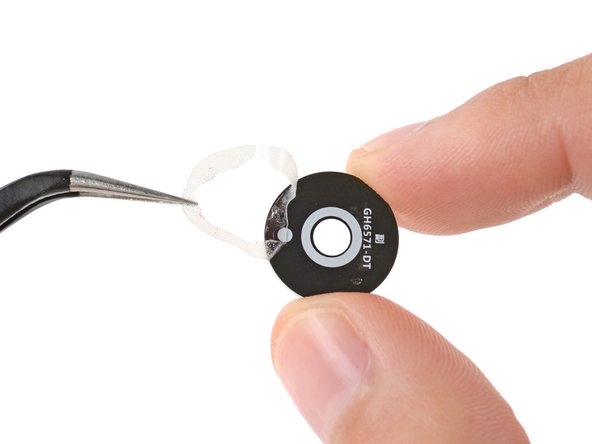
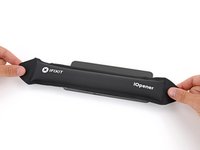
Apply a heated iOpener to the rear camera lens covers for one minute to soften their adhesive.
-
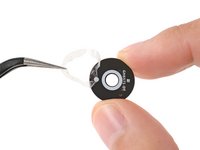
Wrap a soft cloth around the flat end of a spudger (to prevent scratching the cover) and push firmly on the back of the lens cover to separate its adhesive.
-
Remove the lens cover.
-
Use tweezers to remove any adhesive from the lens cover.
-
Repeat the process to remove the other lens cover.
-


To reassemble your device, follow these instructions in reverse order.
Take your e-waste to an R2 or e-Stewards certified recycler.
Repair didn’t go as planned? Try some basic troubleshooting, or ask our Answers community for help.
To reassemble your device, follow these instructions in reverse order.
Take your e-waste to an R2 or e-Stewards certified recycler.
Repair didn’t go as planned? Try some basic troubleshooting, or ask our Answers community for help.
Rückgängig: Ich habe diese Anleitung nicht absolviert.
Eine weitere Person hat diese Anleitung absolviert.

