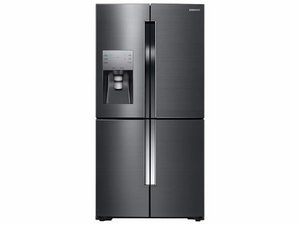
Der Kompressor ist das Herzstück Ihres Kühlschranks. Die Diagnose von Kompressorproblemen beginnt mit dem Abhören Ihres Kühlschranks – wann und wo tritt das Geräusch auf?
- Wenn du keine Geräusche hörst und der Kompressor nicht läuft oder du ein Klicken hörst, überprüfe das Überlastrelais, das Startrelais und den Startkondensator.
- Wenn du ein konstantes, lautes Rauschen hörst, das sich nicht abstellen lässt, ist dein Kompressor möglicherweise defekt oder startet nicht.
Grundlagen
Du solltest dir die Komponentendiagramme auf unserer Seite Funktionsweise eines Kühlschranks anschauen, damit du weißt, wo alle wichtigen Komponenten sind, sodass du sie leichter finden kannst.
Außerdem ist es wichtig, den Kühlschrank regelmäßig zu warten. Mit diesen Tipps bleibt er einwandfrei in Betrieb.
Bevor du elektrische Bauteile ausbauen und ersetzen kannst oder einen Durchgangstest durchführst, schalte den Kühlschrank aus. So verhinderst du, dass die Bauteile beschädigt werden und du einen Stromschlag verpasst bekommst.
- Wenn der Kühlschrank von der Wand weggezogen ist, ziehe den Stecker.
- Andernfalls suche den Schutzschalter des Kühlschranks in deinem Sicherungskasten und schalten den Stromkreis aus.
- Achte darauf, dass das Licht im Kühlschrank aus ist, wenn du die Tür öffnest.
Stromversorgung zurücksetzen
Bei vorübergehenden Stromausfällen kann der Kühlschrank in einen Sicherheitsmodus wechseln. Dieser schützt die internen Komponenten vor elektrischer Überlastung. Du musst die Stromzufuhr deines Kühlschranks zurücksetzen.
- Ziehe den Stecker deines Kühlschranks. Wenn der Stecker zu schwer zu erreichen ist, schalte den Schutzschalter aus.
- Warte 5 Minuten, bevor du den Strom wieder einschaltest.
- Sobald der Strom wieder da ist, öffne deinen Gefrierschrank und drücke den Lichtschalter 3 Mal, um einen Kühlzyklus auszulösen.
- Beobachte die Temperatur in den nächsten 24 Stunden.
Verschmutzte Kondensatorspulen
An der Rückseite und Unterseite deines Kühlschranks befinden sich der Kondensator und seine Spulen. Das Kühlmittel durchströmt die Spulen und gibt während des Kühlzyklus Wärme ab. Wenn sich Staub und Schmutz auf den Spulen ablagern, wird die Effizienz des Kühlschranks beeinträchtigt und der Kühlschrank muss hart arbeiten, um zu kühlen. Wenn diese Spulen stark verschmutzt sind, kann der Kompressor überhitzen und abschalten.

- Ziehe deinen Kühlschrank heraus und überprüfe die Spulen.
- Dein Kühlschrank verfügt möglicherweise über eine Kippschutzhalterung und kann nur durch gerades Herausziehen von der Wand entfernt werden.
- Entferne Staub von den Kondensatorspulen und dem Lüfter mit einer steifen Fusselbürste und saug ihn dann ab.
- Gehe bei dieser Aufgabe vorsichtig vor, damit du die Rohre nicht verbiegst oder beschädigst.
Defekter Kondensatorlüftermotor
Der Kondensator-Lüfter saugt Luft über den Kompressor und durch die Kondensatorspulen. Wenn der Lüftermotor nicht ordnungsgemäß funktioniert, kühlt der Kühlschrank nicht richtig, und der Kompressor kann überhitzen, da keine Luft zur Kühlung vorhanden ist.

- Achte bei den Lüfterflügeln darauf, dass sie nicht blockiert sind. Wenn die Lüfterflügel rissig werden, splittern oder fehlen, solltest du die Flügel ersetzen.
- Drehe den Ventilator mit der Hand. Wenn er sich nicht frei drehen lässt, musst du den Motor ersetzen.
- Wenn er sich frei dreht, Teste den Motor auf Durchgang.
Defekter Abtautimer
Der Abtautimer leitet alle 10 Betriebsstunden des Kühlschranks einen 30-minütigen Heizzyklus ein. Bei einem Ausfall dieses Timers bleibt dein Kühlschrank entweder im Heiz- oder im Kühlzyklus hängen. Teste den Abtautimer. Dein Kompressor läuft nicht, wenn das System im Abtauzyklus festhängt. Dies führt wahrscheinlich auch dazu, dass der Bimetallschalter im Abtausystem öffnet oder die Thermosicherung (falls vorhanden) durchbrennt.
- Bei Geräten mit adaptiver Abtausteuerung musst du den Abtauzyklus manuell aktivieren.
- Schalte den Thermostat 15 Sekunden lang aus und dann 5 Sekunden lang ein. Wiederhole dies zwei Mal und schalte den Thermostat dann aus.
- Der Abtauzyklus sollte eingeschaltet sein. Prüfe die Temperatur mit einem Thermometer, um festzustellen, ob Ihr Kühlschrank aufheizt.
- Mit einem manuellen Timer zwischen den Klemmen 1 und 4 auf Durchgang prüfen.
- Durchgang bedeutet hier, dass die Kühlung Continuity here means that the cooling cycle is operating.
- Rotate the manual dial until hearing a click. Now test between pins 1 and 2 for continuity. This means that the heating cycle is working, and there should be no continuity between pins 1 and 4.
- Replace the timer with a new unit if continuity tests fail, or the fridge doesn't enter defrost mode.
Temperature Control Thermostat Failure
If the compressor won't run, the temperature control thermostat (also called a bi-metal thermostat) might be faulty. The thermostat allows power to flow through to the compressor, evaporator fan, and condenser fan.
- Continuity test the thermostat.
- Make sure it's cold from the fridge or sitting in ice water.
- Replace with a new one if its resistance value is outside of 0-1Ω.
Thermistor Failure
Another problem that could prevent your compressor from running is a faulty thermistor. The thermistor is a sensor that monitors the air temperature. It is connected to the control board. If the thermistor is defective, the refrigerator may not cool, or can cool continuously until the compressor overheats.
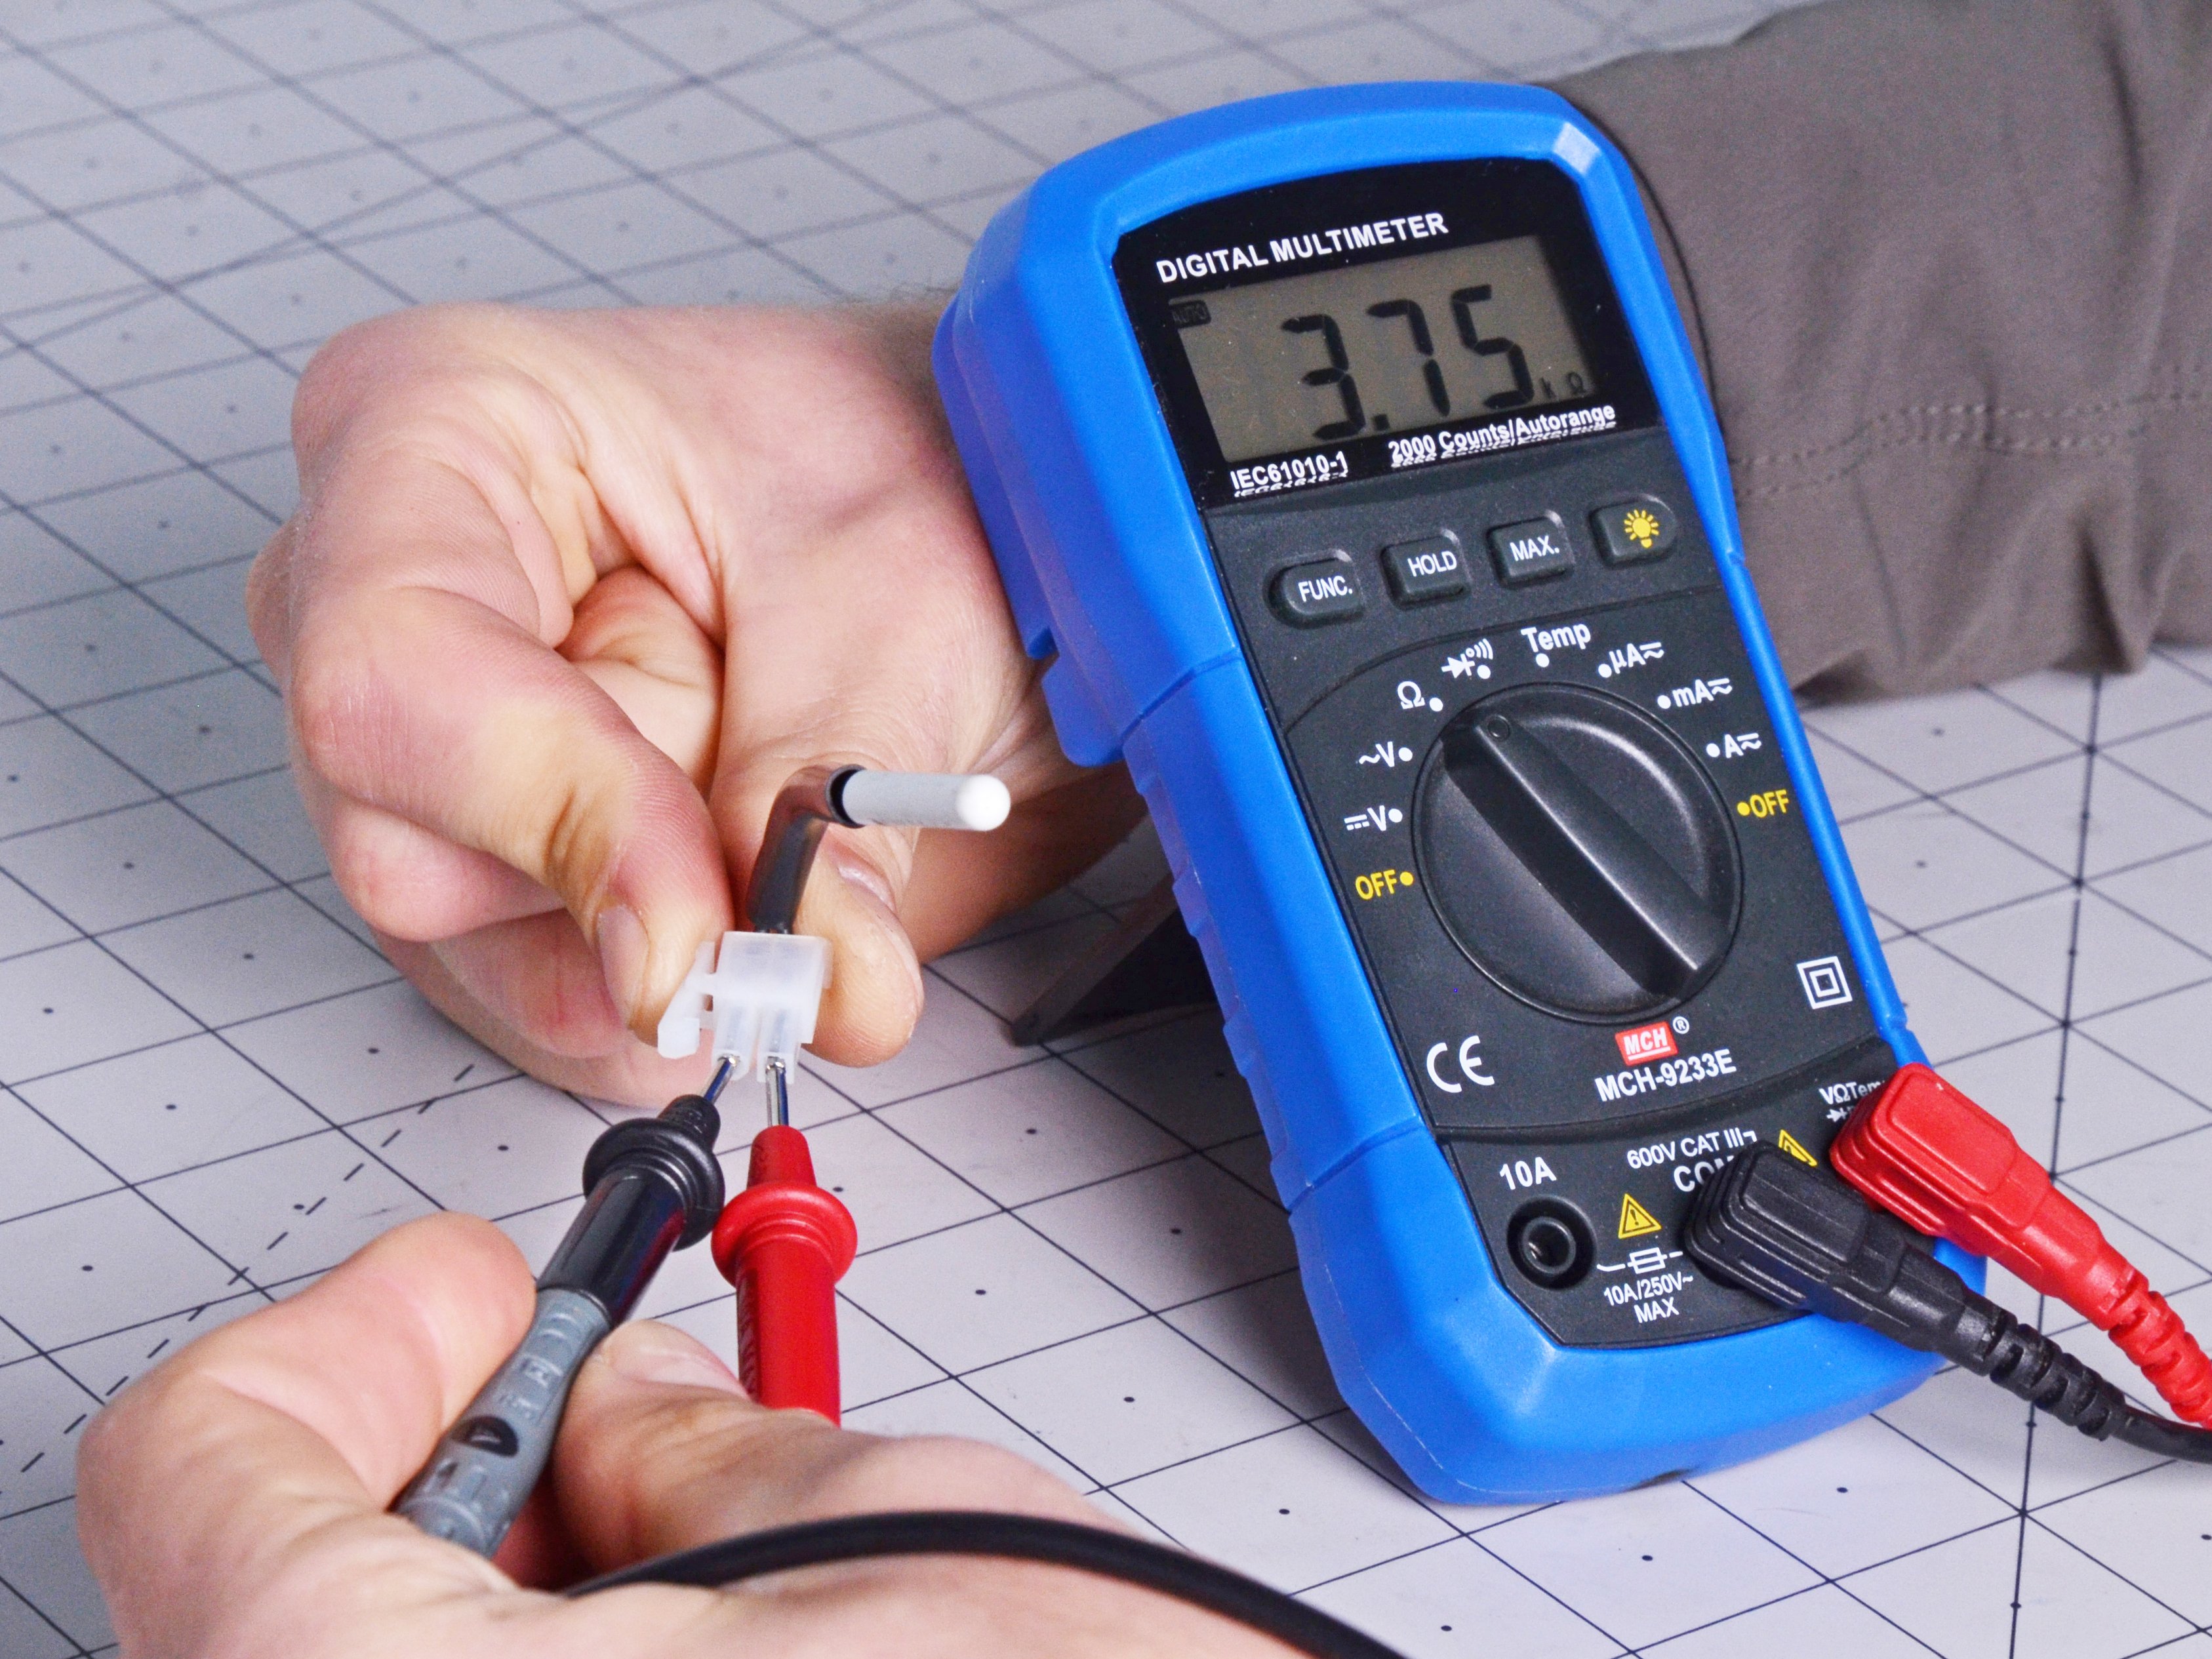
Grab a multimeter and continuity test the thermistor. Place the thermistor tip into a cup of ice water made from ice, water (just enough to cover the ice) and salt. You will need to find information on the resistance value expected for your refrigerator's various thermistors at 32°F (0°C).
If the thermistors test ok go on to the next item.
Temperature Control Board Failure
If the refrigerator is not cold enough, the temperature control board might be defective. The temperature control board provides the voltage to the fan motors and compressor. if the switches or relays on them fail, the compressor won't run.

- If the display LEDs or Temperature Setting button are not responding, it could signal that the board has failed.
- Remove the board from the fridge, and reconnect. Verify the wire connections are secure.
- Replace the temperature control board with a new unit.
Faulty Capacitor
If the capacitor has failed, the compressor will not be able to start and run as it should. Most newer refrigerators use a run capacitor, which stays in the circuit and improves the energy efficiency of the compressor. Some older refrigerators may have a start capacitor, which functions just at startup. These are not as common.
You may be able to tell what kind you have by looking at a couple of factors. Many run capacitors are polymer-type capacitors with a small rectangular block shape. There are cylindrical run capacitors, but they are less common (some LG fridges have them). The capacitance values of run capacitors tend to be smaller on refrigerators, something between 10 and 22µF (µF stands for microfarads, also abbreviated MFD).

A Typical Run Capacitor
Safely remove the capacitor and discharge with a discharge tool.
On smaller capacitors, you can use a screwdriver with an insulated handle to discharge it. But be careful as capacitors increase in size.
Test the capacitor with a capacitance meter; replace it if the value measured is outside the tolerance listed on the capacitor (usually +/- 5-10%).
A very quick functional check for a capacitor is to set your multimeter to the continuity function with the beeper on. Connect the capacitor to the leads for a few seconds. Then swap the leads to the opposite terminals. If the capacitor is at least storing some charge, you should get a short beep. This will not tell you if the capacitance is correct, only that the capacitor will store charge.
When you replace a capacitor, get the exact type of the existing capacitor, and the same capacitance value. You can safely use a capacitor with the same or higher voltage rating than the original.
If everything checks out, go to the next item.
Faulty Overload Relay
The overload relay is a protection device in the compressor circuit and is often combined with the start relay. You can find it plugged directly into the side of the compressor. If the fans are running and your compressor won’t start, or if you hear a clicking sound from the unit follow the troubleshooting below.


- Safely remove the start relay assembly.
- Check the overload relay for signs of overheating or arcing.
- This may be a hot module, burnt, or rattles when shaken.
- Check for continuity with a multimeter.
- Flip the unit over and test again. If there's no continuity, replace the unit.
Faulty Start Relay
The start relay is a small device mounted to the side of the compressor. It provides power to the run winding, along with the start winding, for a split second at startup to help get the compressor going. If the start relay is defective, the compressor may run intermittently or not at all, and the refrigerator will not get cold enough. The start relay should be replaced if defective.
- Safely remove the start relay assembly.
- Test Start Relay with a multimeter. View the video above and verify if your start relay is functioning.
- Replace the relay with a new one if it fails the testing or has a burnt odor. Depending on your start relay, you may have to test the start capacitor and overload relay first and use a process of elimination. If the other two components pass continuity tests, and your compressor isn't starting, try replacing your start relay.
Compressor Inverter Board Failure
Modern refrigerator compressor technology has shifted from single-phase DC motors to 3-phase DC-controlled AC motors.
What this means is that instead of the start relay assembly normally attached to the compressor pins — the start relay, overload relay, and overload capacitor — there is now a sealed motherboard and a lot of wires. The inverter board modulates the power supplied to the compressor and allows for more efficient operation.

This new technology is harder to test, so follow this helpful video.
The inverter board must be tested by the process of elimination.
- First, test the input voltages. The inverter board will have both a 120V AC main power supply voltage and a 4-6V DC voltage from the main control board. Remember to make all voltage measurements with everything connected.
- If one of these voltages is missing, the inverter board will not work.
- Backtrack to find the issue. You could have a faulty wire harness connector, a bad motherboard, or another issue.
- Second, follow the compressor continuity testing from above to verify your compressor isn't shorted and is okay.
- If the compressor is fine, and the board input voltages are fine, then your inverter board has failed and needs replacing.
Faulty Compressor
The compressor is your fridge's workhorse. By pressurizing the refrigerant, the compressor ultimately enables the evaporator to chill air.
If it isn't running at all:
Test the compressor for continuity. Resistance values vary based on the compressor, so view this video. Values outside of the range or a short to ground will mean replacing the compressor which is a costly repair. If your fridge is more than a few years old you're better off replacing the fridge instead of just the compressor.
- Test the compressor for continuity by following the video above.
- Resistance values vary based on the compressor.
- Values outside of the range or a short to ground will mean replacing the compressor, which is a costly repair.
- If your fridge is more than a few years old, you may be better off replacing the fridge instead of the compressor.
Main Control Board Failure
Finally, if the compressor won't run, the main control board might be defective. This is not common. Check the defrost system, cooling fans, and cooling controls first.
Related Pages
Refrigerator Compressor Running but Not Cooling
Fridge Not Cooling But Freezer Works
Refrigerator Won't Dispense Water
Freezer Not Freezing Ice Cream
Refrigerator Makes Humming Noise
Refrigerator Making Knocking Noise
Additional Resources
Besonderer Dank geht an diese Übersetzer:innen:
100%


Diese Übersetzer:innen helfen uns, die Welt zu reparieren! Wie kann ich mithelfen?
Hier starten ›

3 Kommentare
Mi refrigerador Philips de 120 litros hace corto al enchufar. Que puede ser ?
Natalia - Antwort Teilen
Podría ser un condensador de arranque del compresor de refrigeración defectuoso.
Christian “Ope” Bürger - Antwort Teilen
Minha geladeira consul está sem gelar
Madalena de Albuquerque Silva - Antwort Teilen